Is crafting still fun when it becomes your career?

Recently it has been proven that crafting for a hobby is a beneficial activity on our lives and health. For those of us who already partake in a creative lifestyle, I'm sure most would confirm that sitting down and making something brings a sense of relaxation, you become fully immersed in the activity, and your troubles and problems are forgotten for a while. There is also the wonderful sense of achievement when you complete a project and either wear it, display it or give it to a friend. 

Image via The Handmade Fair

Some studies are suggesting that it is highly beneficial for people suffering from anxiety, depression and stress due to it's calming and often repetitive nature, and there are even studies showing that it can delay the onset of dementia and old age. I guess this makes sense as our brain is a muscle and needs to be exercised, so the more we challenge it, the stronger it will stay.

The Handmade Fair, hosted by Kirstie Allsopp has carried out a survey to find out more about crafting and wellbeing, and found that: "one in three use crafting as a way to focus better on day to day life and one in five like to craft to boost their confidence. A quarter of those surveyed admitted that crafting helps to give them ‘peace of mind’."

But what about if you want to pursue crafting as a career? Is it still so fun and  relaxing? Or does doing it as a job transform it into a stressful activity? I spoke to three successful participants of The Handmade Fair taking place on 18th-20th Sept to find out - Zeena Shah, a print maker, Poppy Chancellor, a papercutter and Lisa Comfort, owner of sewing cafe, Sew Over It

PH:  Having a career in crafting/making, do you find that creating still relaxes you and makes you feel good, or is it now just another part of your job? 

Zeena:  Yes definitely, I will always love the process of printmaking, screen printing and designing. I find I am my happiest and most inspired doing these things and always drawn to them. I think for me this changes when I have a particularly large order to fill. As all our products are individually hand screen printed and sewn at our studio it can become pretty repetitive if you have a 100 pillows to print and sew, this is when I find myself falling out of love with it a little bit as can be expected.

Poppy:  I absolutely still feel relaxed when I'm papercutting. That's the joy of it. I have different pressures and time constraints now that I do it professionally, but if I didn't still love it, I wouldn't do it.

Lisa:  It depends on what the criteria of the making is. If it is something I have to do and have time restrictions and I am not particularly interested in making at that time then it does lose its relaxation and appeal but I still love sewing for pleasure. I don’t get a chance to do it that often (I sew every week for work but for myself with no pressure that is rare!) but when I do I love it. In fact tomorrow I have got the day free to sew and I am so looking forward to it! 

Some of Zeena's handmade wares. 

Some of Zeena's handmade wares. 

PH:  Do you do any other type of crafting outside of your job to chill out? 

Zeena:  I love making things and can always be found doing some sort of craft in my spare time although rare it's a definite de-stresser! I've started dressmaking and really love the process of constructing a garment, I just wish I had more time for it! 

Poppy:  I'm a total perfectionist when it comes to making things. When I try new crafts I get worried about not getting it right. That's why I run from tent to tent at The Handmade Fair trying every workshop. It's a safe place to get things wrong and have a laugh.

Lisa:  I tried knitting but I found that too slow. I do a lot of upcycling of furniture and decorating at home. I love that. I have always loved spending time make my home look nice. Even from a young age, I would spend hours in my room, rearranging and painting different bits!

One of Poppy's edgy papercut designs

One of Poppy's edgy papercut designs

PH: Are you still as passionate about your craft as when you first began? How do you continue to inspire your creativity so you don't become tired of it? 

Zeena:  Yes if not more so! I love printing and am constantly inspired. I've just finished writing my first book about 'How to Print Fabric' this consists of 20 table top techniques to create print designs onto fabric using everyday things from the home. This was such an inspiring project to work on, I wanted to make printing really easy and accessible to those who might not have access to course or printing facilities. All you need for one project are some elastic bands, ink pad and a piece of fabric - easy!

Poppy:  Luckily with papercutting there's so much you can do. More than playing with technique you can also be inspired with the design. I always work from my drawings and love researching different imagery. If you become tired of what you're doing it's time to reinvent your approach.

Lisa: Yes absolutely. In fact I recently talked about this in my new vlog - I did a Q&A video and this came up. I am definitely still passionate about sewing. That is what gets me through the hard times! As many will say, running your own business is so much work and there are times when you ask yourself - what am I doing?! But then I always know that I am doing the right thing as the sewing world is where I belong, it is my home and my people. My vlog has actually been really helpful in keeping my creativity going as it gives me an excuse to buy new fabrics, explore new patterns and make clothes that I want. I am very lucky that I can call that my job!

Dress making patterns and fabrics at Sew Over It. (via Lisa's instagram)

Dress making patterns and fabrics at Sew Over It. (via Lisa's instagram)

PH: What advice would you give to any budding makers who would like to turn their hobby into a career, so that they don't lose their love of it?

Zeena:  What made a huge difference for me was outsourcing part of my process to people I trusted when I was overwhelmed with orders. It seems obvious but can be really difficult when you live and breathe your business, letting go of the little things is sometimes a real saving grace. For example having my cushions sewn up or tags printed as opposed to being hand stamped saves a lot of time and your sanity! So i'd definitely say don't hesitate and it's money well spent as it frees you up for the more important things - like running your business! 

Poppy:  My first piece of advice would be to get good. Practice until your proud of what you're making. I don't know if that process ever ends but you have to keep pushing to make great work. Secondly, make your subject matter relevant. Do something no one else is doing. With craft everyone has seen it before so it's important to make people notice you. A sense of humour always adds a lightness to people's work that I love.

Lisa: You will inevitably move more and more away from the actual craft as you get bogged down in the admin and more boring sides of running a business but remember why you did it and be strict with yourself so that you keep a hand in. I still teach a class every week and sew clothes for myself every month. I decided to hire more staff to help with running the business so that I had time to keep sewing as I fear that if I stopped then that would show through the business. 


I don't know about you, but I found the answers these three ladies gave really inspiring as well as useful and practical. It's so nice to hear that all three absolutely still have the love for their craft, even if it is not always relaxing! I'd love to hear from anyone else who is running a craft business, and whether you feel the same or do you feel so bogged down with business that the making side is now stressful. Or if you are thinking of starting a craft business and found the interviews above useful. 

Hope to see some of you at The Handmade Fair - I hope to pop over on Sat 19th Sept - it's the perfect chance to try your hand at some new crafts, and get inspired by all those creative talents! 
DIY: Hexagonal placemats

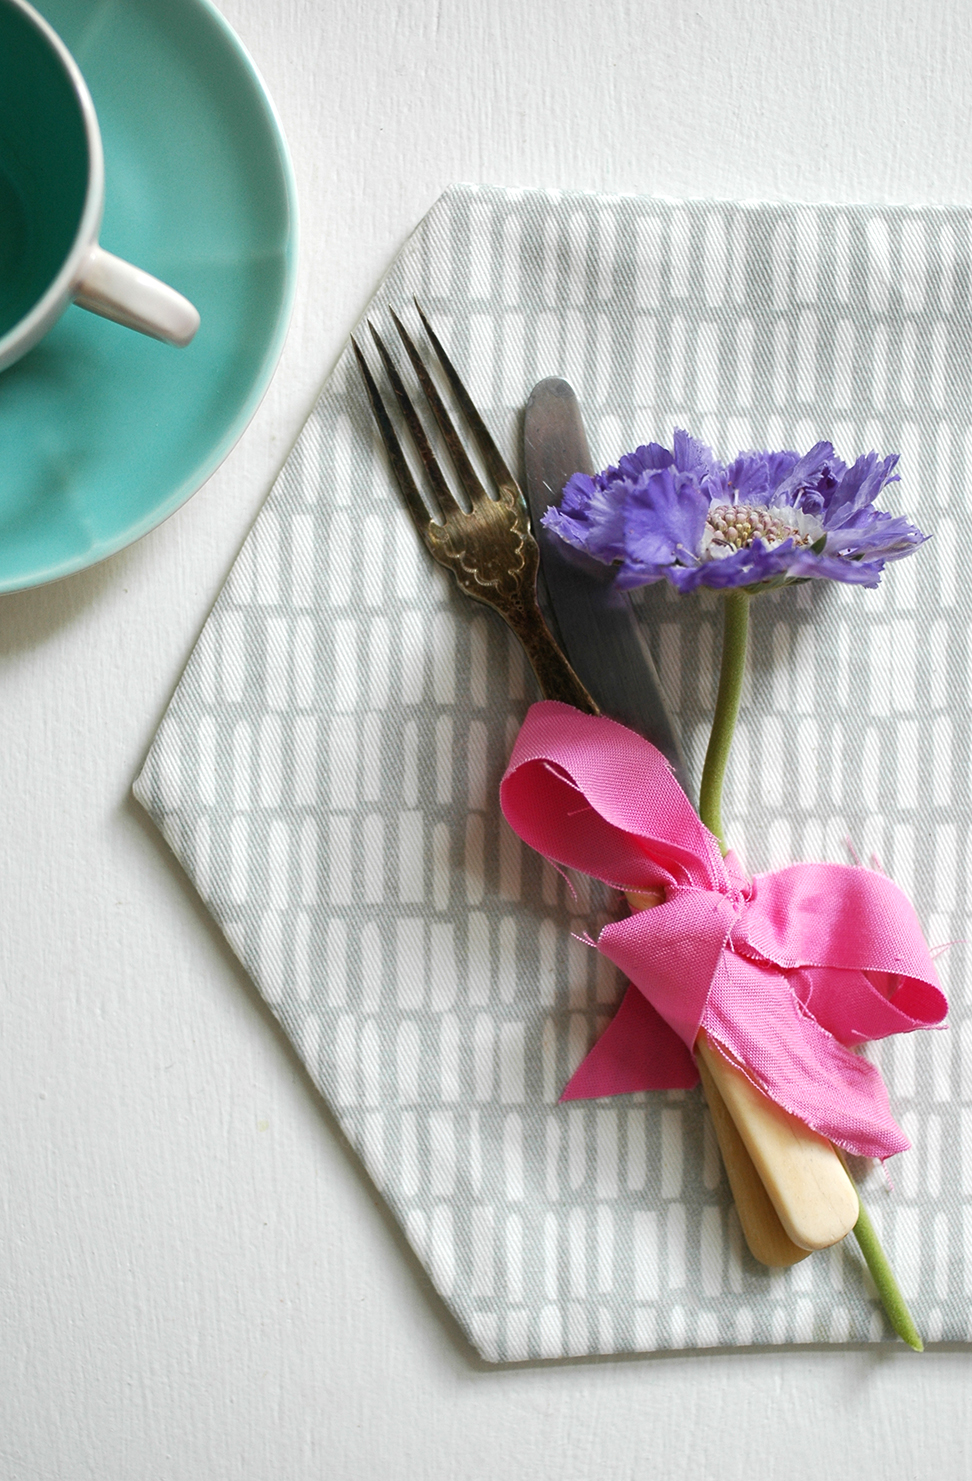
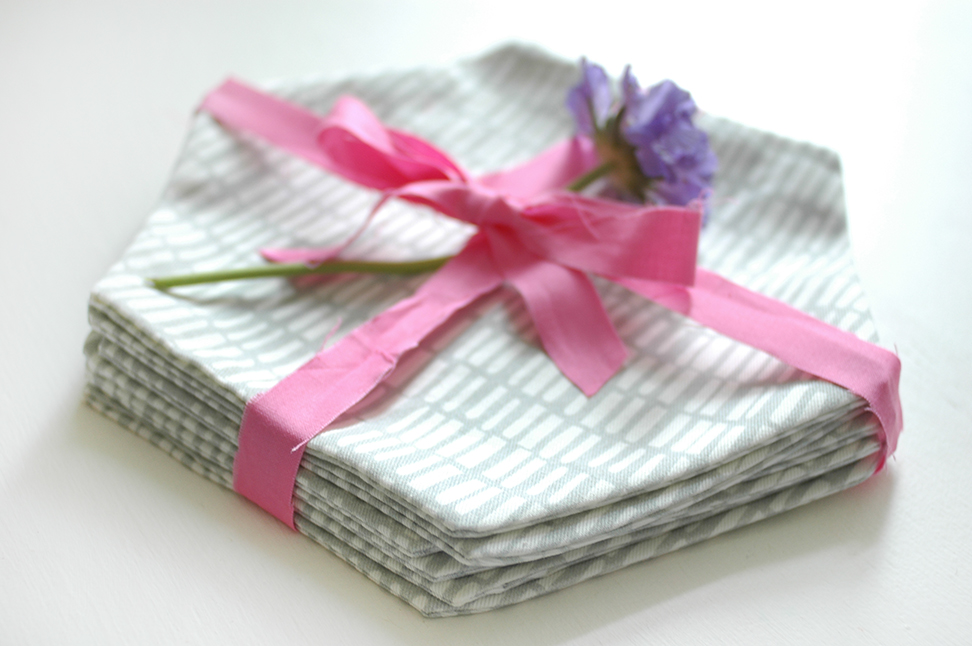
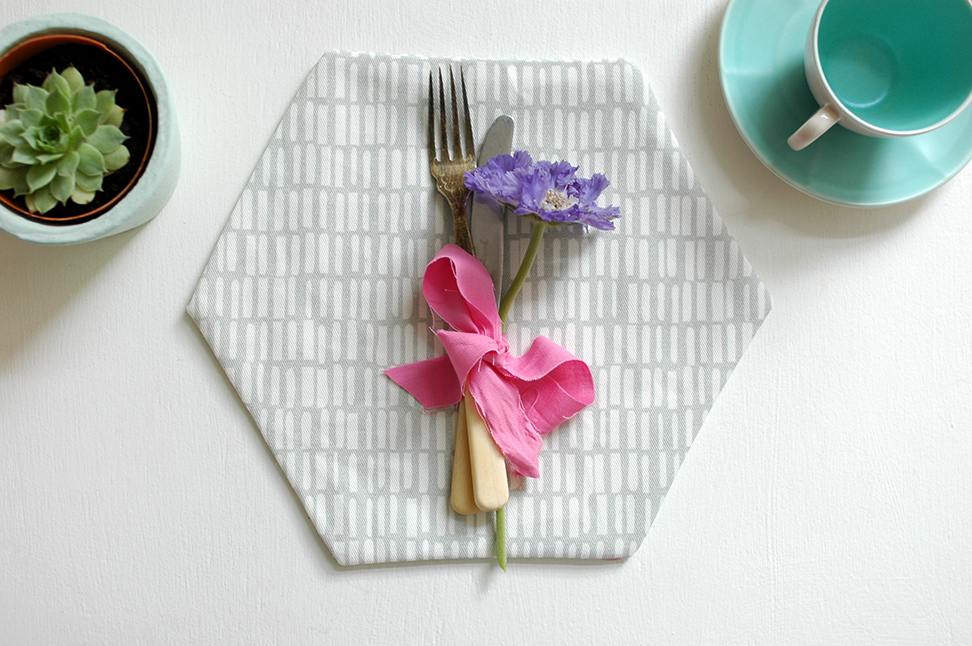
Nice placemats have always been something I've found quite hard to source. So when I received some lovely fabric from Zazzle I thought I would use it to make my own mats.

I decided to make them hexagonal, just for something a little different and I'm really pleased with how they turned out. Plus they make a lovely gift if you make a set of them and tie them with ribbon as I have done here. You can follow the full tutorial over on the AO blog now. 

Oh and make sure you check out the range of fabrics from Zazzle - they have a huge selection, and a great variety of weights and types of fabric. I went for a cotton twill for these placemats. 

Please vote in the Interior Blog Awards!

Patchwork Harmony has been nominated again this year in the Amara Interior Blog Awards! woohoo! Same as last year, I have some stiff competition, but this year I feel even more dwarfed by the other nominees as I am in the 'Interior Magazine Blog' category. Some of the others in this category are the blogs from Red Magazine, Ideal Home, Living Etc, Wallpaper and Country Home and Interiors - so we are talking the BIG boys!! 

It is an absolute honour to have 91 Magazine/Patchwork Harmony even put into this category next to all of these others, so even if I am not shortlisted I will still be super proud, BUT of course, it would be WONDERFUL to be shortlisted and to attend the awards! 

If you are a fan of the magazine and blog, I would love it SO much if you could take two minutes to cast your vote for me. You just have to enter your name & email address here: http://www.interiorblogawards.com/vote/patchwork-harmony/ - and you can opt out of email updates if you wish. 

I'm sure I cannot compete with the other titles huge readerships and mailing lists, but hey we can only give it a go! THANK YOU again for your support everyone! lots of love. C x

My home on made.com/unboxed

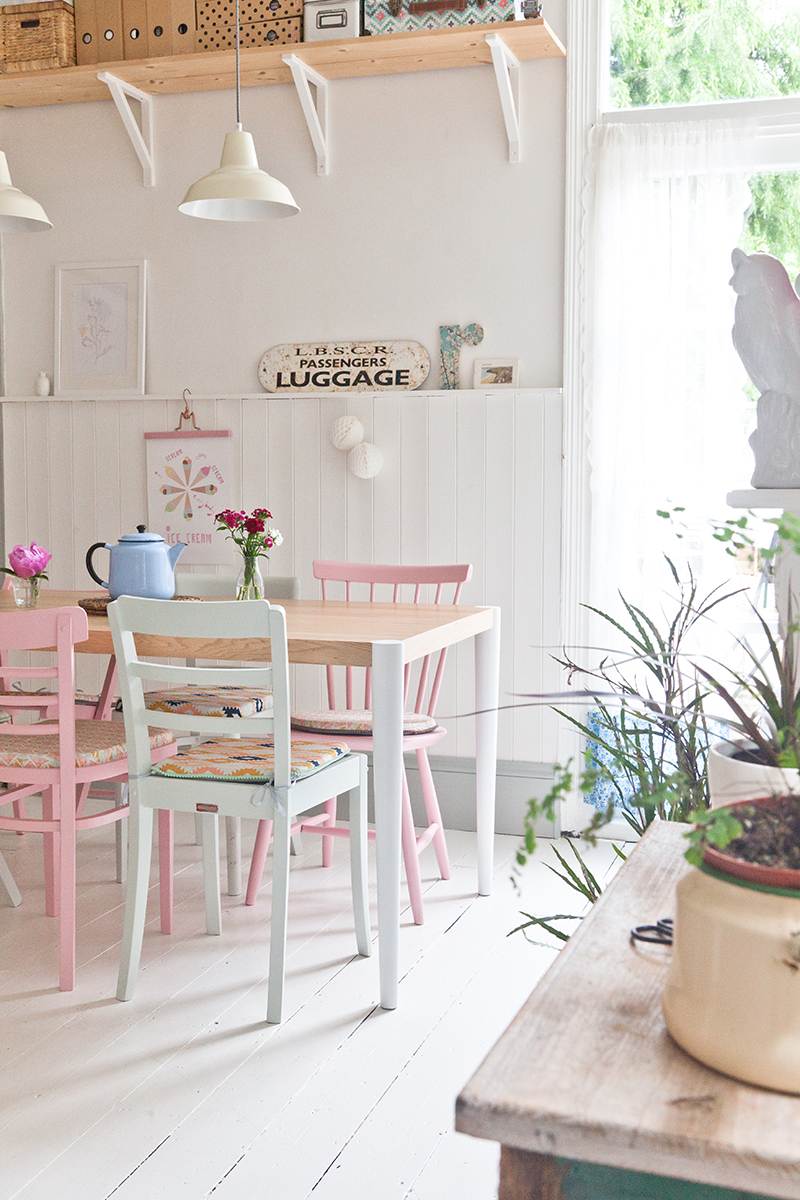
I recently had a photographer from made.com come over and take some pictures of our house.  I find it really interesting to see how different photographers work and how they capture the same space. These images are quite different from the ones taken for Apartment Therapy, but equally as lovely I think.  

The shots above show off our lovely made.com dining table which I am still really pleased with and I think looks great with my vintage painted chairs. I definitely think I'll be looking to made.com more when we move house. I was super impressed with their delivery service too - the guys were really careful and even built the table for me - massive bonus in my eyes! :) 

If you're a made.com fan you can add your own snaps of your purchases onto their unboxed website and have a nosy at what other customers have uploaded. I really like how they've used a map to show where the homes are located in the country so I can have a nosy at homes in my area! haha! There are some really lovely interiors on there so do have a look! 

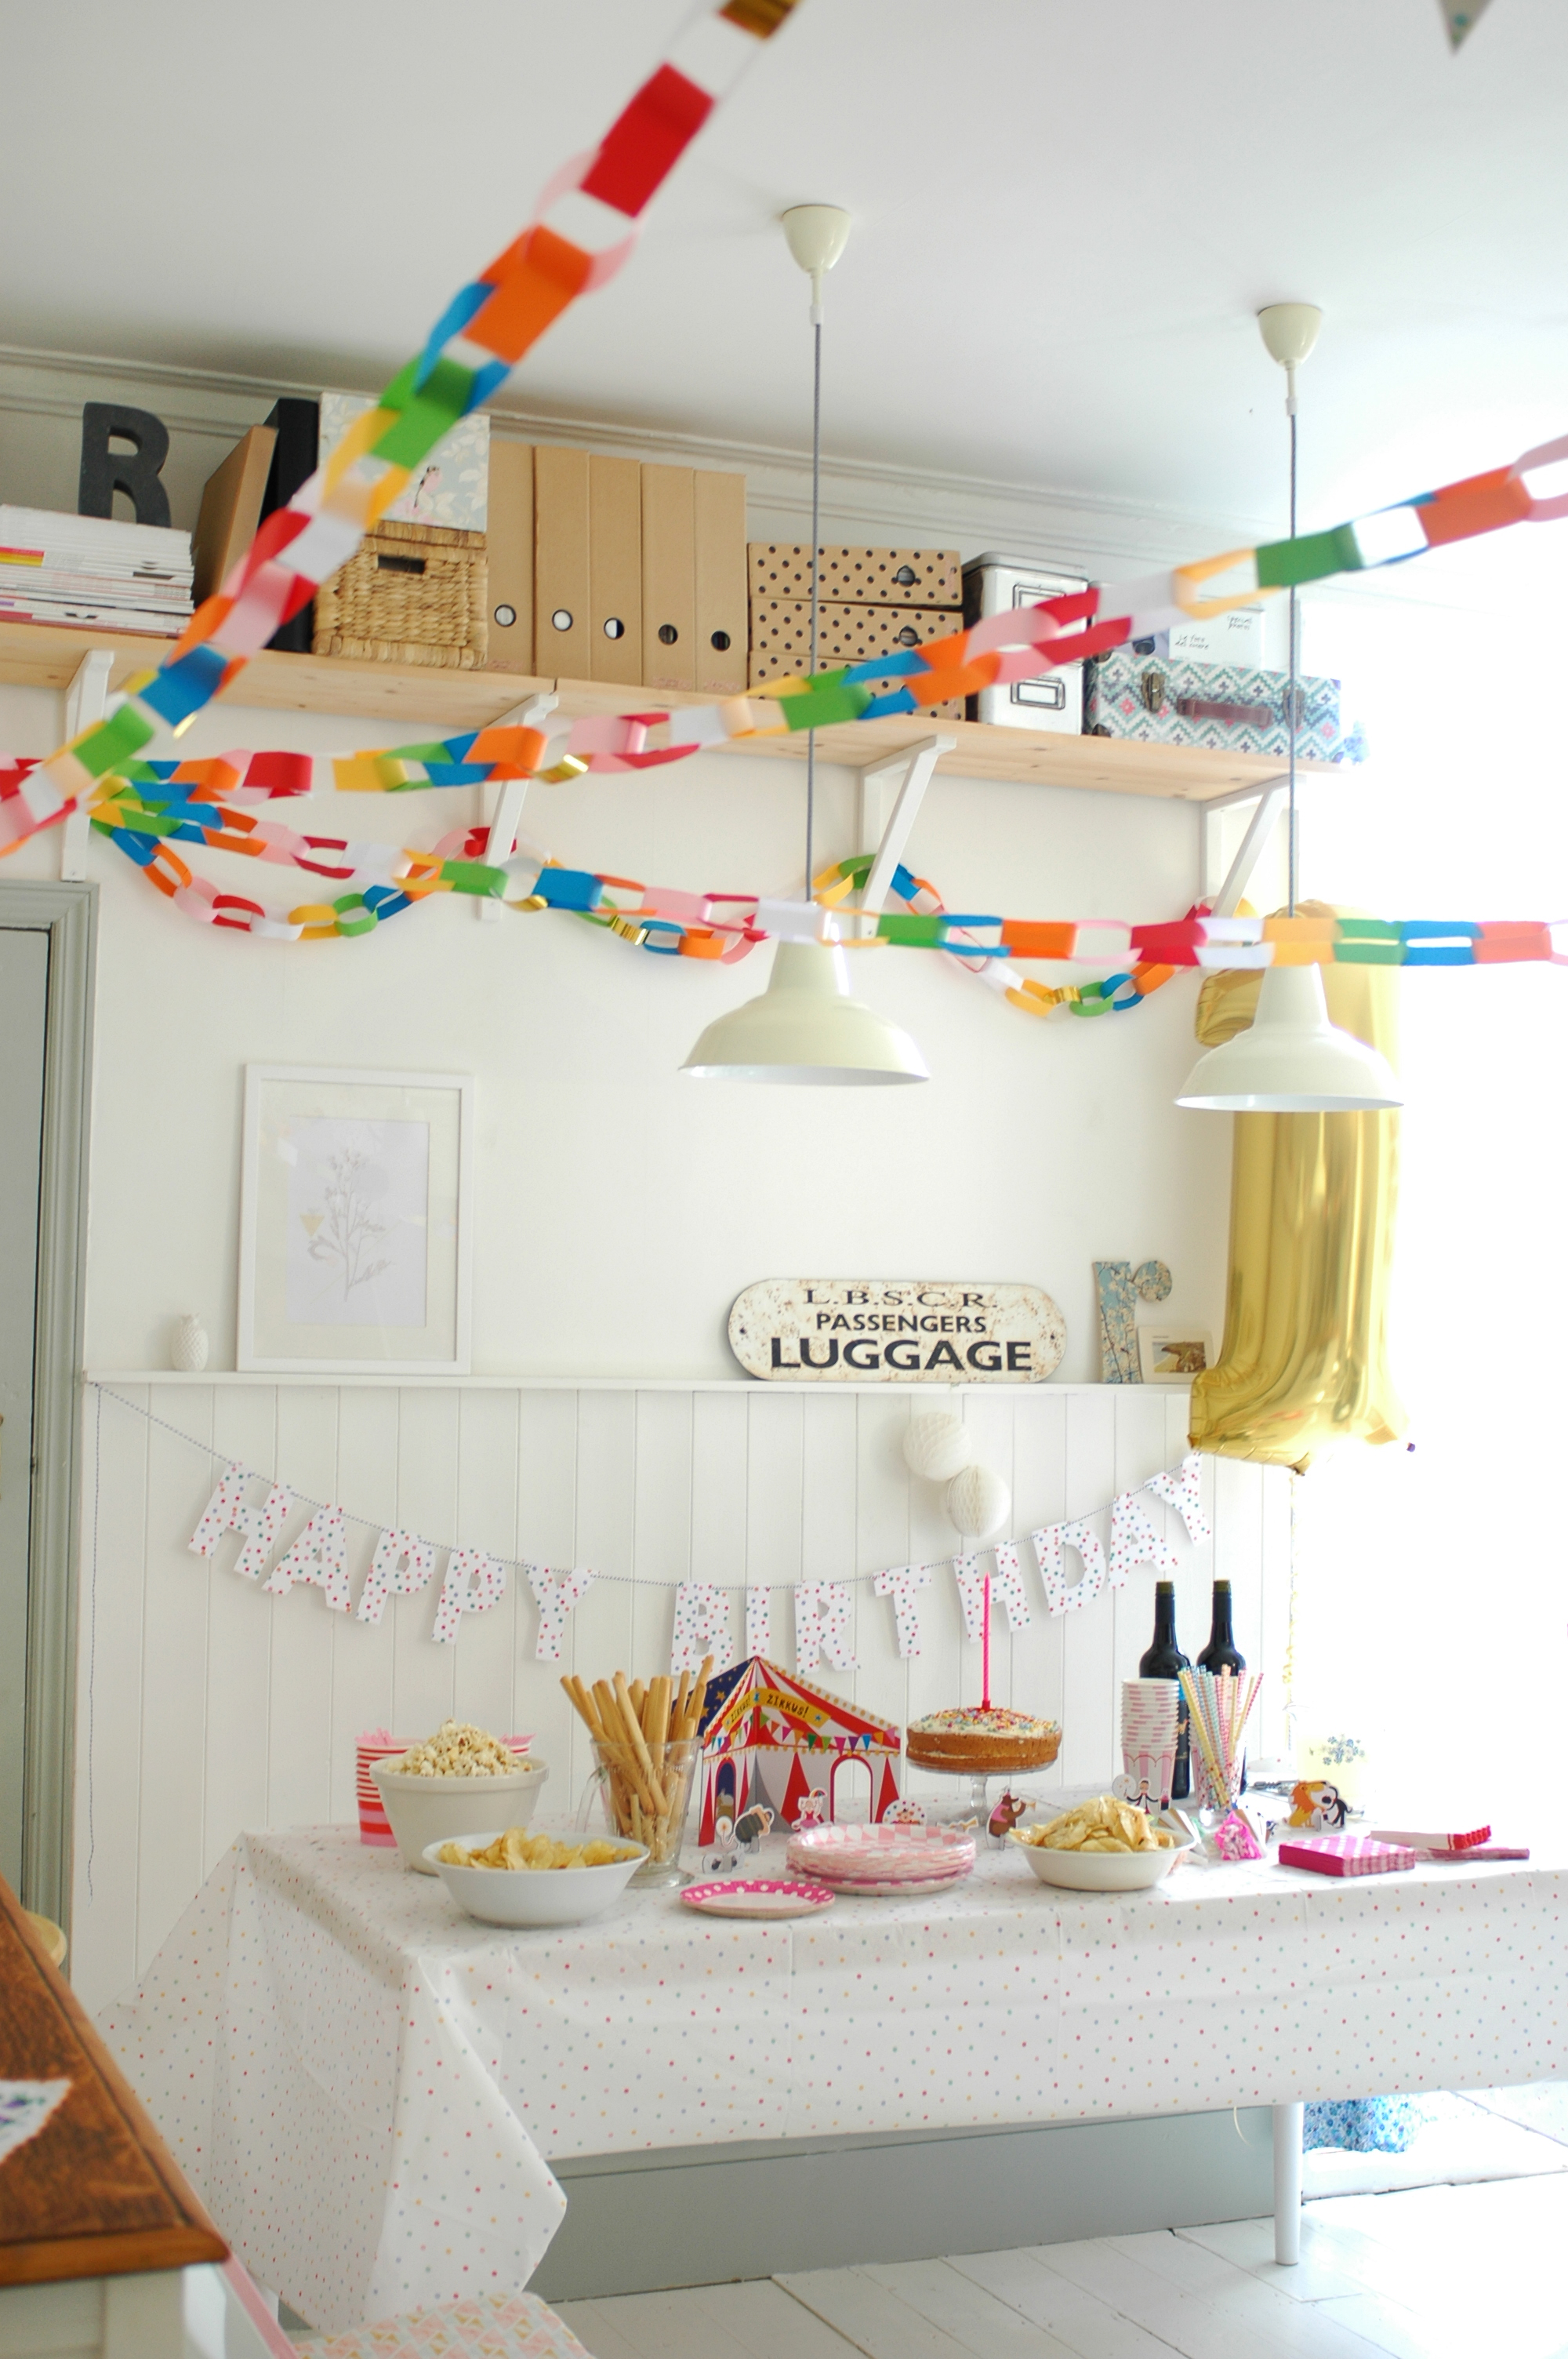
A circus themed birthday party

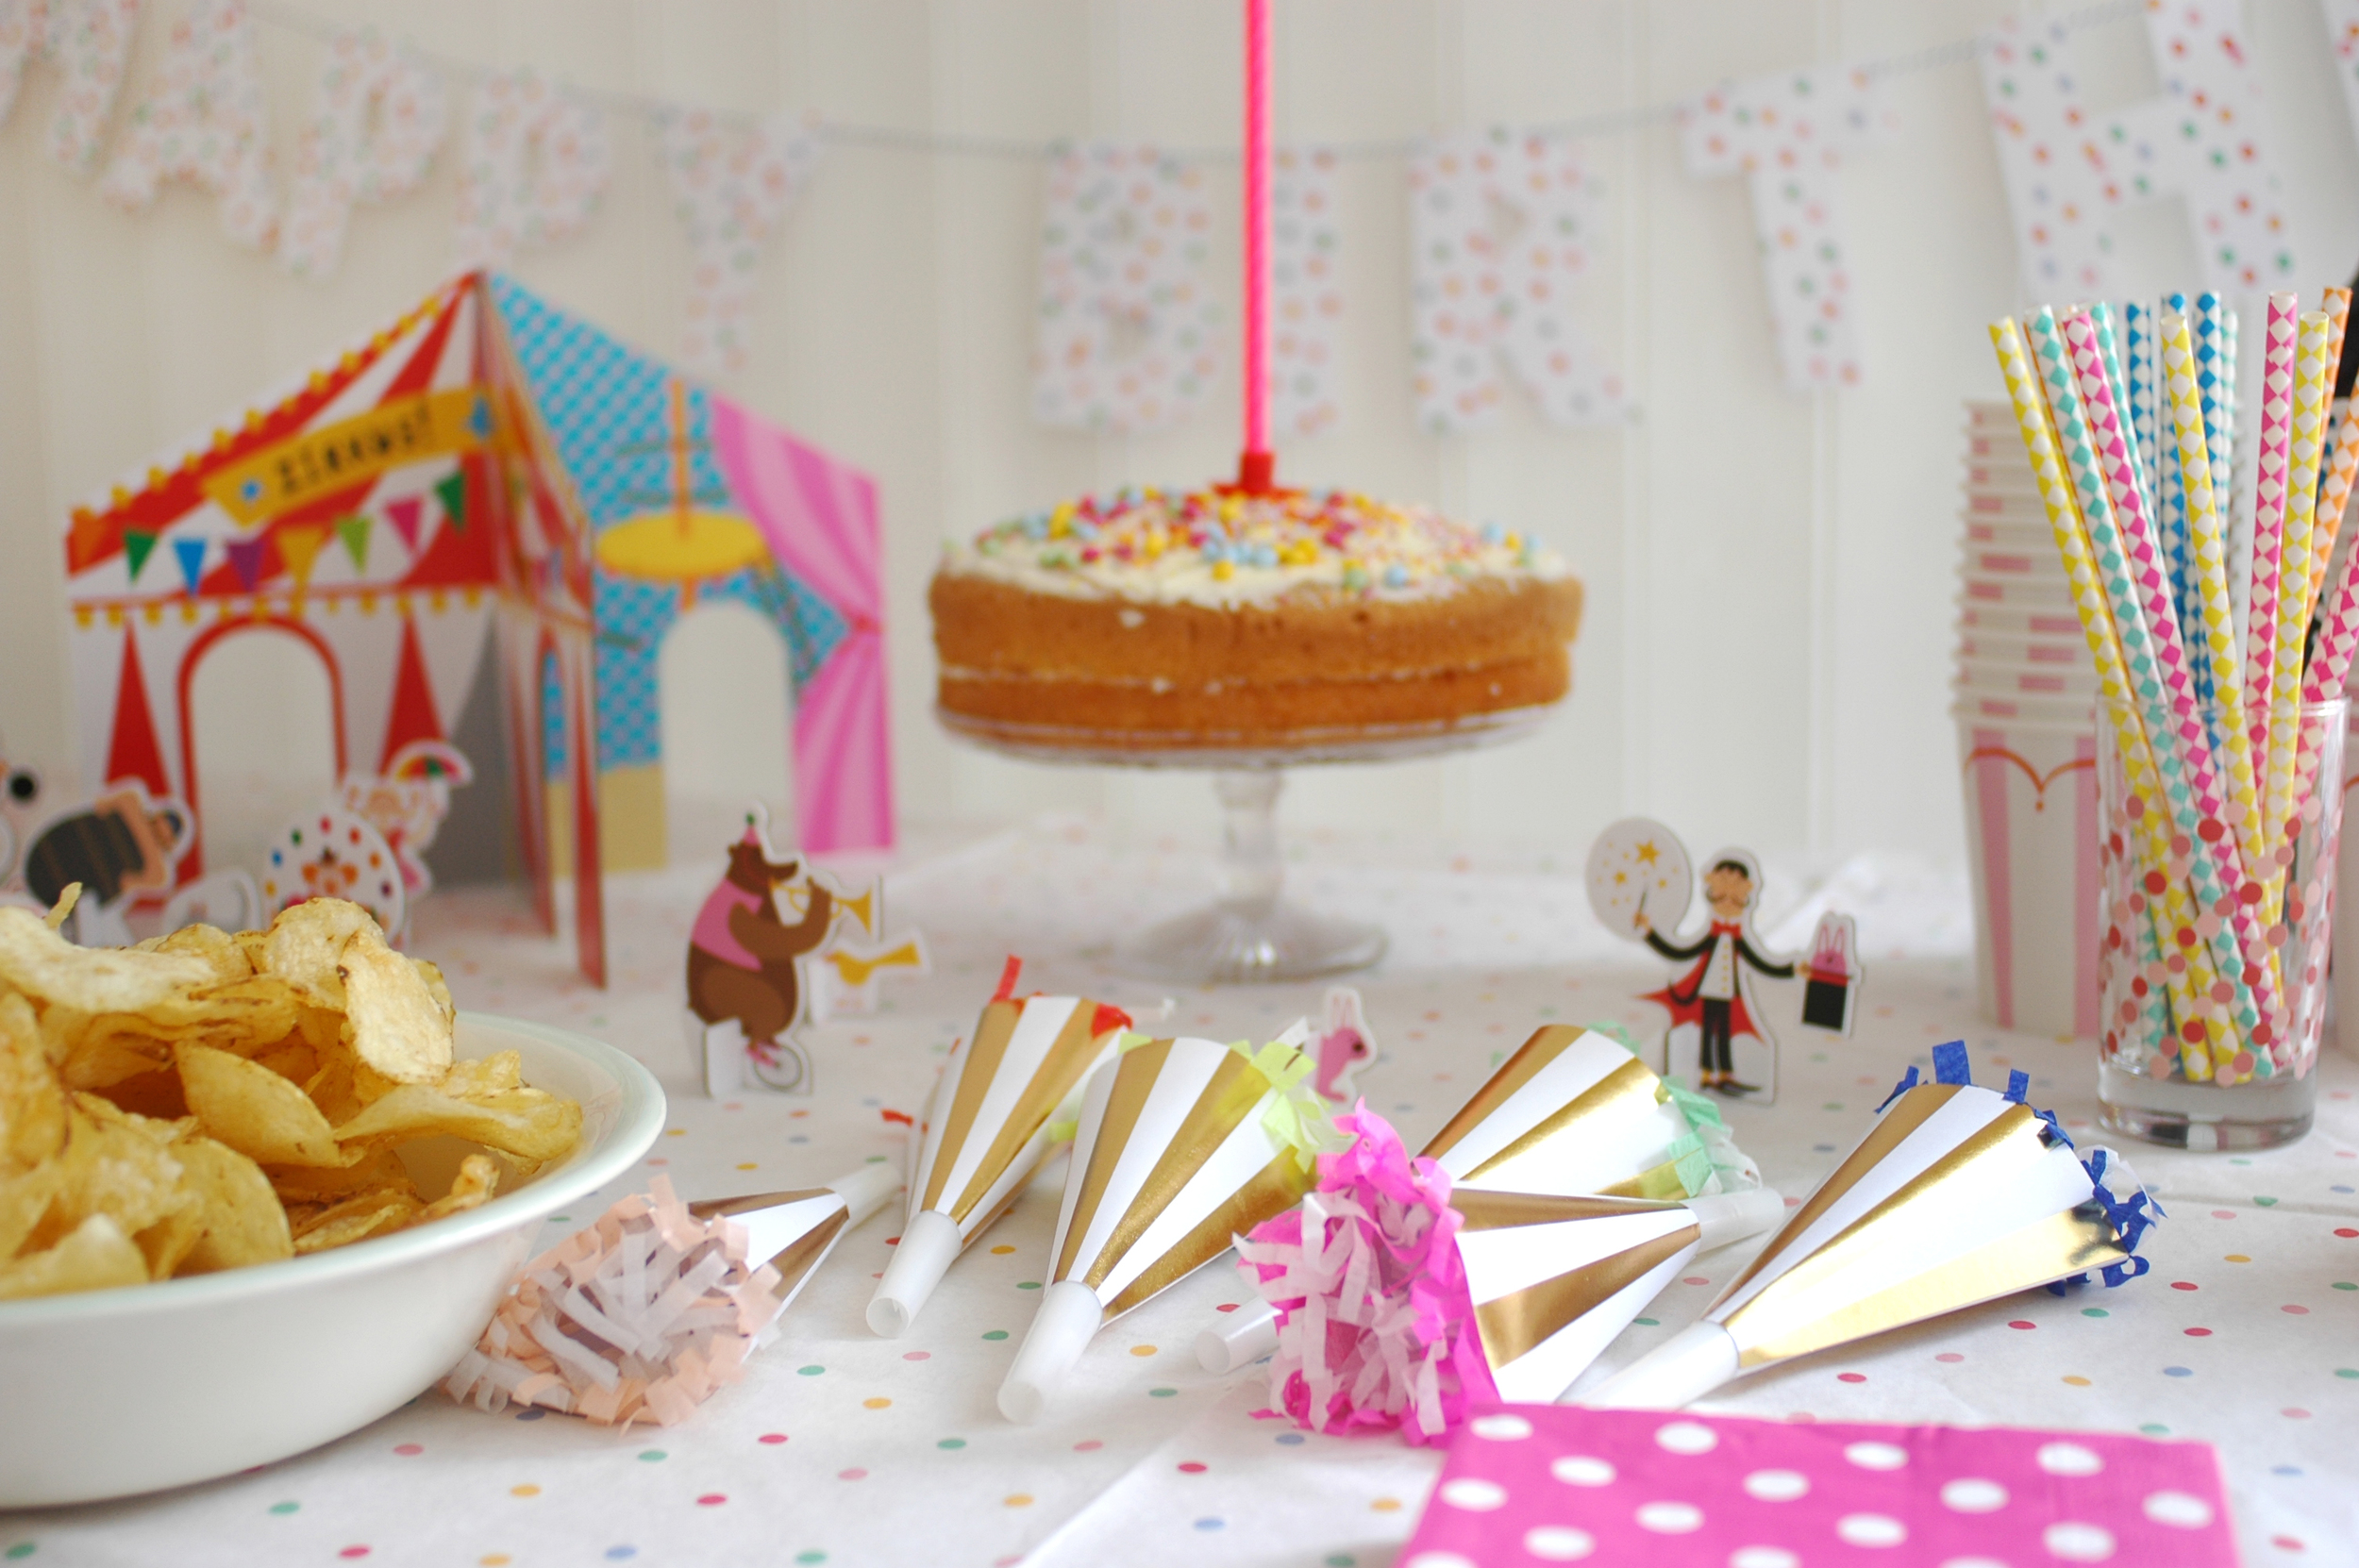
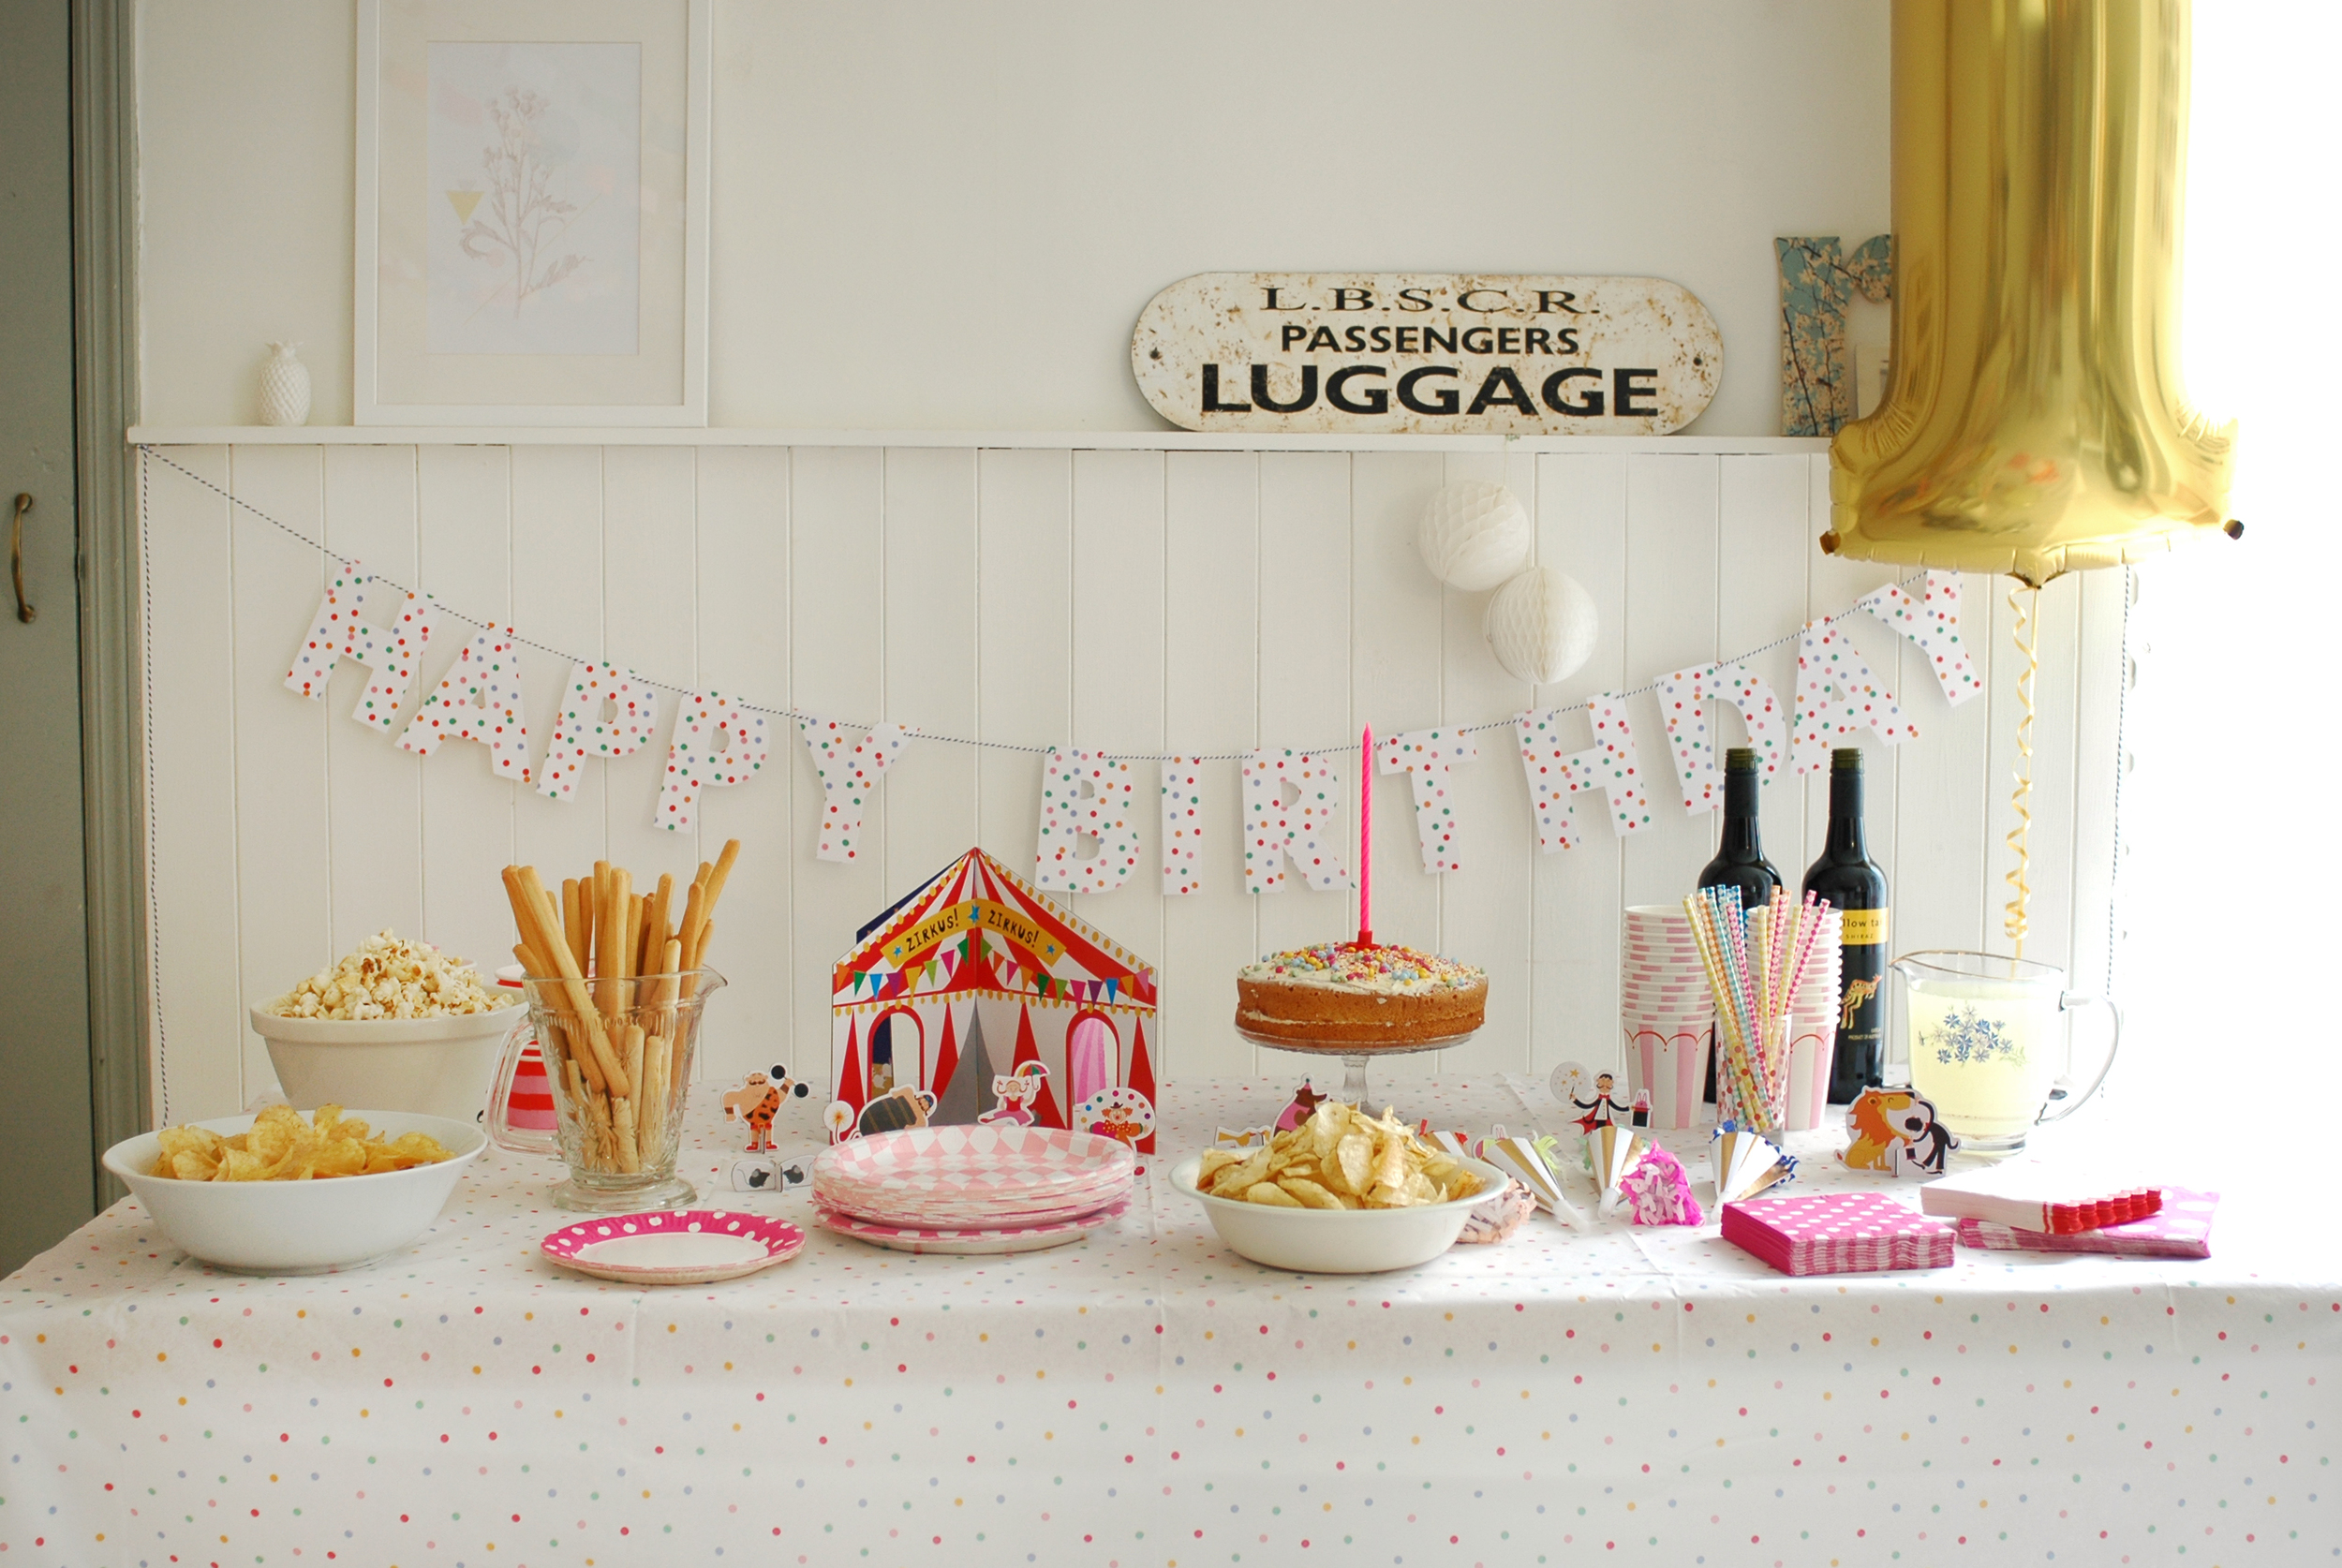
If you follow me on Instagram, you may have already seen quite a few posts about Ruby's first birthday. It's been so lovely celebrating this special time, and while she won't remember it, and doesn't really know what's going on, I still wanted to throw a lovely party for her with our family and friends. She will be able to look back on the photos one day, and see the efforts me and her dad put in! haha! 

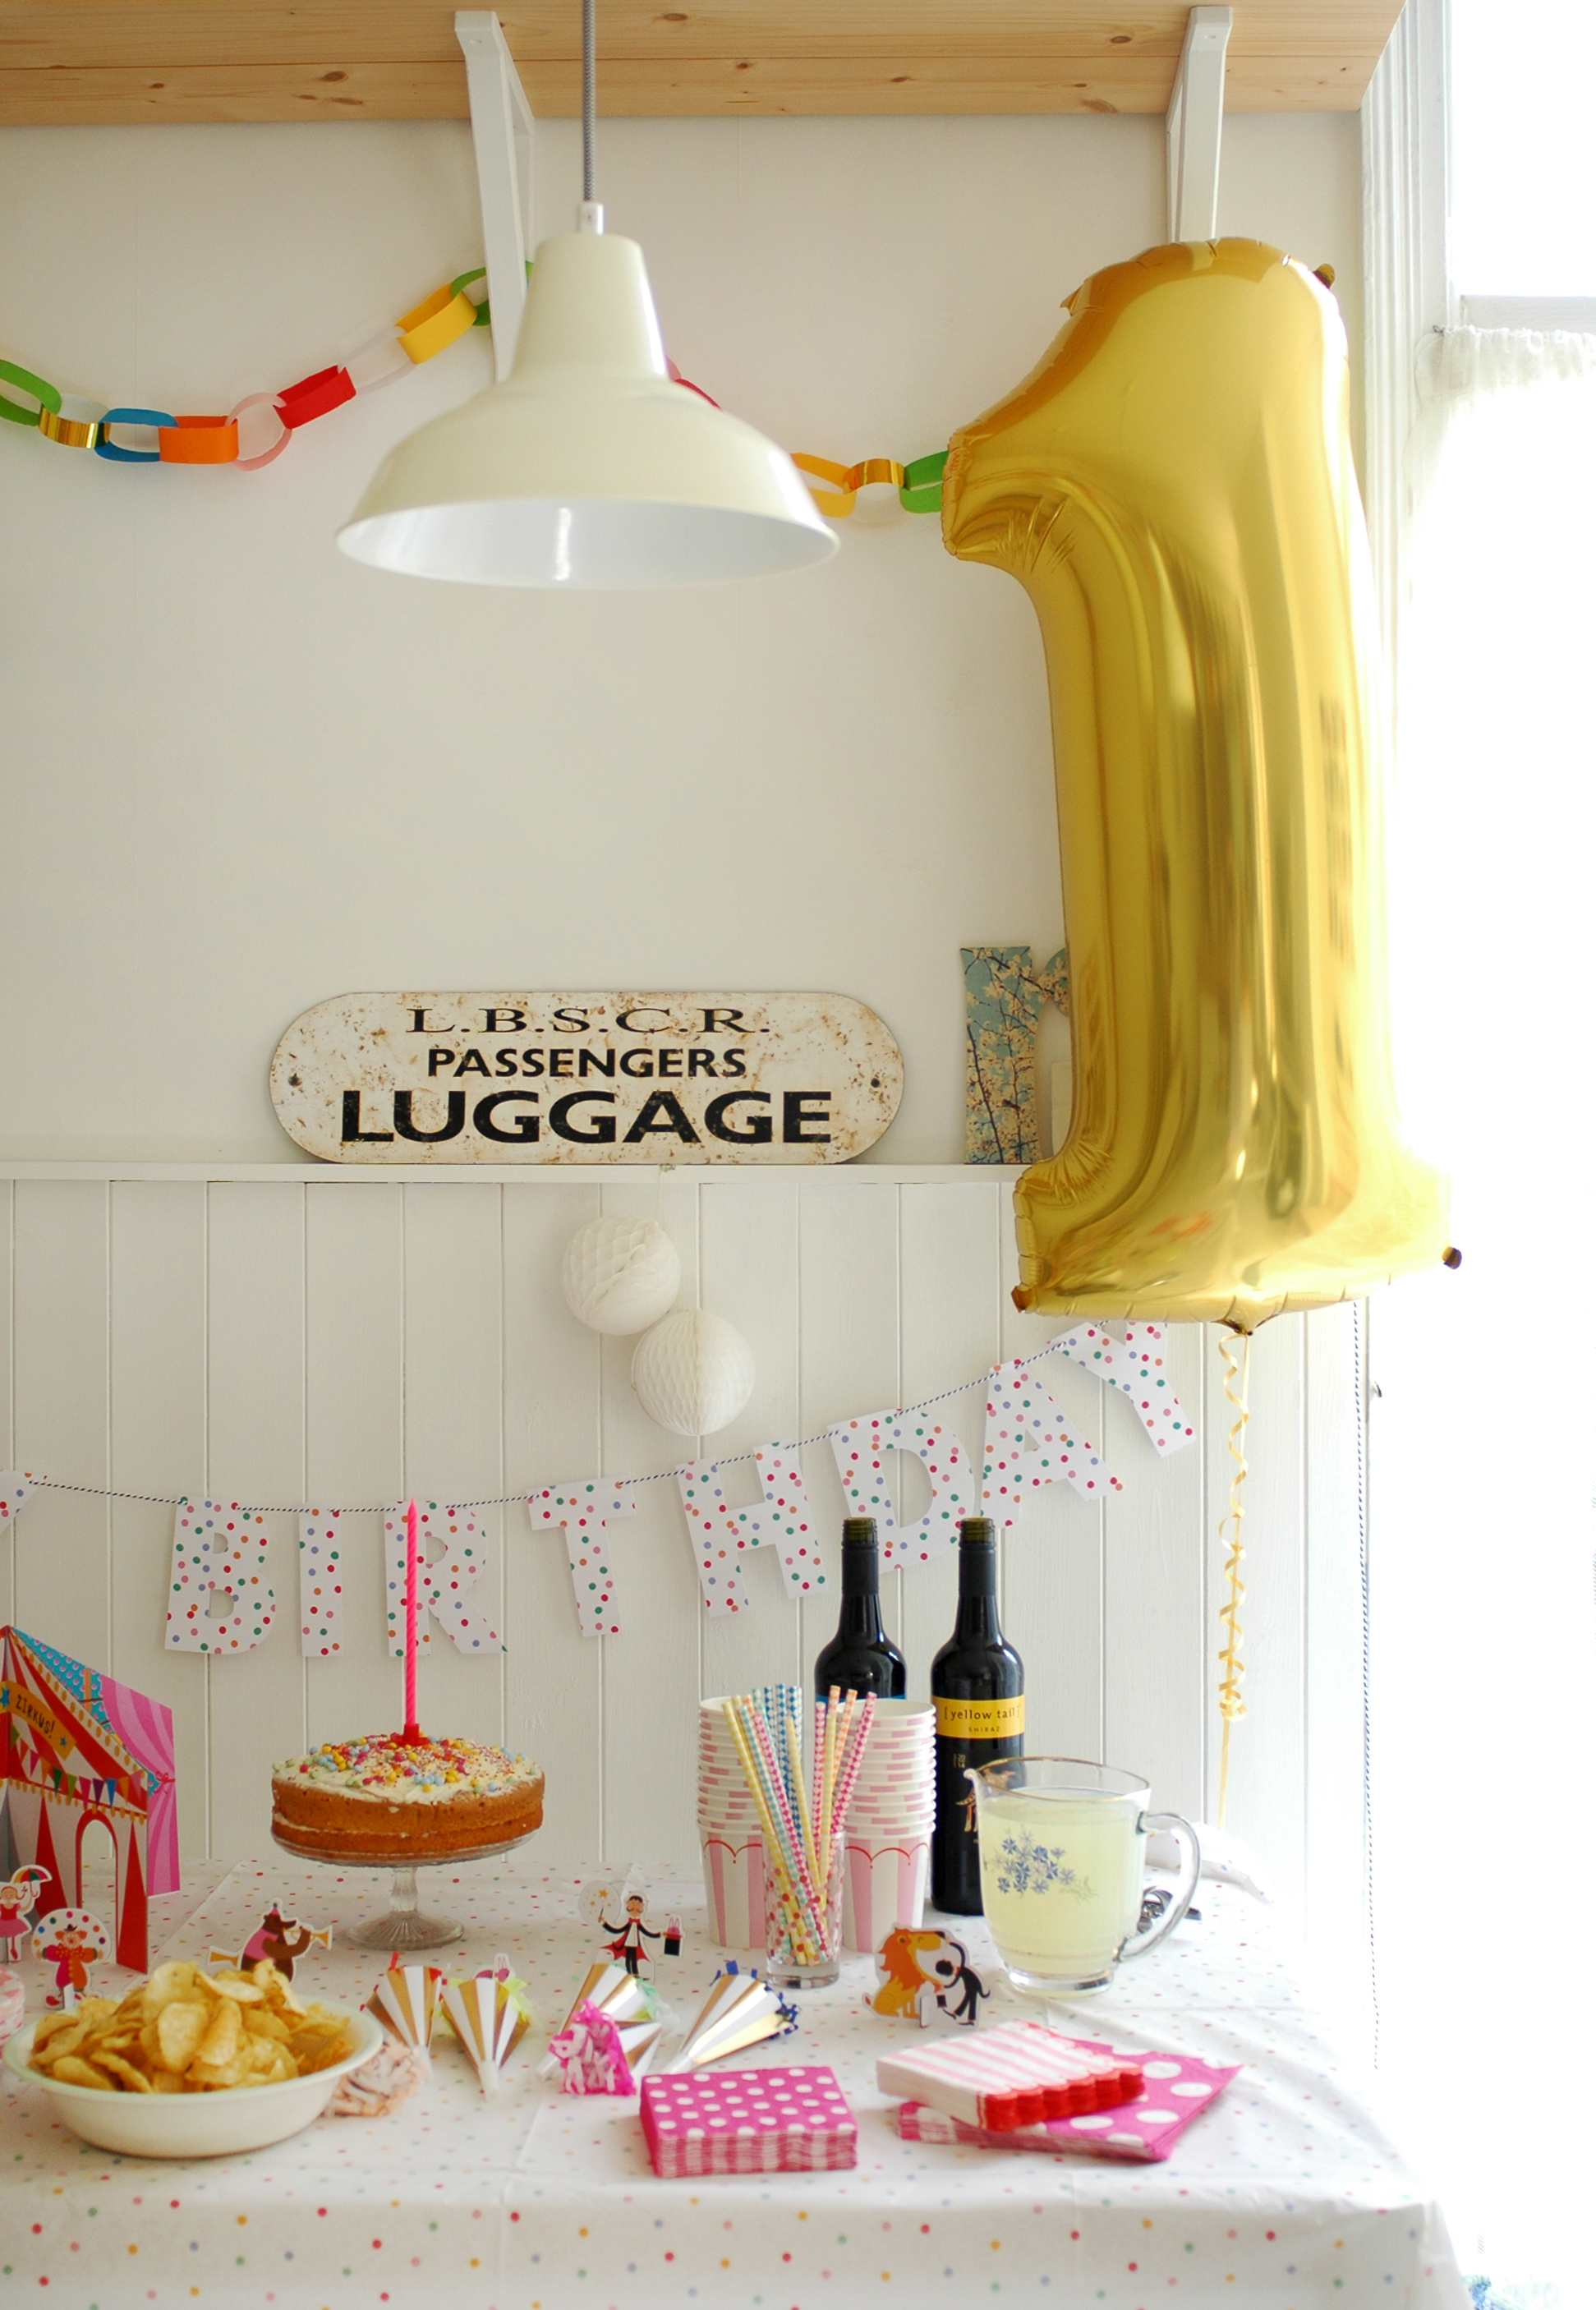
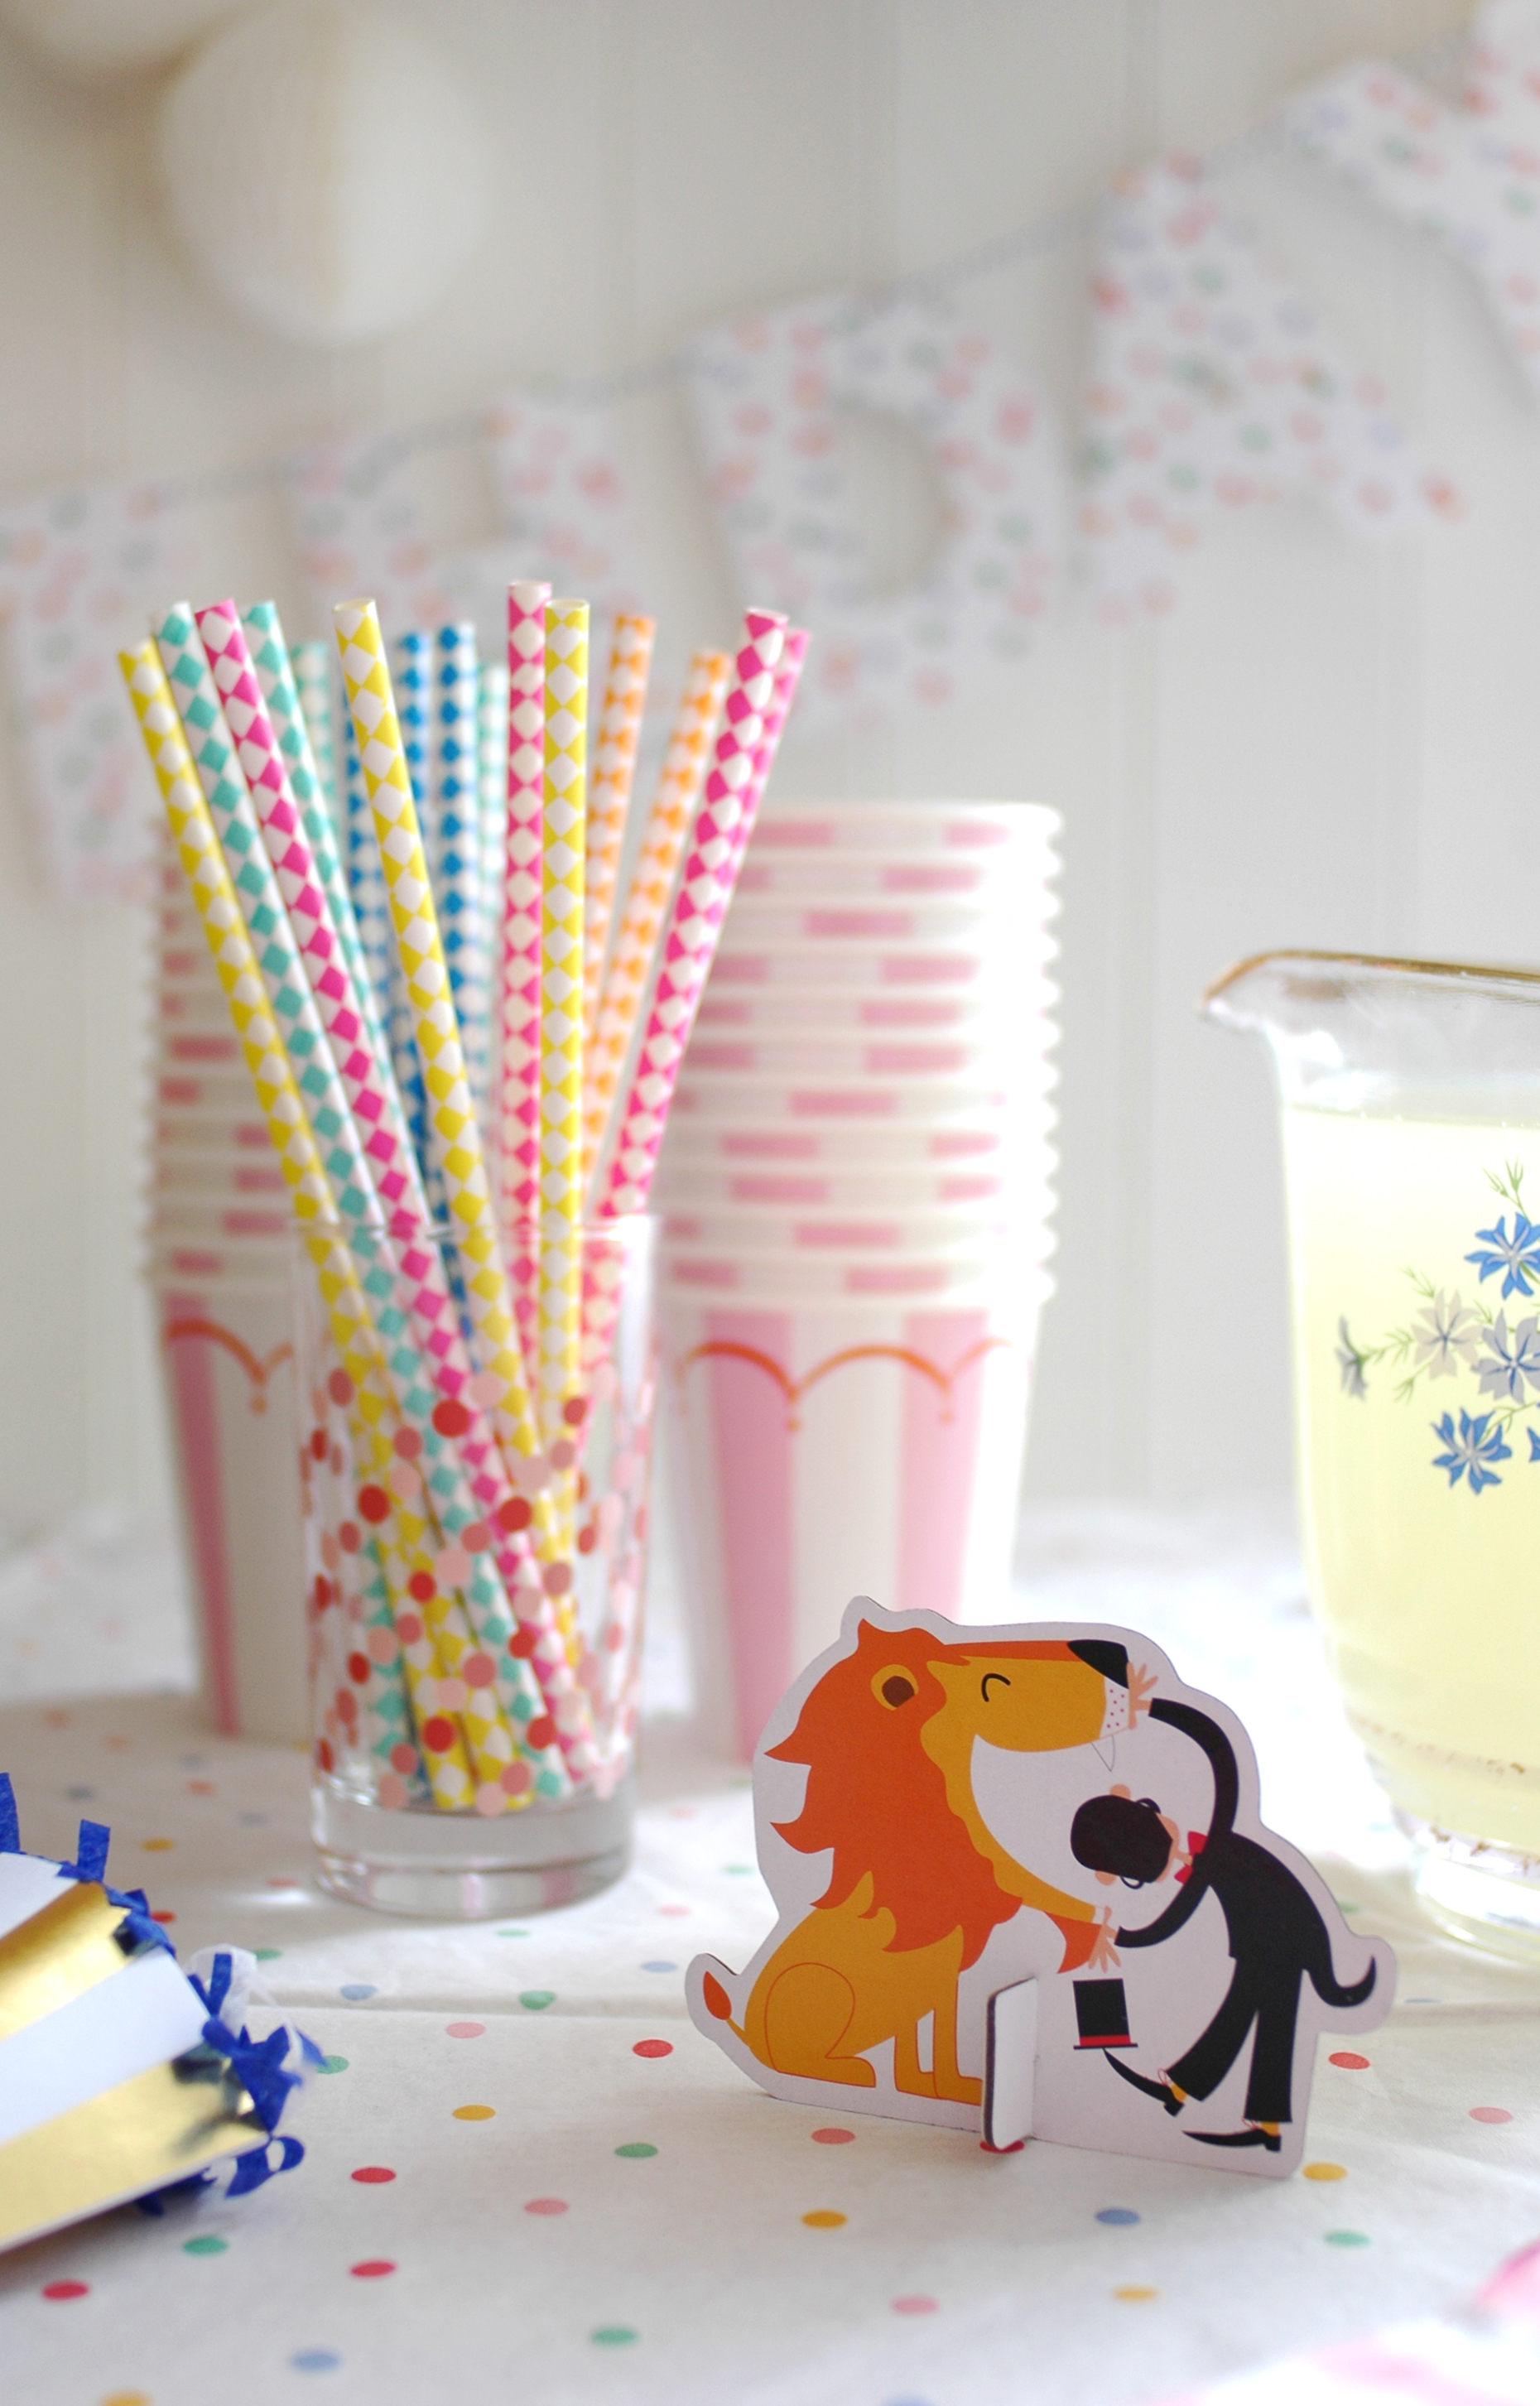
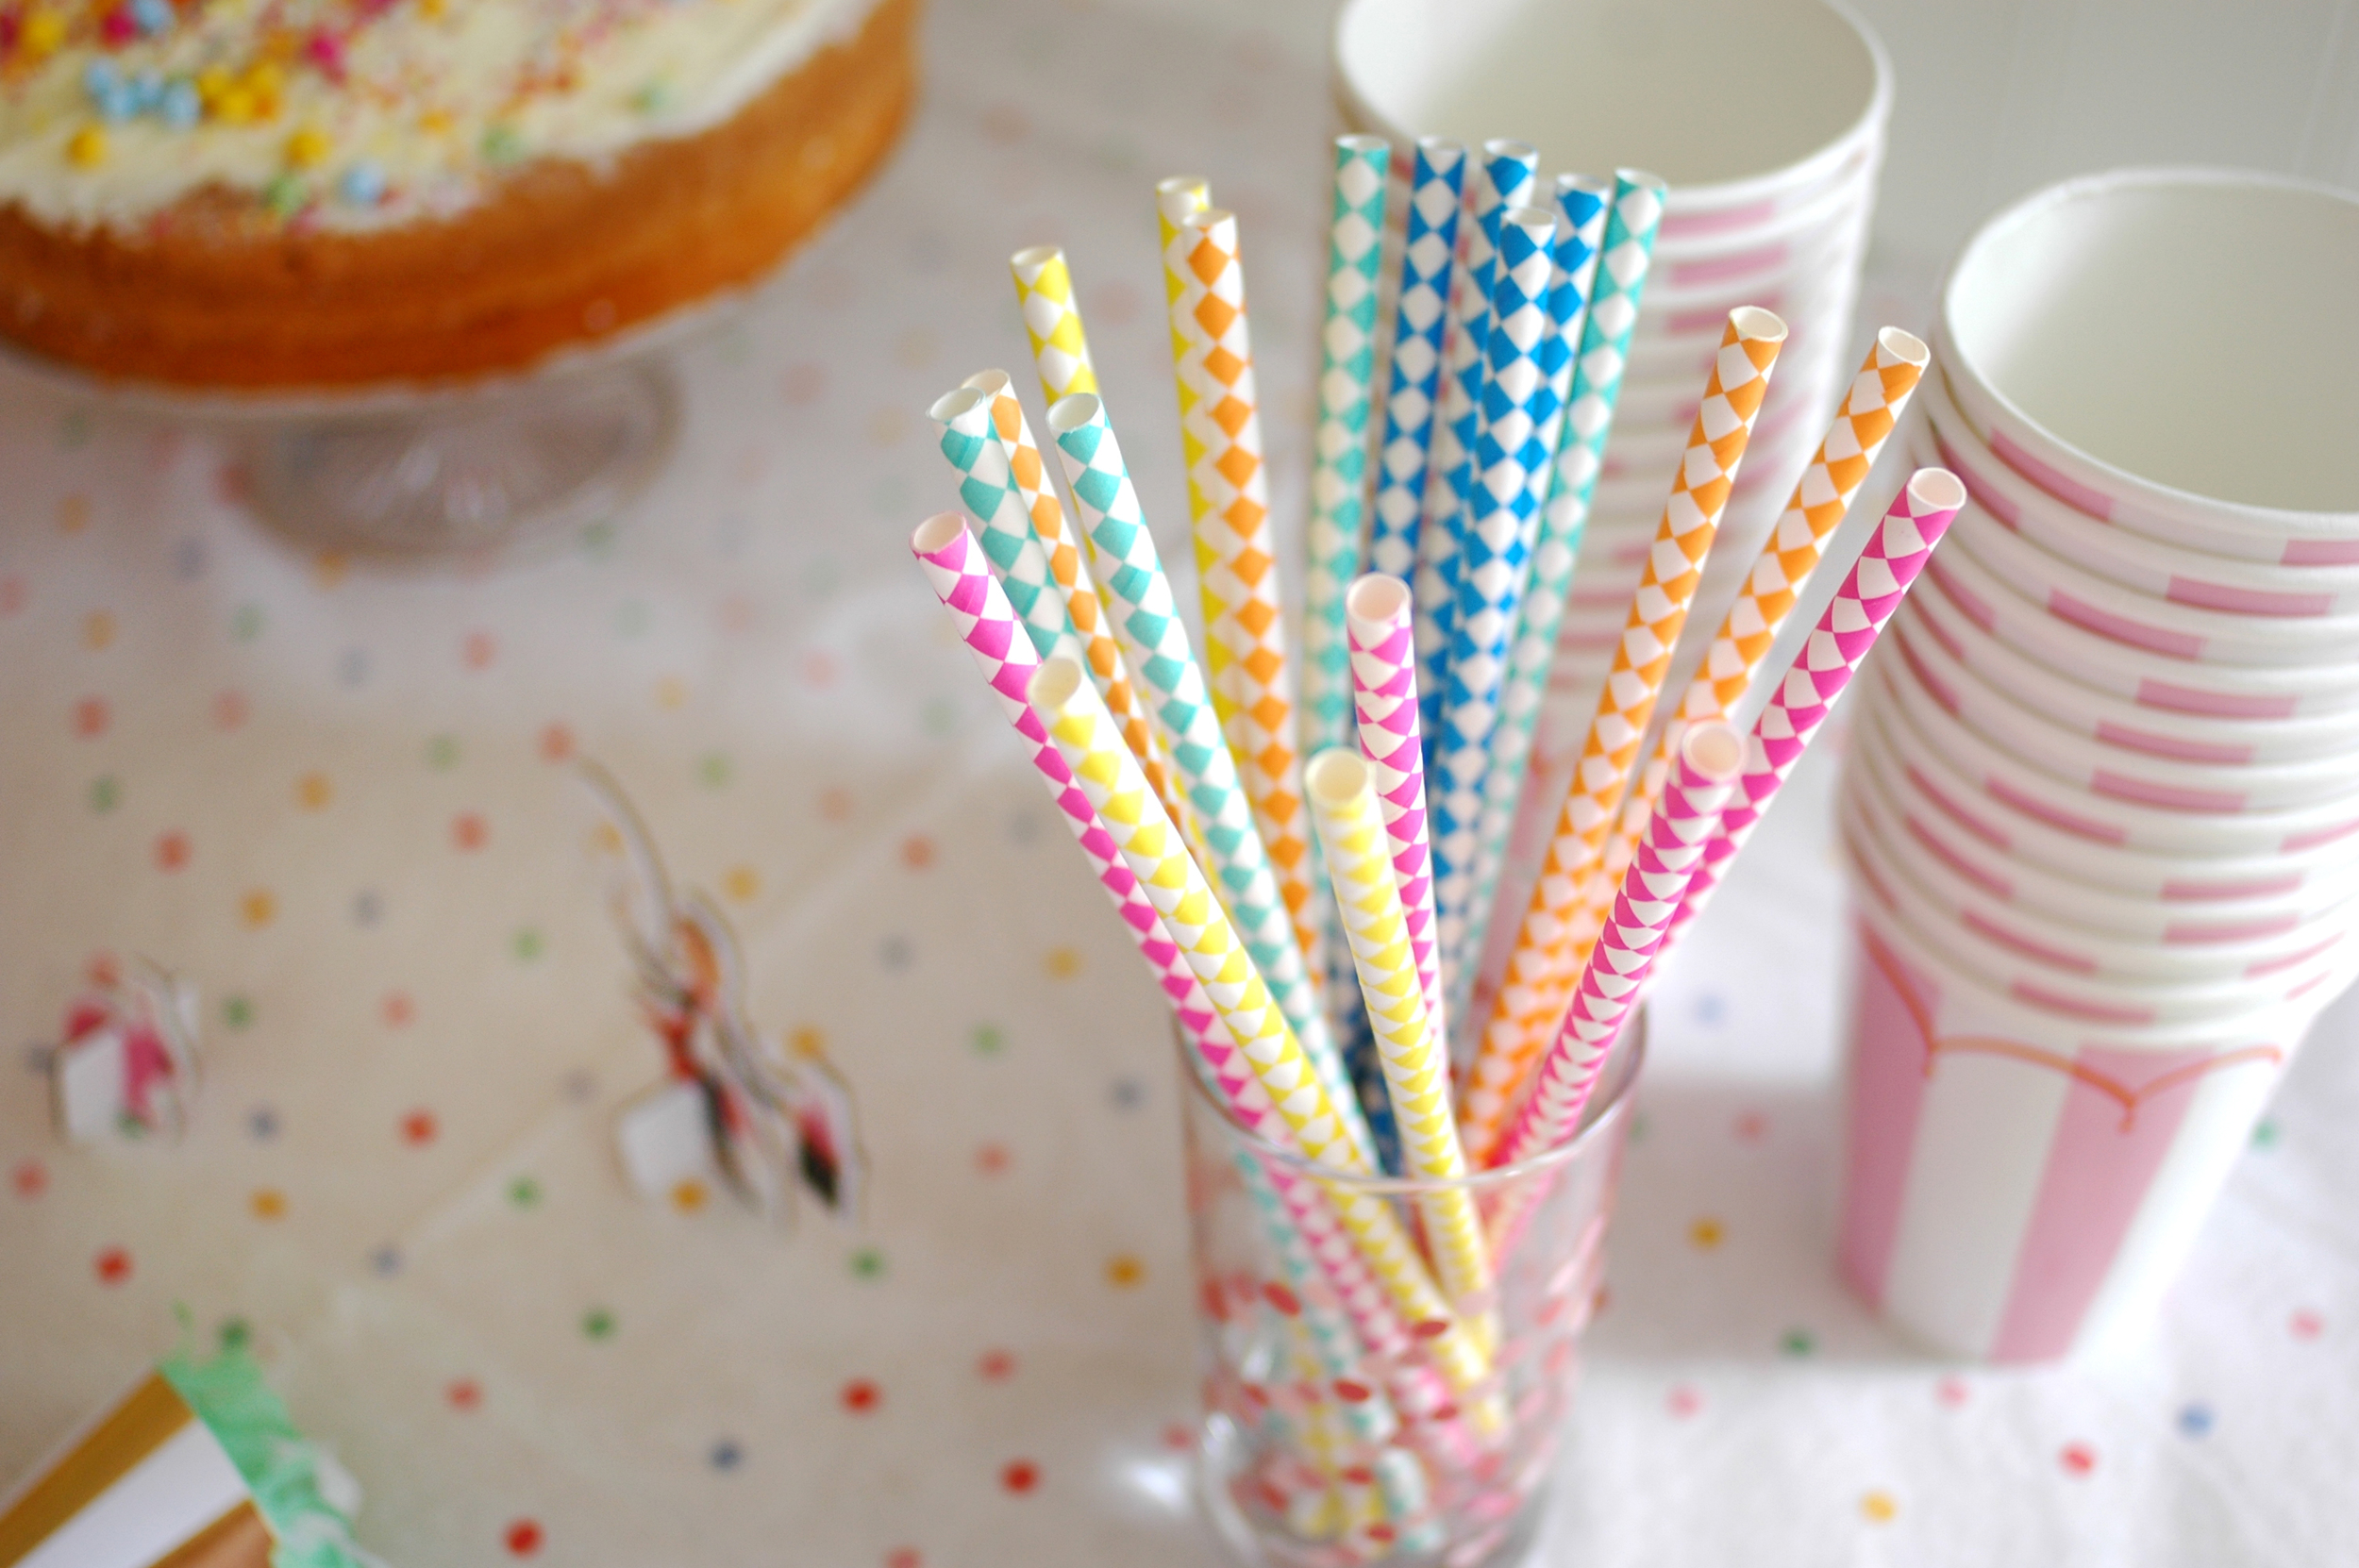
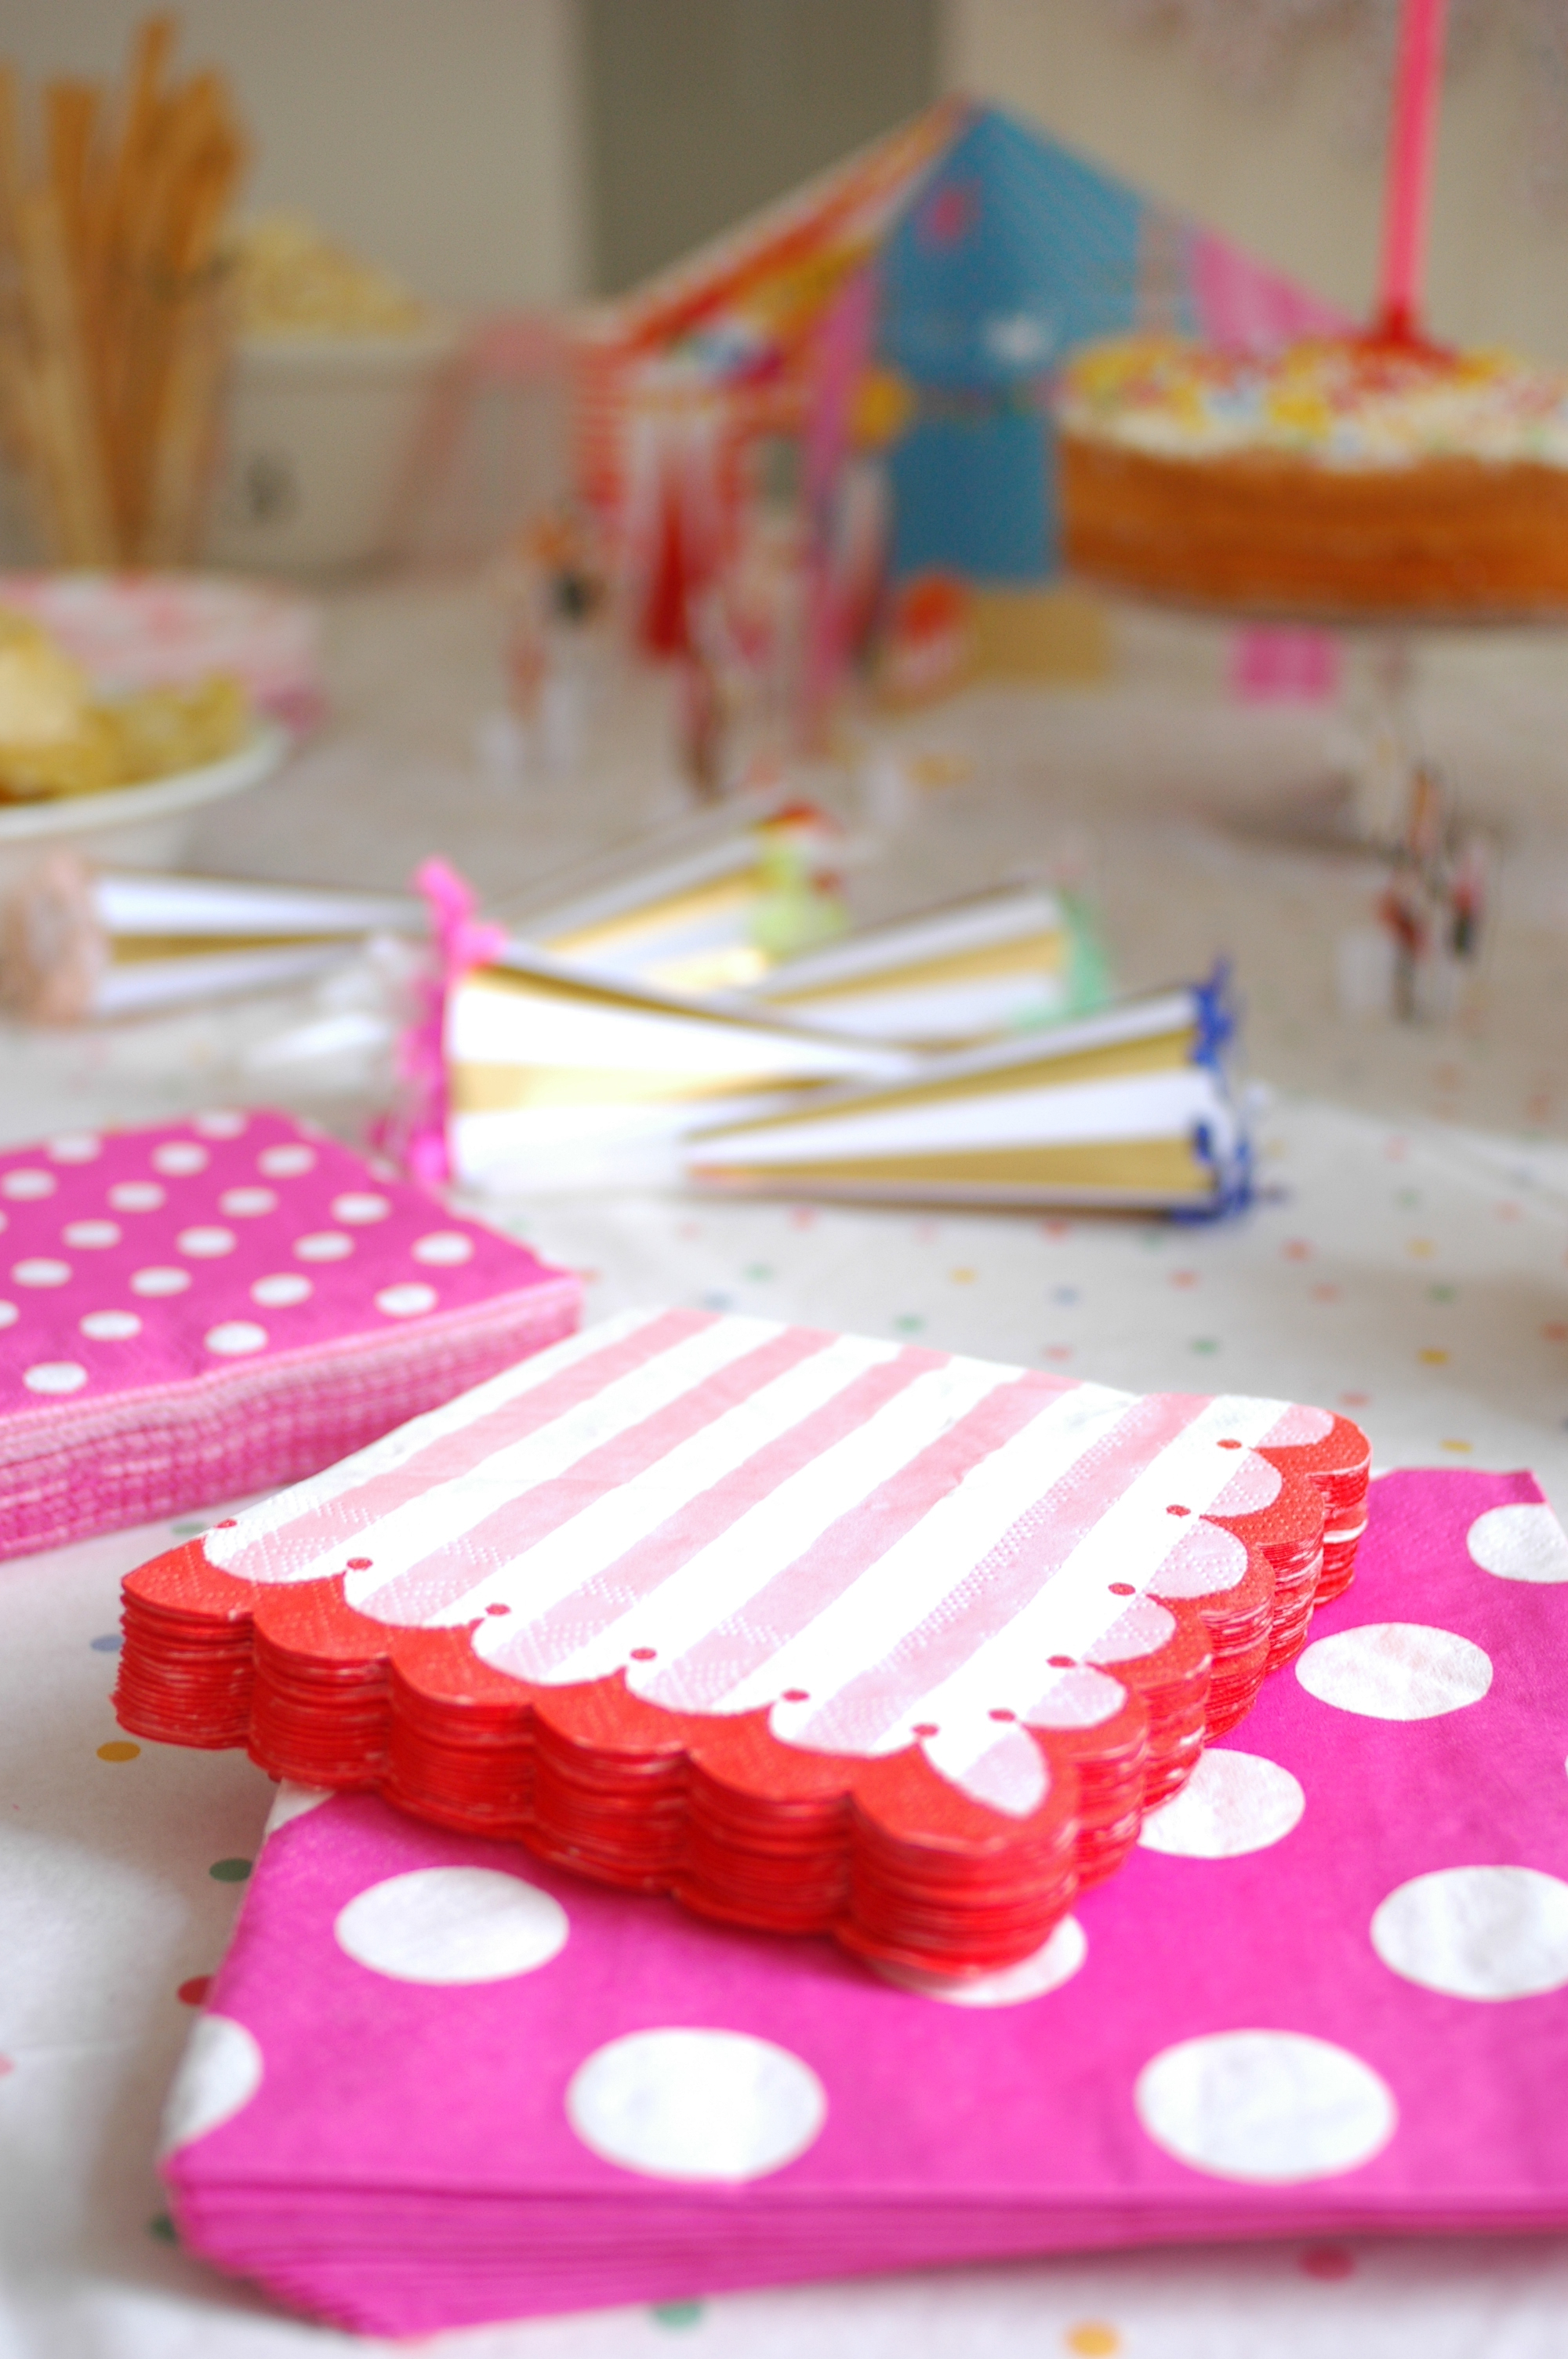
Her dad took care of the food side while I of course got stuck into the decorating part of the day. I decided to have a bit of a circus theme, but in a subtle way if that makes sense! I love the 'Toot Sweet' range by Meri Meri, so I ordered a few bits and bobs from there, and then scoured the interweb for other things to add. I purchased some paper plates, straws and bunting from Berylune

The little cardboard circus came from Tiger and was a last minute purchase which I think just completed the table, and for just £3! The long candle was also from Tiger. 

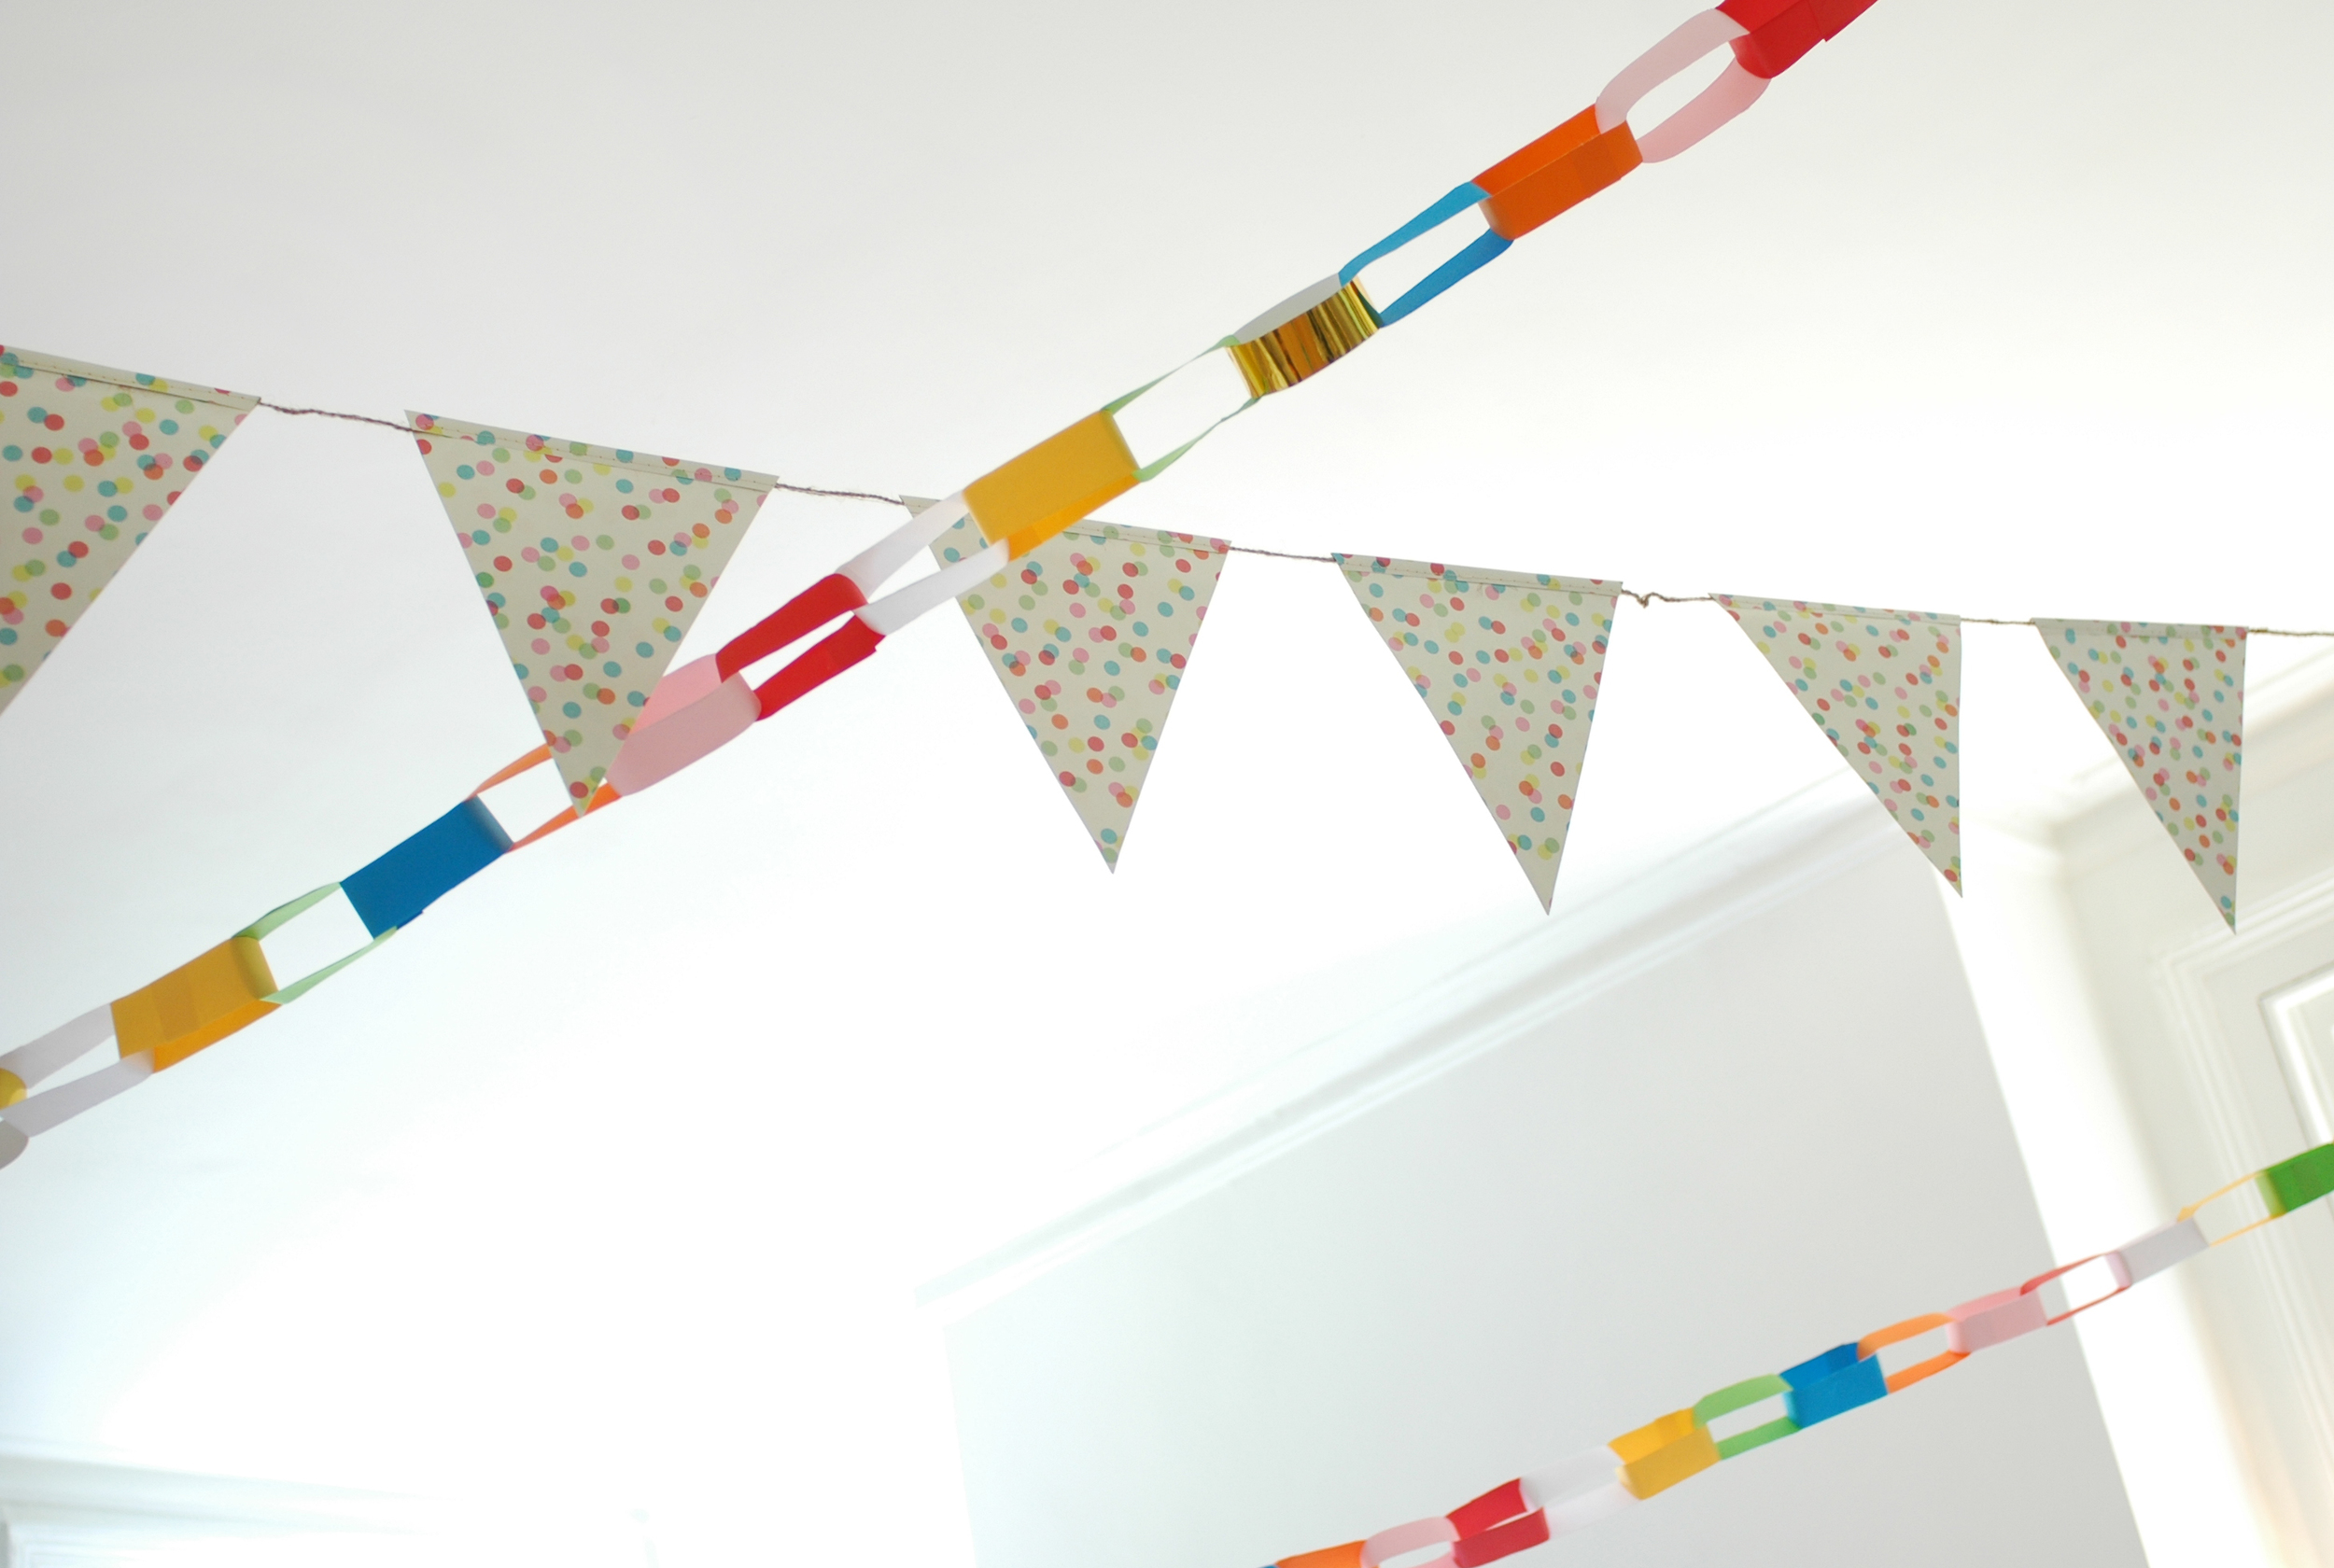
I bought the gold '1' balloon from the party shop, Partica, in Kingston and my mum and I made a LOT of paper chains!

As for little Ruby herself, I wanted to her to have a special birthday outfit but without making her look like a clown - literally! :) So this is how she looked on the day... a classy circus baby!

I got the skirt in Mothercare - it is from the Baby K range by Myleene Klass. I had to order the black vest on Amazon - it is surprisingly hard to find a black baby vest! The hairband was from H&M Kids, and my mum and I made the bow tie! I got the fabric from M is for Make, and we put a little wadding inside to give it some structure. We covered some elastic in the pink fabric to go round her neck. It was fastened with velcro, so unsurprisingly she pulled it off half way through the party! 

We had such a lovely day, although I think Ruby found it a tad overwhelming! Bless her! Today is her actual birthday, but we will have a quieter day with her grandparents. Happy birthday my precious little gemstone xxx


DIY: Stencilled cushion cover

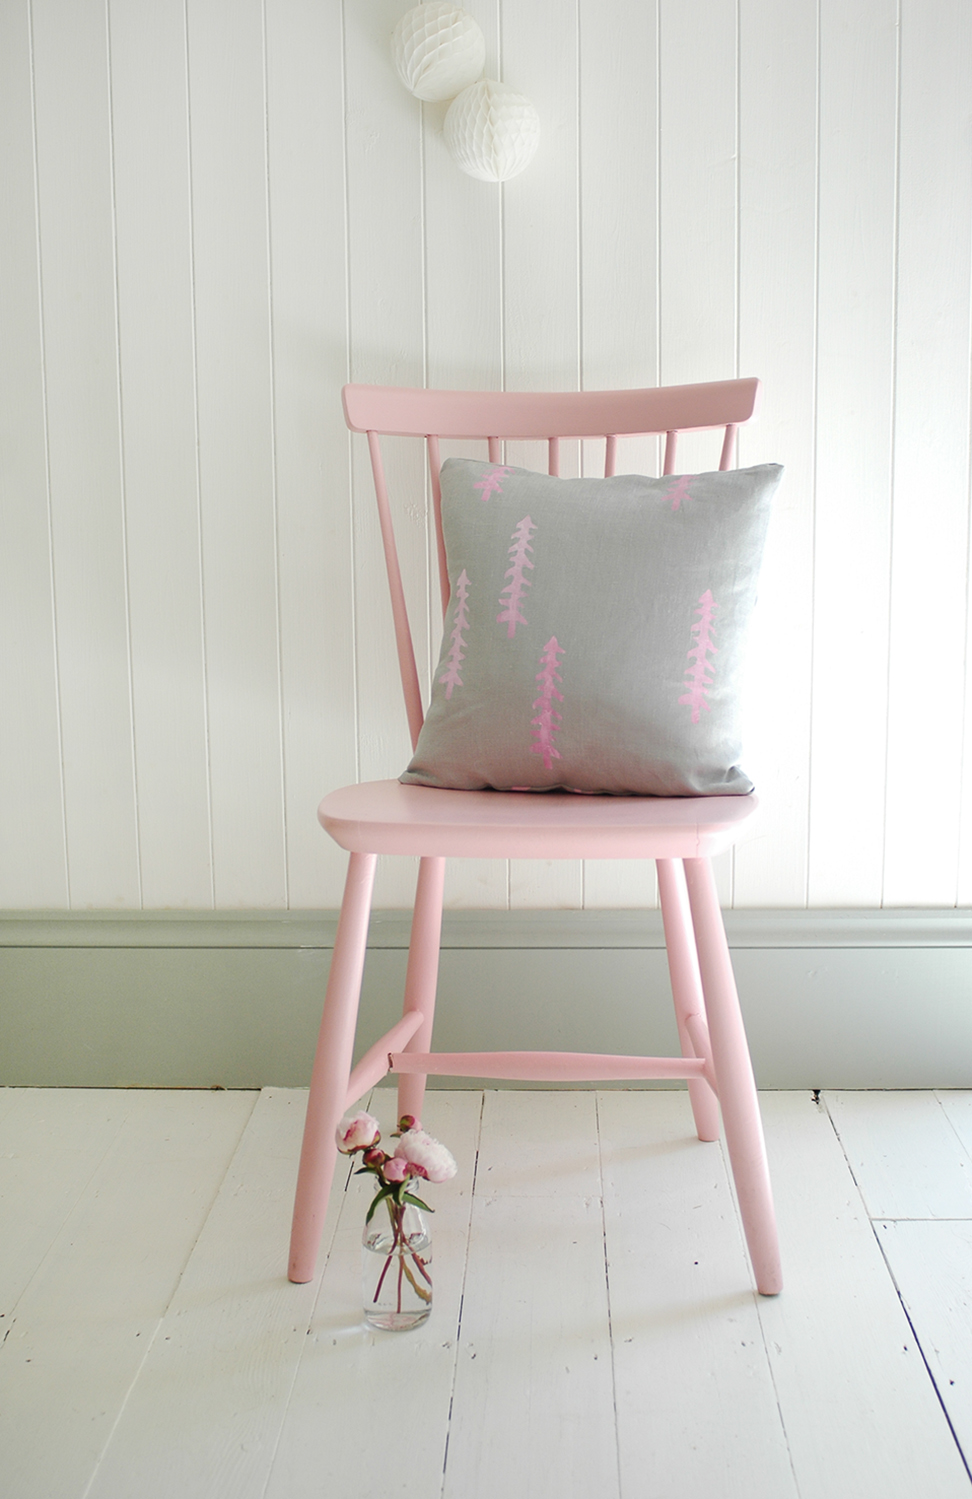
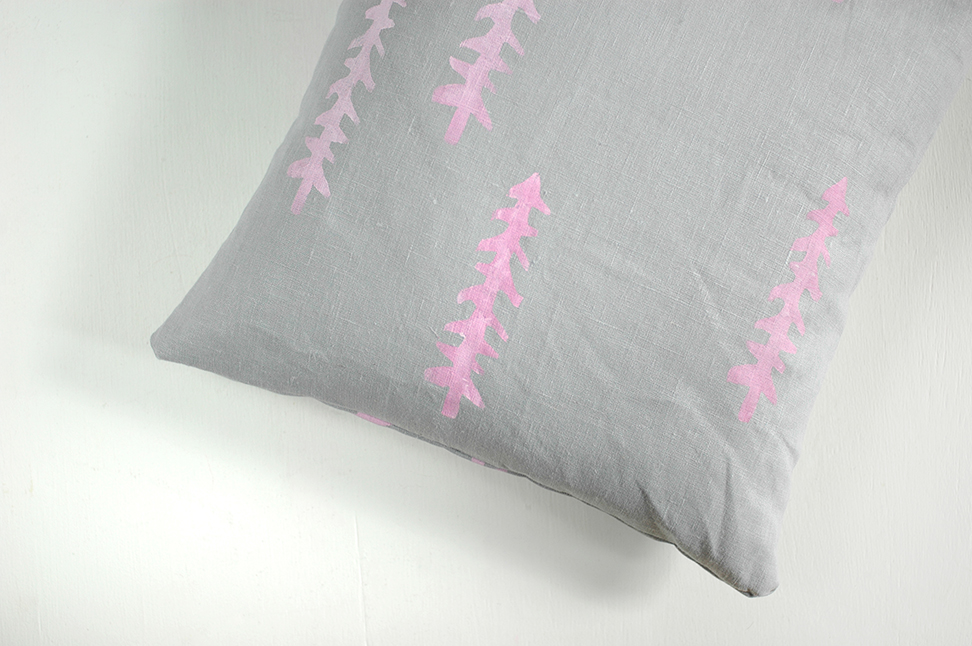
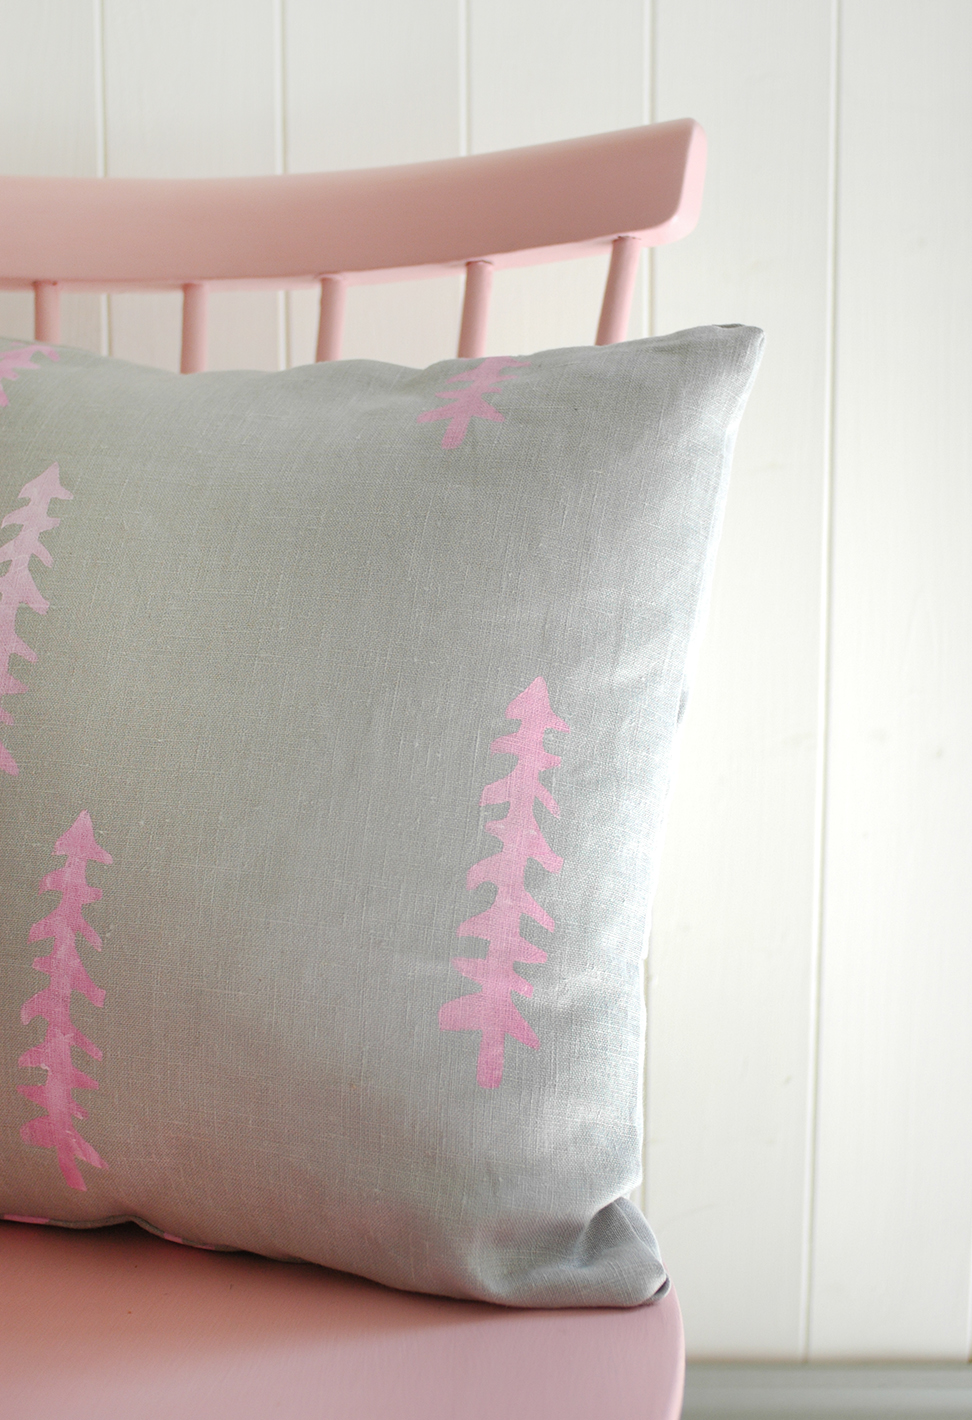
I recently received a stencil from a lovely independent business called Stencilit, who design stencils inspired by Scandi style. (you may remember a little giveaway I held a while back to win one - you can see more of their designs here) I haven't had a chance to use it until now, when I decided to try it out on some fabric and make a cushion cover. 

I just used some plain grey linen which was off cuts from some Ikea curtains, and some pink and white fabric paint mixed together. You can check out the full tutorial over on the AO blog. Below are the results, I'm really pleased with how it turned out, and it was super easy to do! 

Something different: Natal Hypnotherapy

I'm going off piste a little here today. I don't like to talk too much about kids and parenting on here as that's not what my blog is about, but sometimes when something means a lot to you, you want to share it. My blog is my little corner of the internet, So I thought, for this one post, I would use it to talk about something which turned out to be really important for me. 

The reason for writing this post now, is that in less than two weeks, Ruby will turn one! I can't quite believe it. In the run up to her birthday, I've been reflecting a little bit on the past 12 months, but also on where I was at exactly this time last year - huge, uncomfortable, and fast approaching one of the biggest events in my life! 

When I was pregnant, like many women, I was quite anxious about the idea of giving birth, and even mentioned it to my doctor. She suggested a course of CBT to relieve any anxieties, but when I did a little research online I came across Natal Hypnotherapy. I was initially a little skeptical, but what I read online convinced me to give it a go, and I started off by purchasing the book  - Effective Birth Preparation. I ended up reading the book about 3 times during my pregnancy, as I really wanted to retain the information. After the first read, I was already starting to feel much more relaxed about the whole idea, as it dispels a lot of myths about childbirth, and explains so much about how a hospital environment can actually make it more difficult to give birth, and that the main thing is trying to keep your body relaxed throughout.  

My first decision from this was opting to have my baby at the midwife-led unit at my local hospital, and ideally I wanted a water birth. The unit was right next to the labour ward so this made me feel happy that if anything did happen it was easy to transfer. 

Next, I purchased a couple of the Natal Hypnotherapy downloads to listen to on my iPod; Effective Birth Preparation and The Labour Companion. I started listening to the first one a few days a week, from about 25 weeks. It is basically calming words and music, that talks a lot about how natural giving birth is and how to stay relaxed. Occassionally I would nod off before the end, but that is ok apparatenly, it just means you are really relaxed. I did always wonder whether I would be able to relax in the same way while having real life contractions, but I made sure to stay positive, and as the program suggests, tried to rid myself of any worries that entered my head. 

The closer I got to the 'big day' I listened to the downloads more and more, and in the last few weeks I was listening to them at least once a day. If anything, it was a really great way to stay relaxed in those weeks of waiting for baby to arrive. I honestly shocked myself when I heard myself telling friends that I was actually looking forward to giving birth! 

On the 13th July (3 days after my due date), I started to 'feel' something. I'd had lots of Braxton Hicks already, but this definitely felt different, although still not particularly strong. I used the breathing techniques every time I felt a wave, and we actually went to the supermarket, then came home and made our imminent baby her first birthday cake! 

In the early hours of the 14th July, I woke up and felt something 'pop'. it wasn't my waters breaking, but I knew things were definitely starting to happen. I got up and went in the living room, and put on my hypnotherapy tracks, and lay down and relaxed. At around 3am, I decided to phone the hospital, and they told me to come in. I got my other half up, and off we set to the hospital. I continued to listen to my iPod in the car, and luckily as it was the middle of the night there was no traffic whatsoever. 

I won't run through my entire birth story, but basically we spent the first few hours in the midwife-led unit, with two lovely midwifes, who were really supportive of my birth plan, and were really interested in the hypnotherapy techniques. In fact, it really shocks me that midwifes are not given any training in this area, despite the fact that they were so amazed at how much it was helping me. 

My birth plan started to change when the midwifes suggested breaking my waters. When this happened it was then necessary for me to be transferred to the labour ward, as meconium in my waters meant the baby could be in danger. While I was disappointed, as I could no longer have the water birth I'd hoped for, I of course wanted to make sure our baby was delivered safely. I was later given an injection to move things along, and it was at this point (about 7cm dilated) I started to feel the need for more pain relief, and started on the gas and air. Until this point I'd only been using the hypnotherapy techniques and a tens machine. 

It was a difficult delivery, followed by me being taken to surgery to remove the placenta, I lost a lot of blood, and ended up having blood transfusions and we were in hospital for a week. (also due to Ruby being on antibiotics too) Despite all this, I don't feel worried about having another baby, and I put this down to the hypnotherapy. Yes, the delivery was tough, but the techniques I learnt helped me through the labour part, keeping me calm and able to deal without pain relief. I'm not going to lie at one point, I did tell my hubby I wanted an epidural, but he reminded me that this was the 'self doubt' phase - the part where the baby is very nearly here, and things are intense, and you are doubting if you can do it or not. It's essential to have your other half onboard too by the way! 

Looking back, I am really proud of how I managed it all, considering how anxious I originally was. I just wanted to share this experience with you, as I know there may be others out there, pregnant and similarly worried, and I would highly recommend giving it a go. Let's face it, you've got nothing to lose - that baby is coming either way, so why not at least attempt managing the journey in a more relaxed way?! 

I'd love to hear if you've used Natal Hypnotherapy too and what you thought. And if anyone has any questions, just let me know! ;) 

xxx

Displaying wedding photos

Today is our second wedding anniversary, hurray! Happy Anniversary hubby! A lot has happened in the last two years, namely one little girl named Ruby, so the time has really flown by since we had our big day in France. I did manage to make a photo album not too long after the wedding, but I was unsure how to display some of our images at home. I didn't want anything too naff, and I wanted to capture a feeling of the whole day rather than just one or two images of us. 

So it's taken me this long to finally decide to create a photo grid which shows us at different moments in the day and also captures the style of the wedding, which was of course very important to me! haha! ;) 

I printed the images via Huggleup who are a London based start-up business, who have a website and iPhone app for printing your images. They very kindly printed this set free of charge for me, but it is only £12.50 for the set of 20, which is a total bargain, especially when it comes to wedding photos. They also do stickers, magnets and posters, which are great gifts but also very useful if you are a business owner. I'd love to get some 91 Magazine magnets made! :) 

I like that this idea for displaying our wedding images isn't permanent. If we want, we can add to it, change some of the images, or display them in a completely different way. I can also change the styling too at any point. At the moment, I have added the tiny vintage tin which we had our wedding rings in on the day displayed below. (the tin says 'Keep this for my sake' on the lid - i love it so much) 

What do you think folks? How have you displayed your wedding photos? Would you consider something like this? 

NOTE: Our wedding photographer was the fabulous Jemma Watts of Pearl Pictures, just in case you are currently looking for a lovely and talented photographer for your big day! 

Living stylishly with kids

When I recently received an email about a new book called Design Mom: How to live with kids, a room-by-room guide, it really resonated with me. When you care a lot about how your home looks, it's a natural worry to wonder how all of the paraphernalia that comes with children will fit into your decor. Ruby is still young, so she doesn't have too much stuff just yet. I currently use boxes and baskets just to throw all of her toys into once she's gone to bed, but I'm sure this will change as she gets older and wants more things. 

designmom.jpg

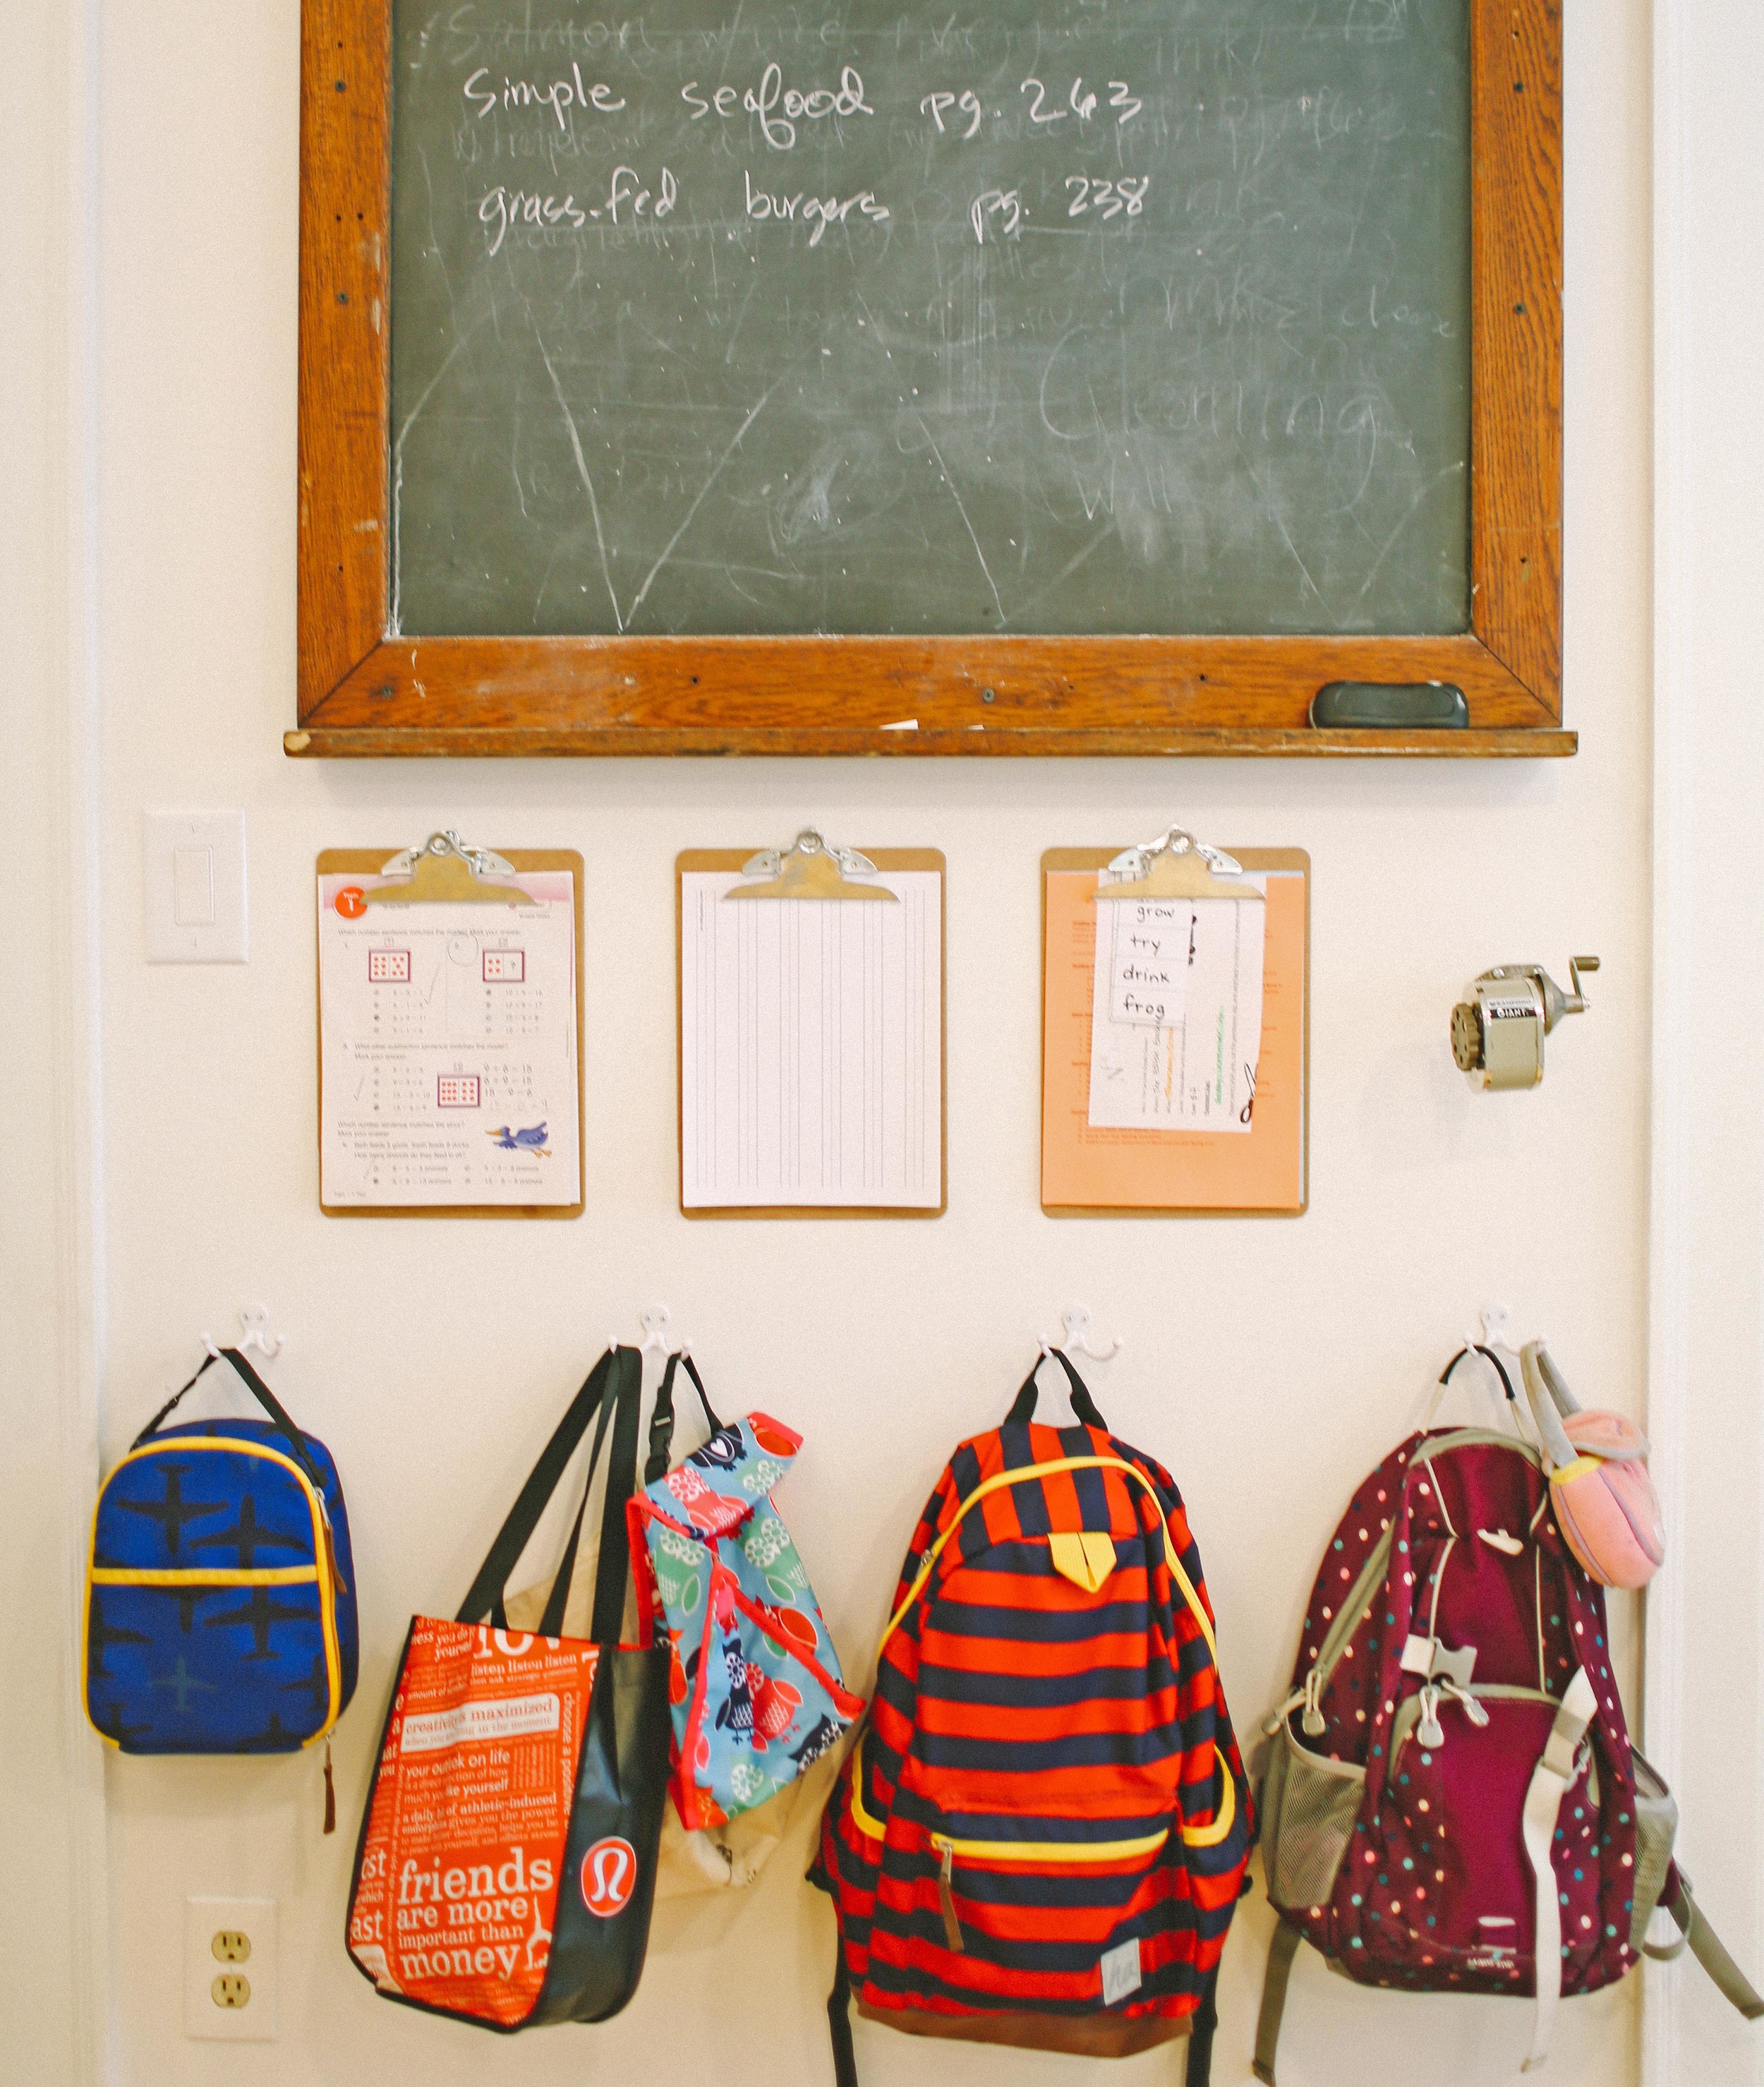
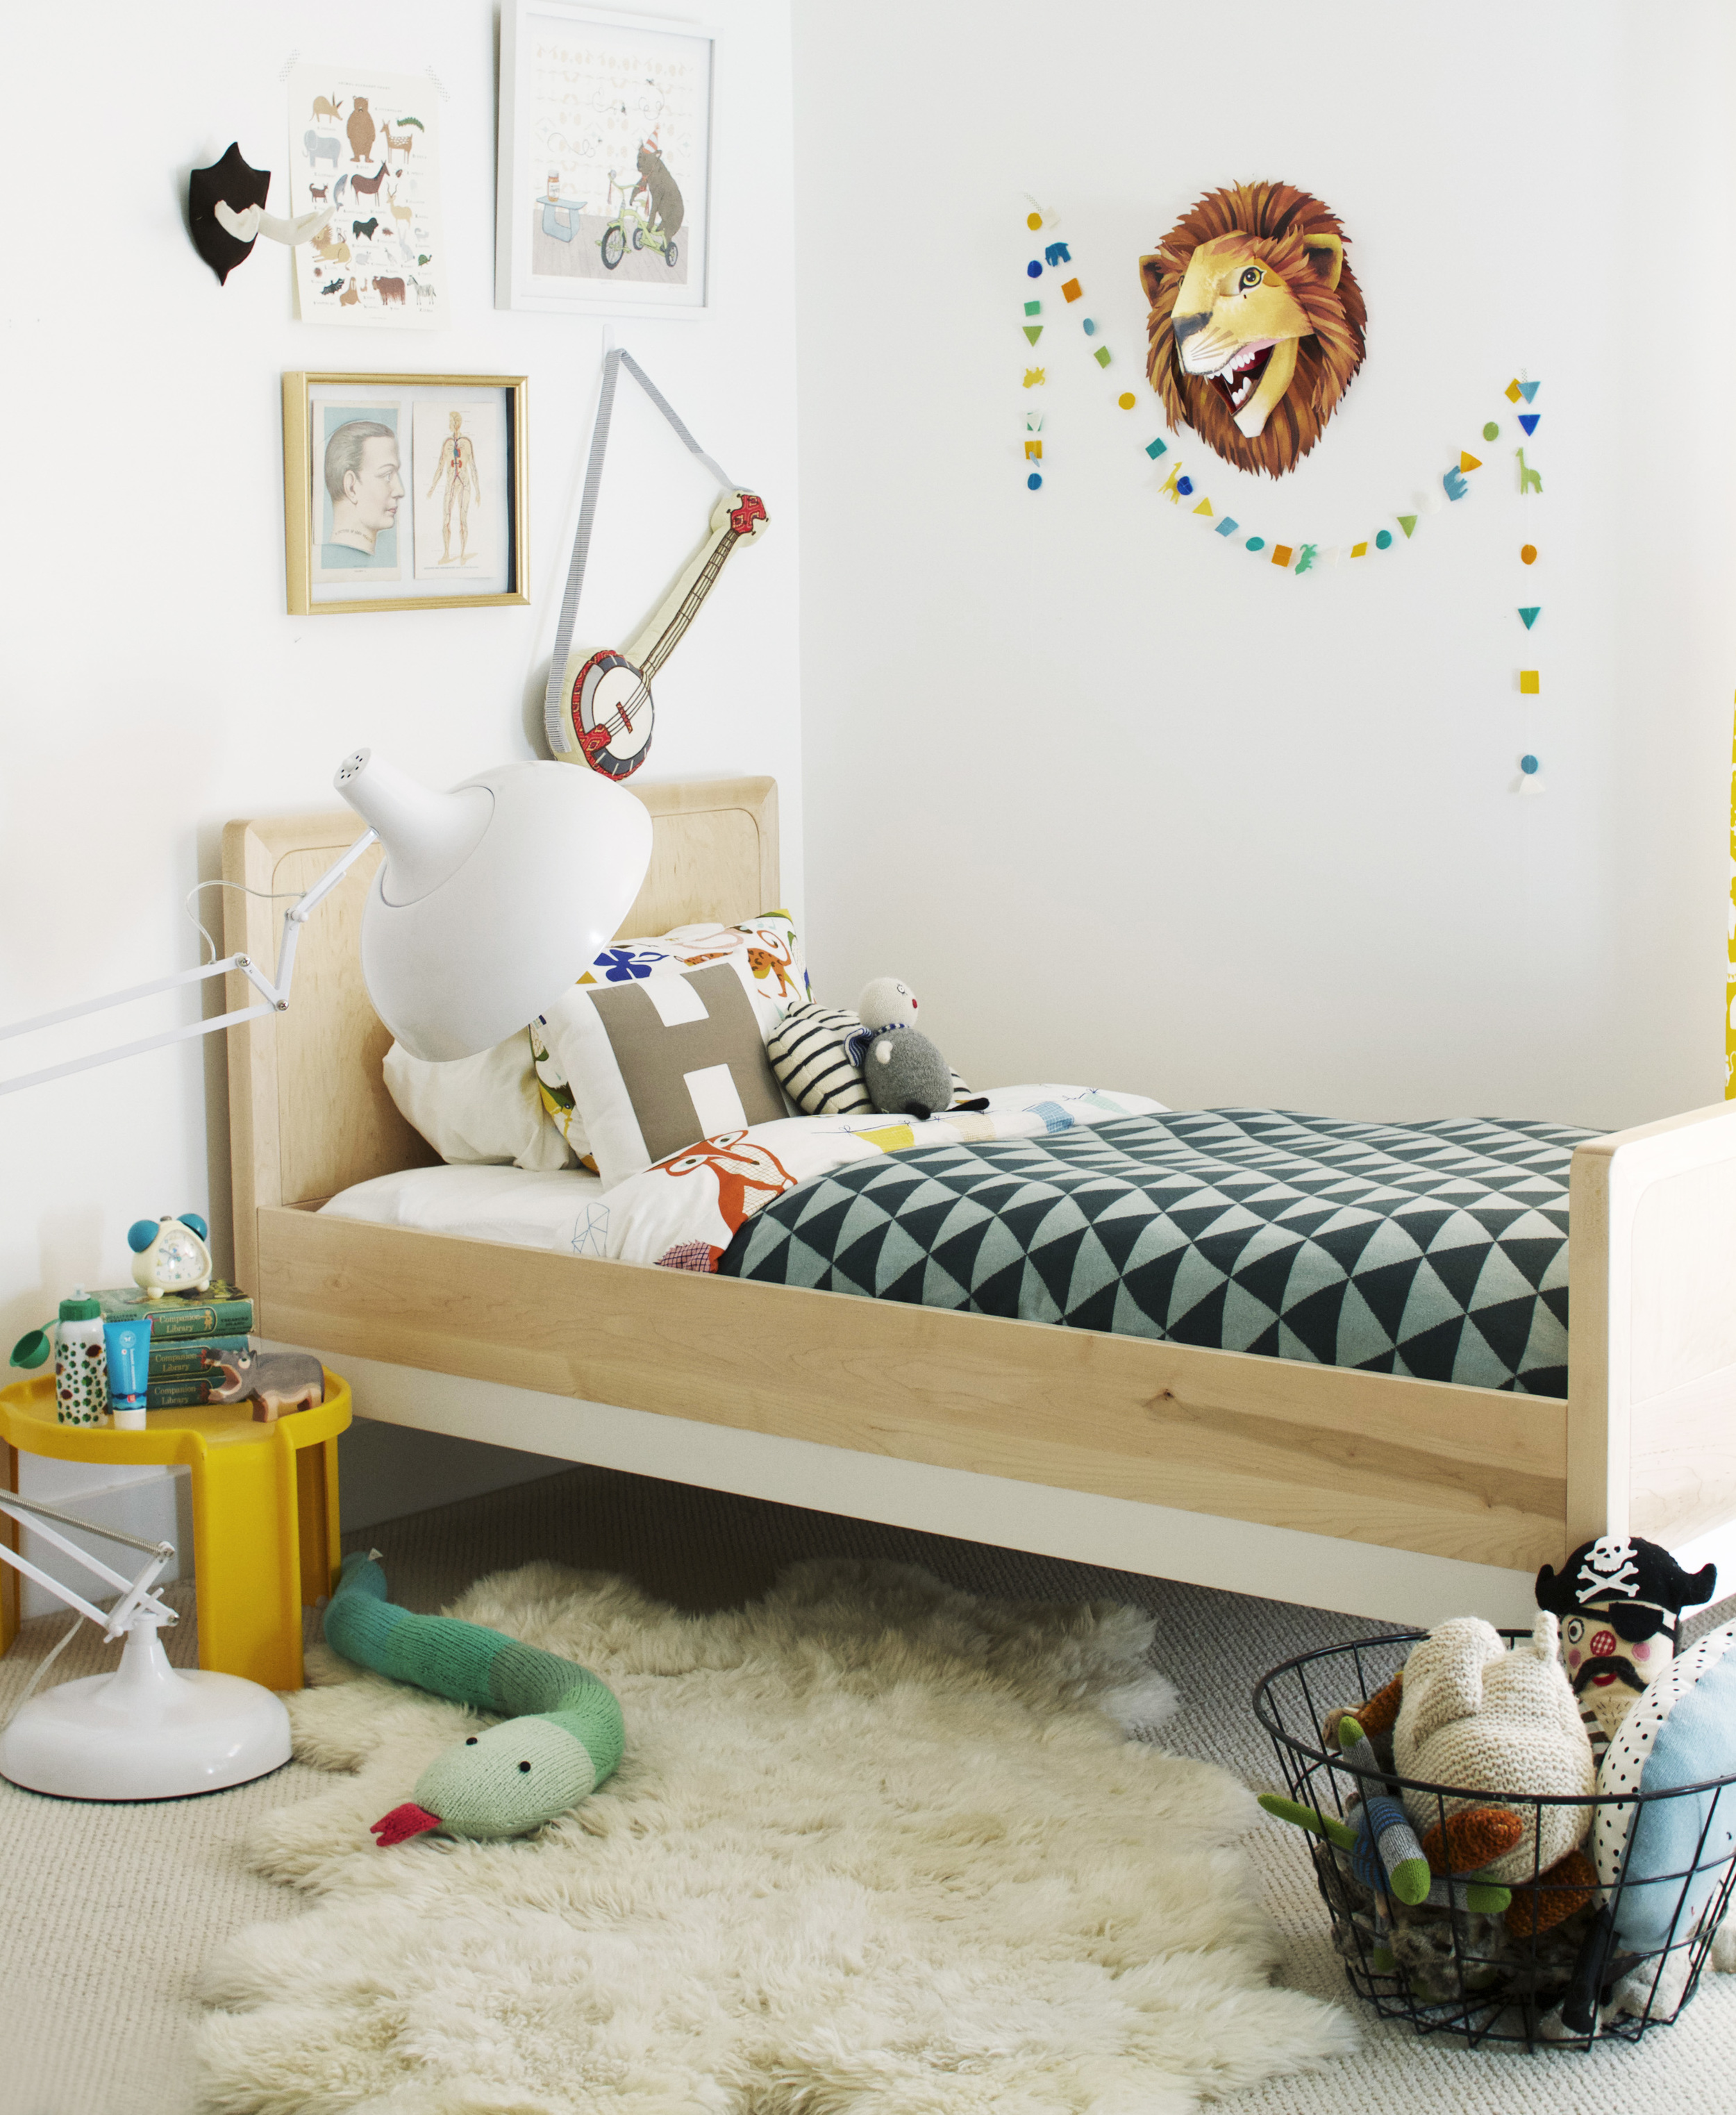
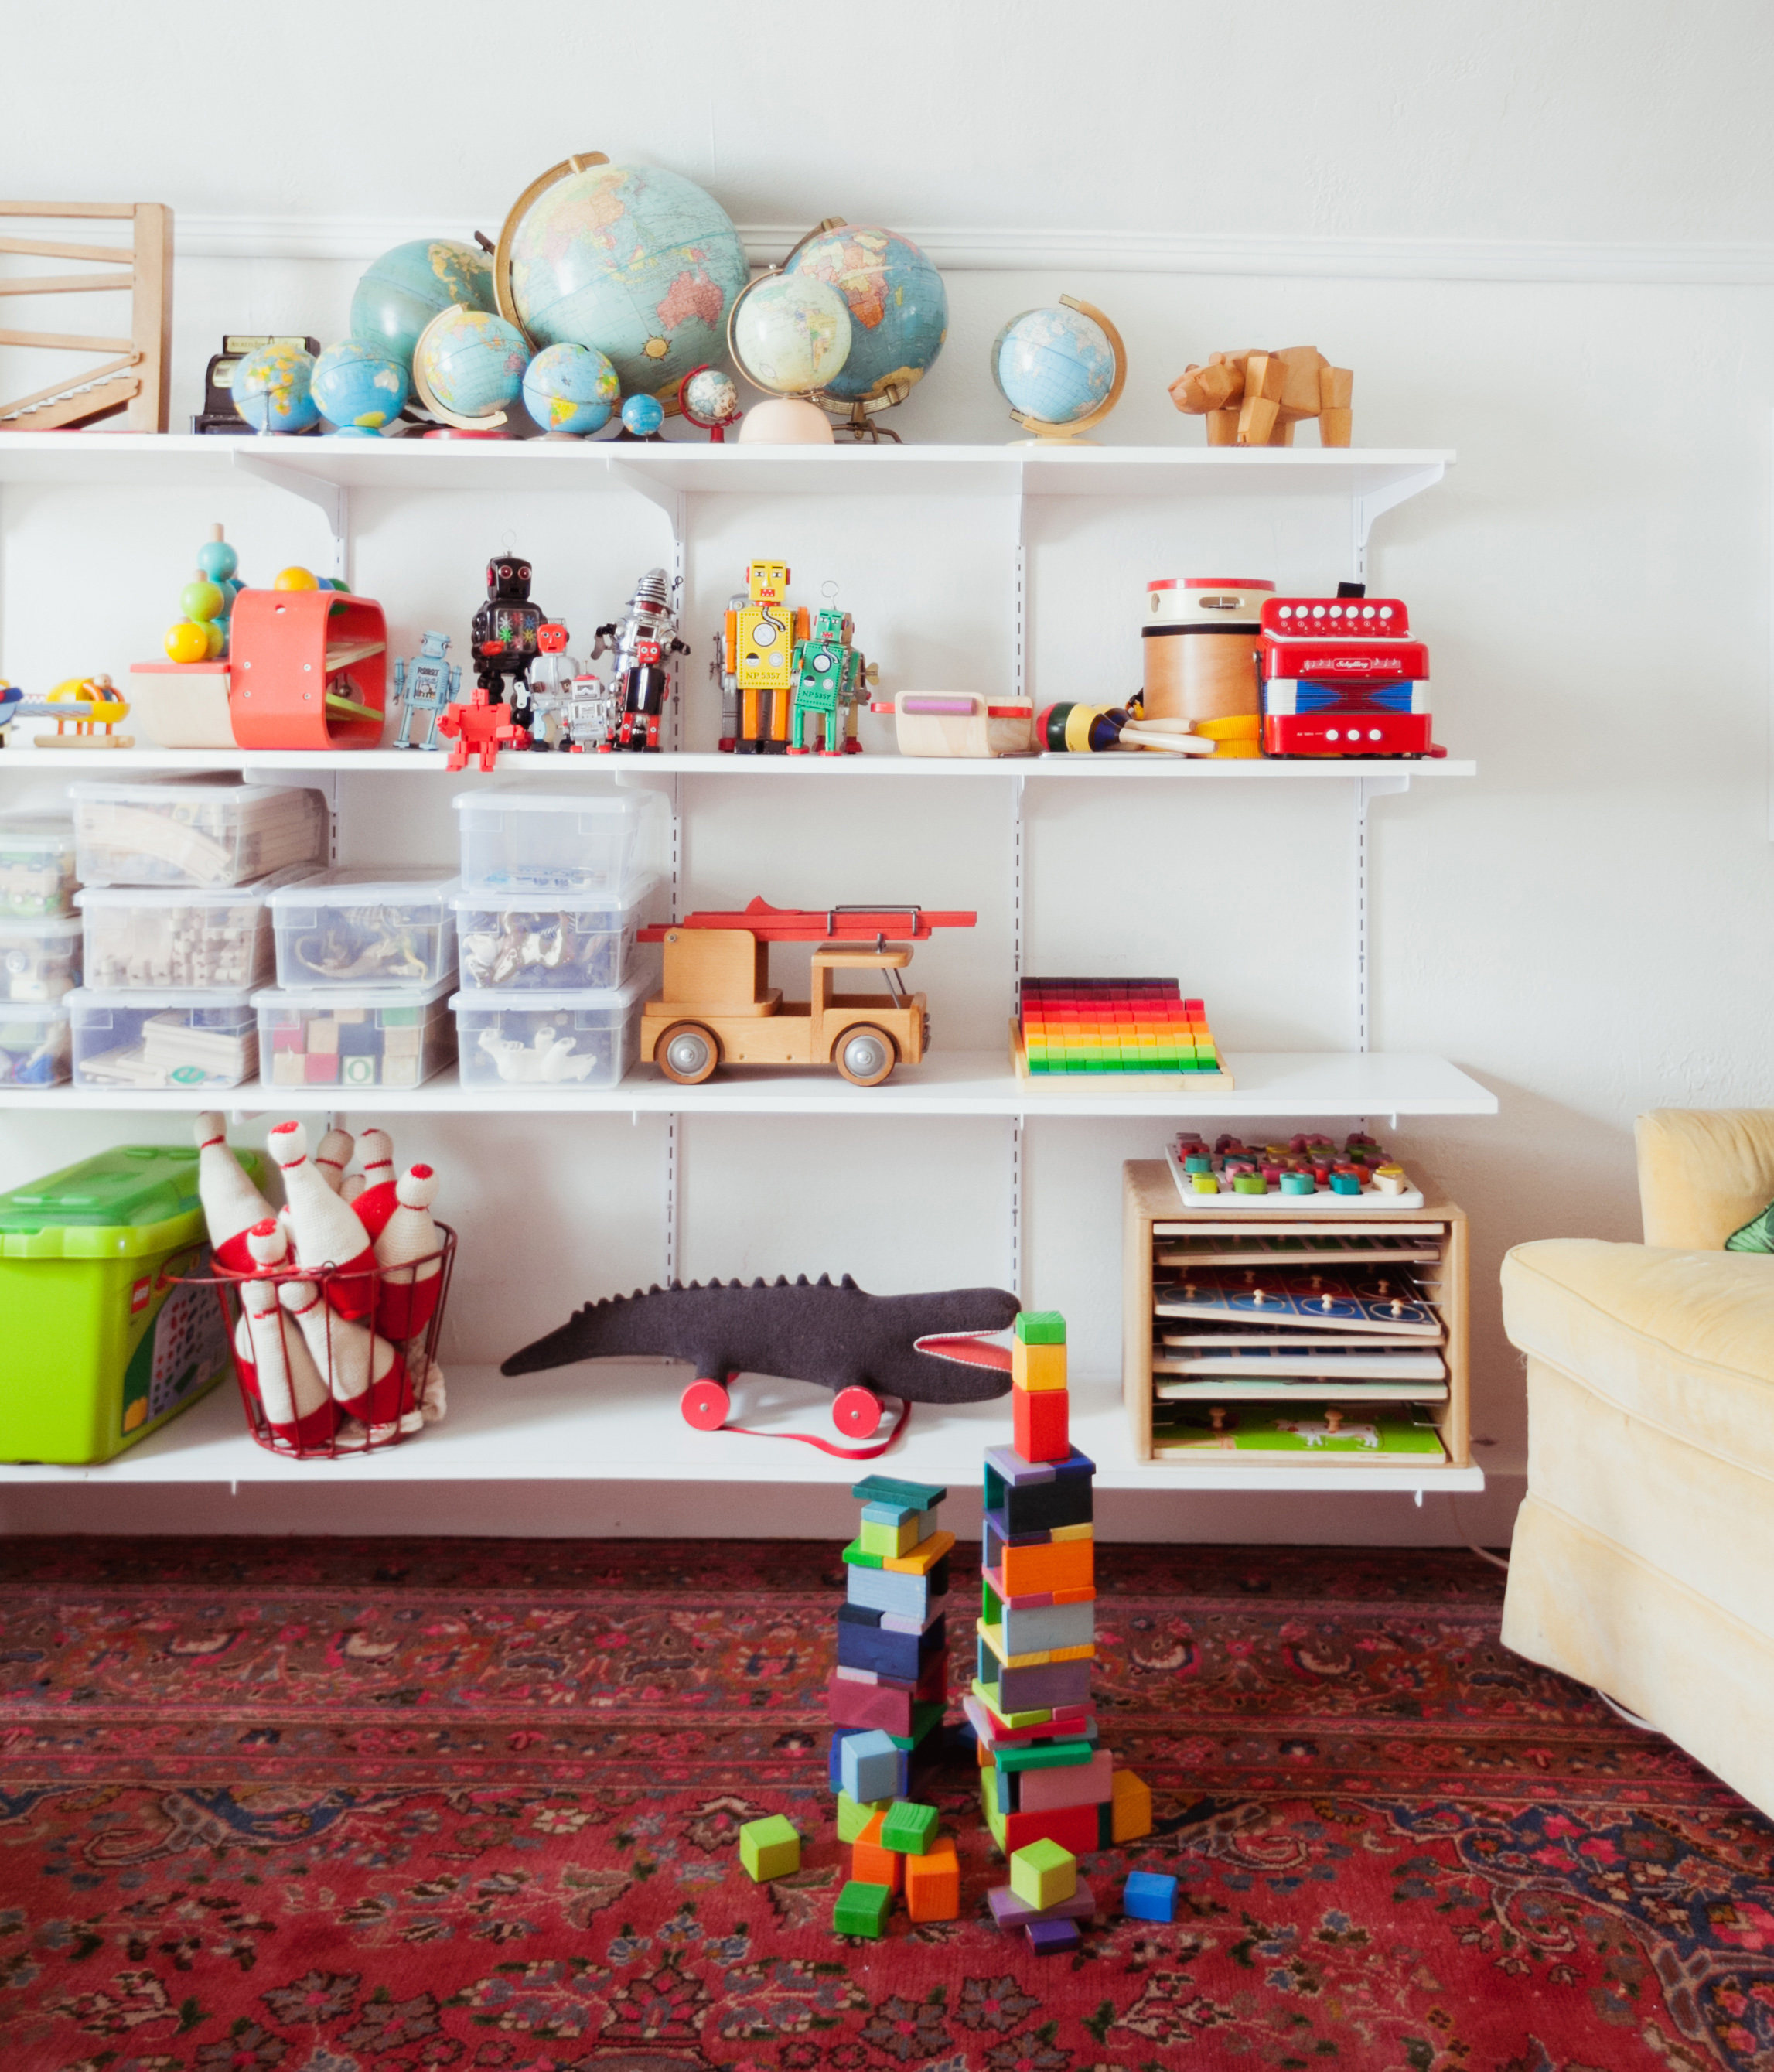
So this book by Gabrielle Stanley Blair, grabbed my interest. The book is full of lovely interior images that show you how to still have a lovely home with kids in the mix. It's broken down into bite size chunks; perfect for us mums who don't have extended periods of time to read - we can pick it up when we've got five minutes! Tips such as 'shoe storage is your best friend' and 'furniture that moves as quickly as your kids' will probably ring true with some of you. It also has some easy DIY projects thrown in which is really nice. 

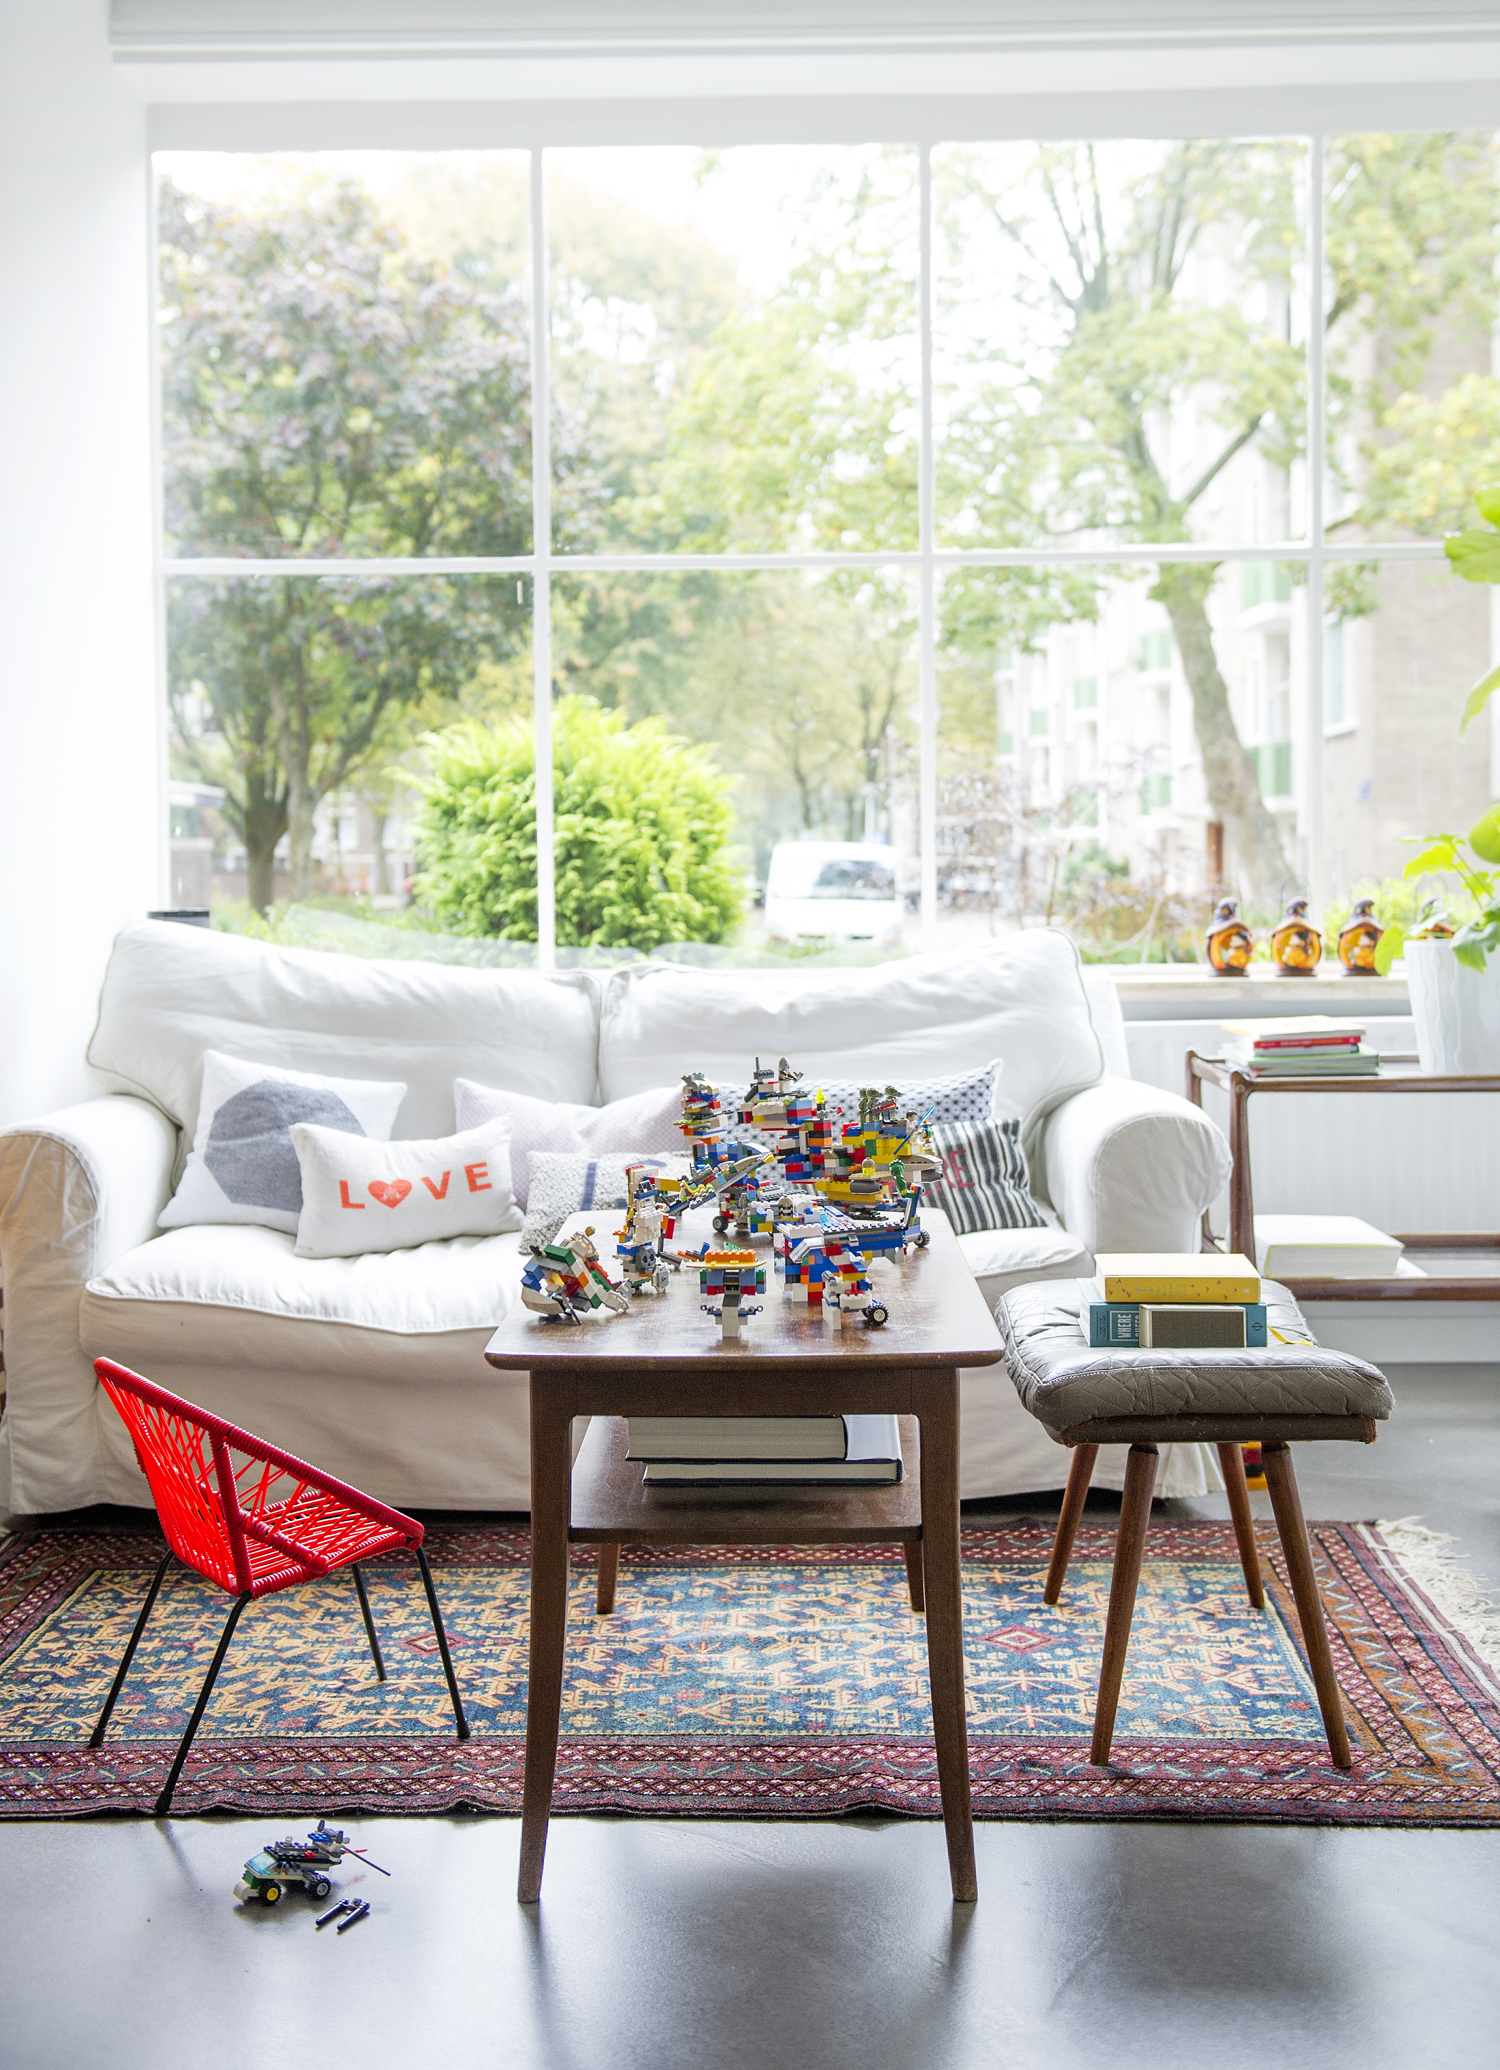
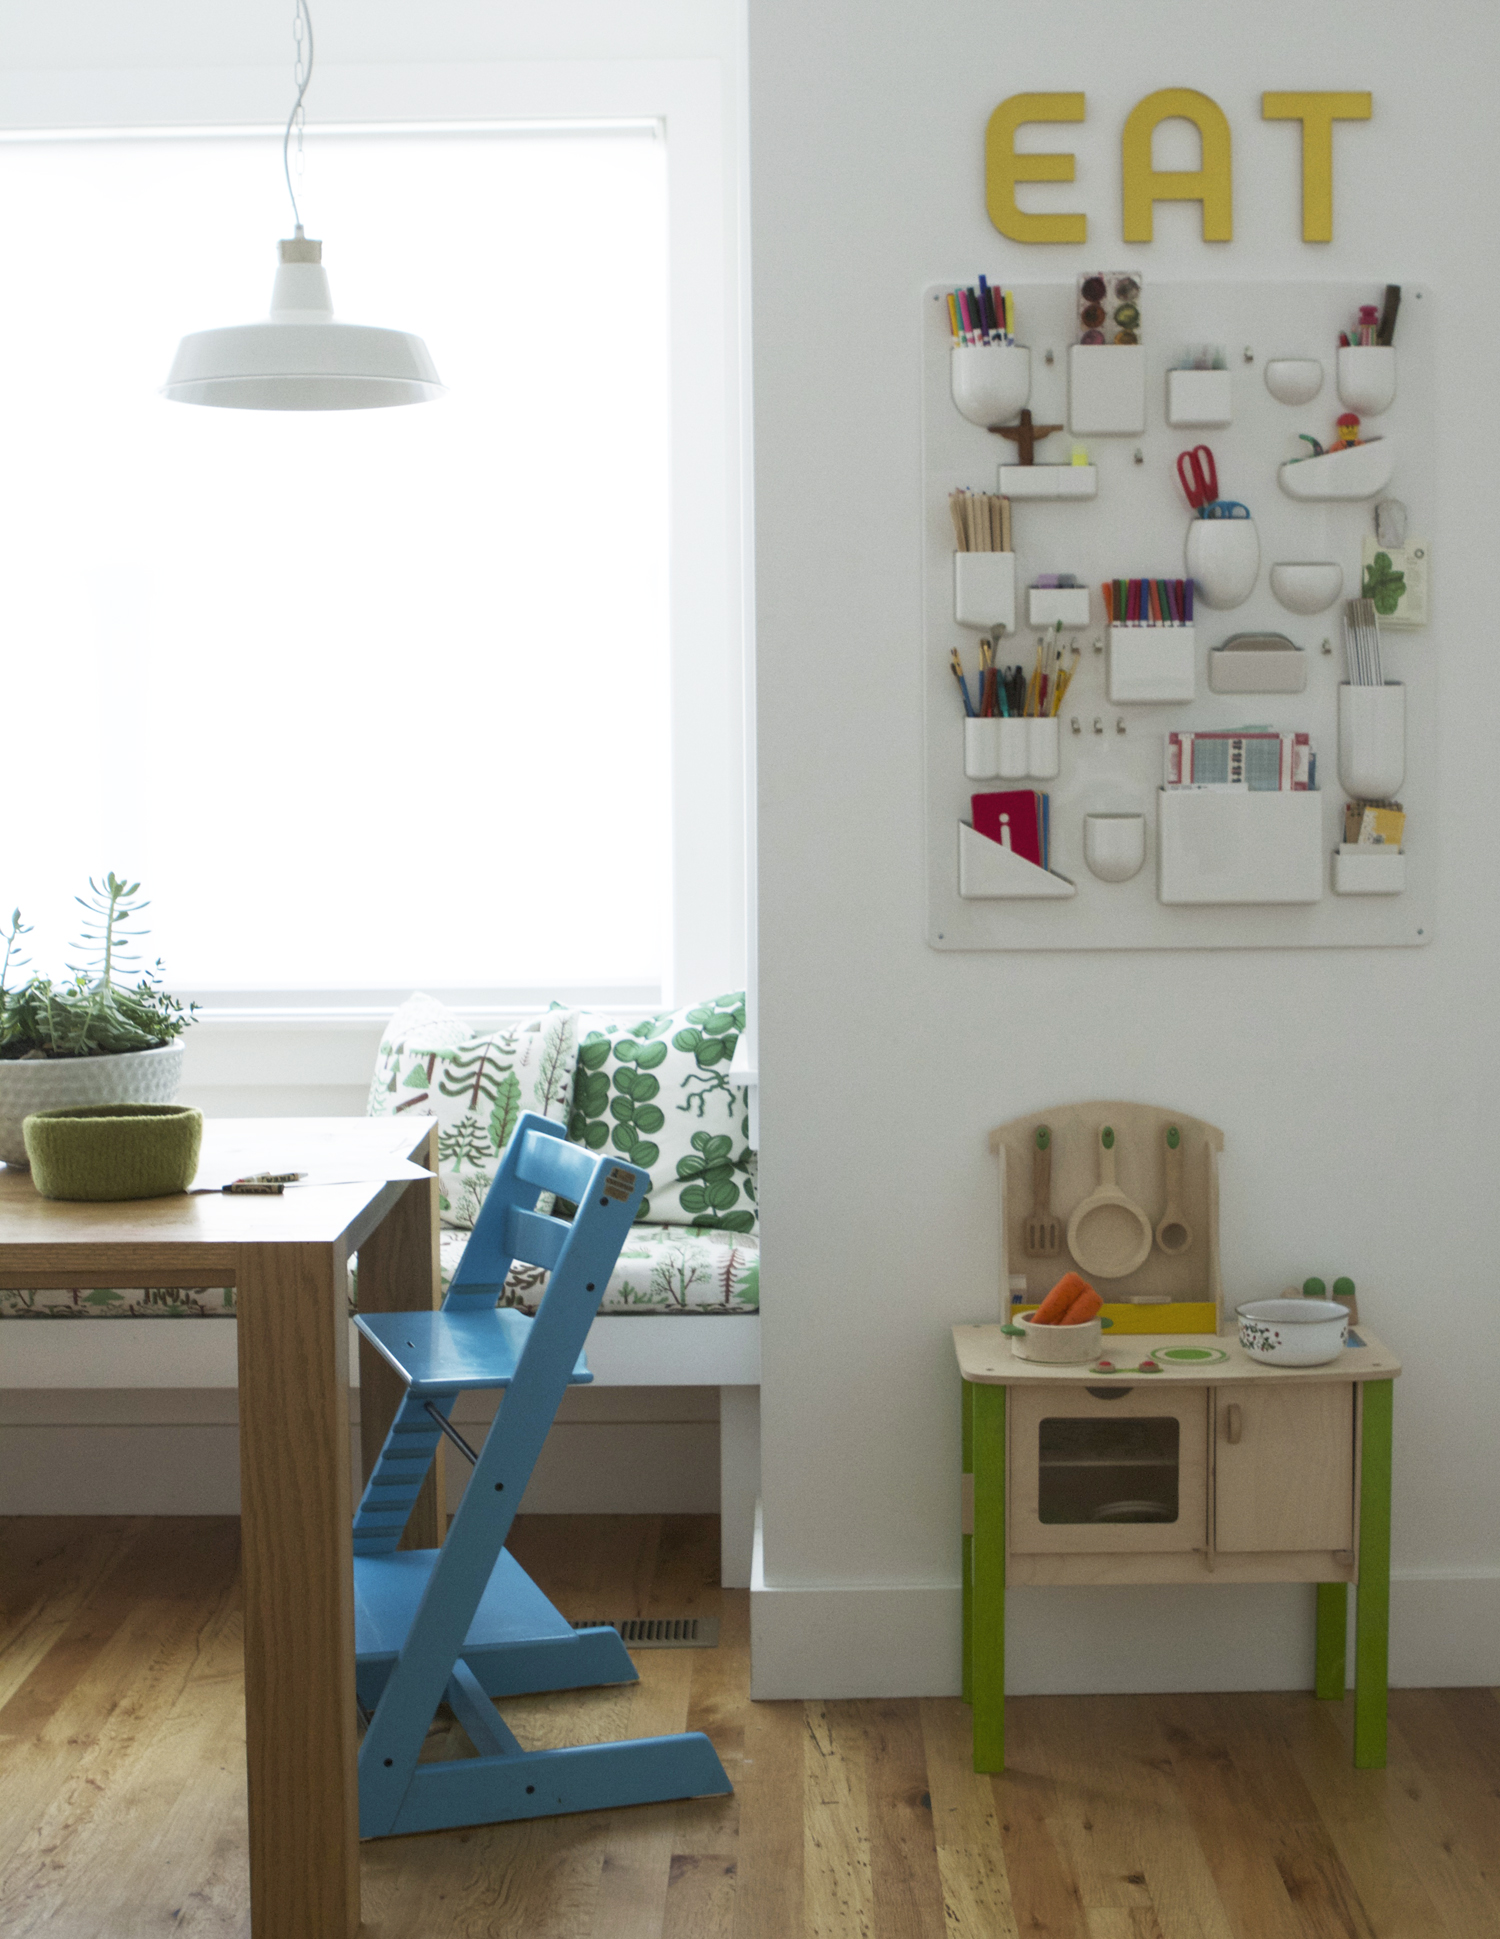
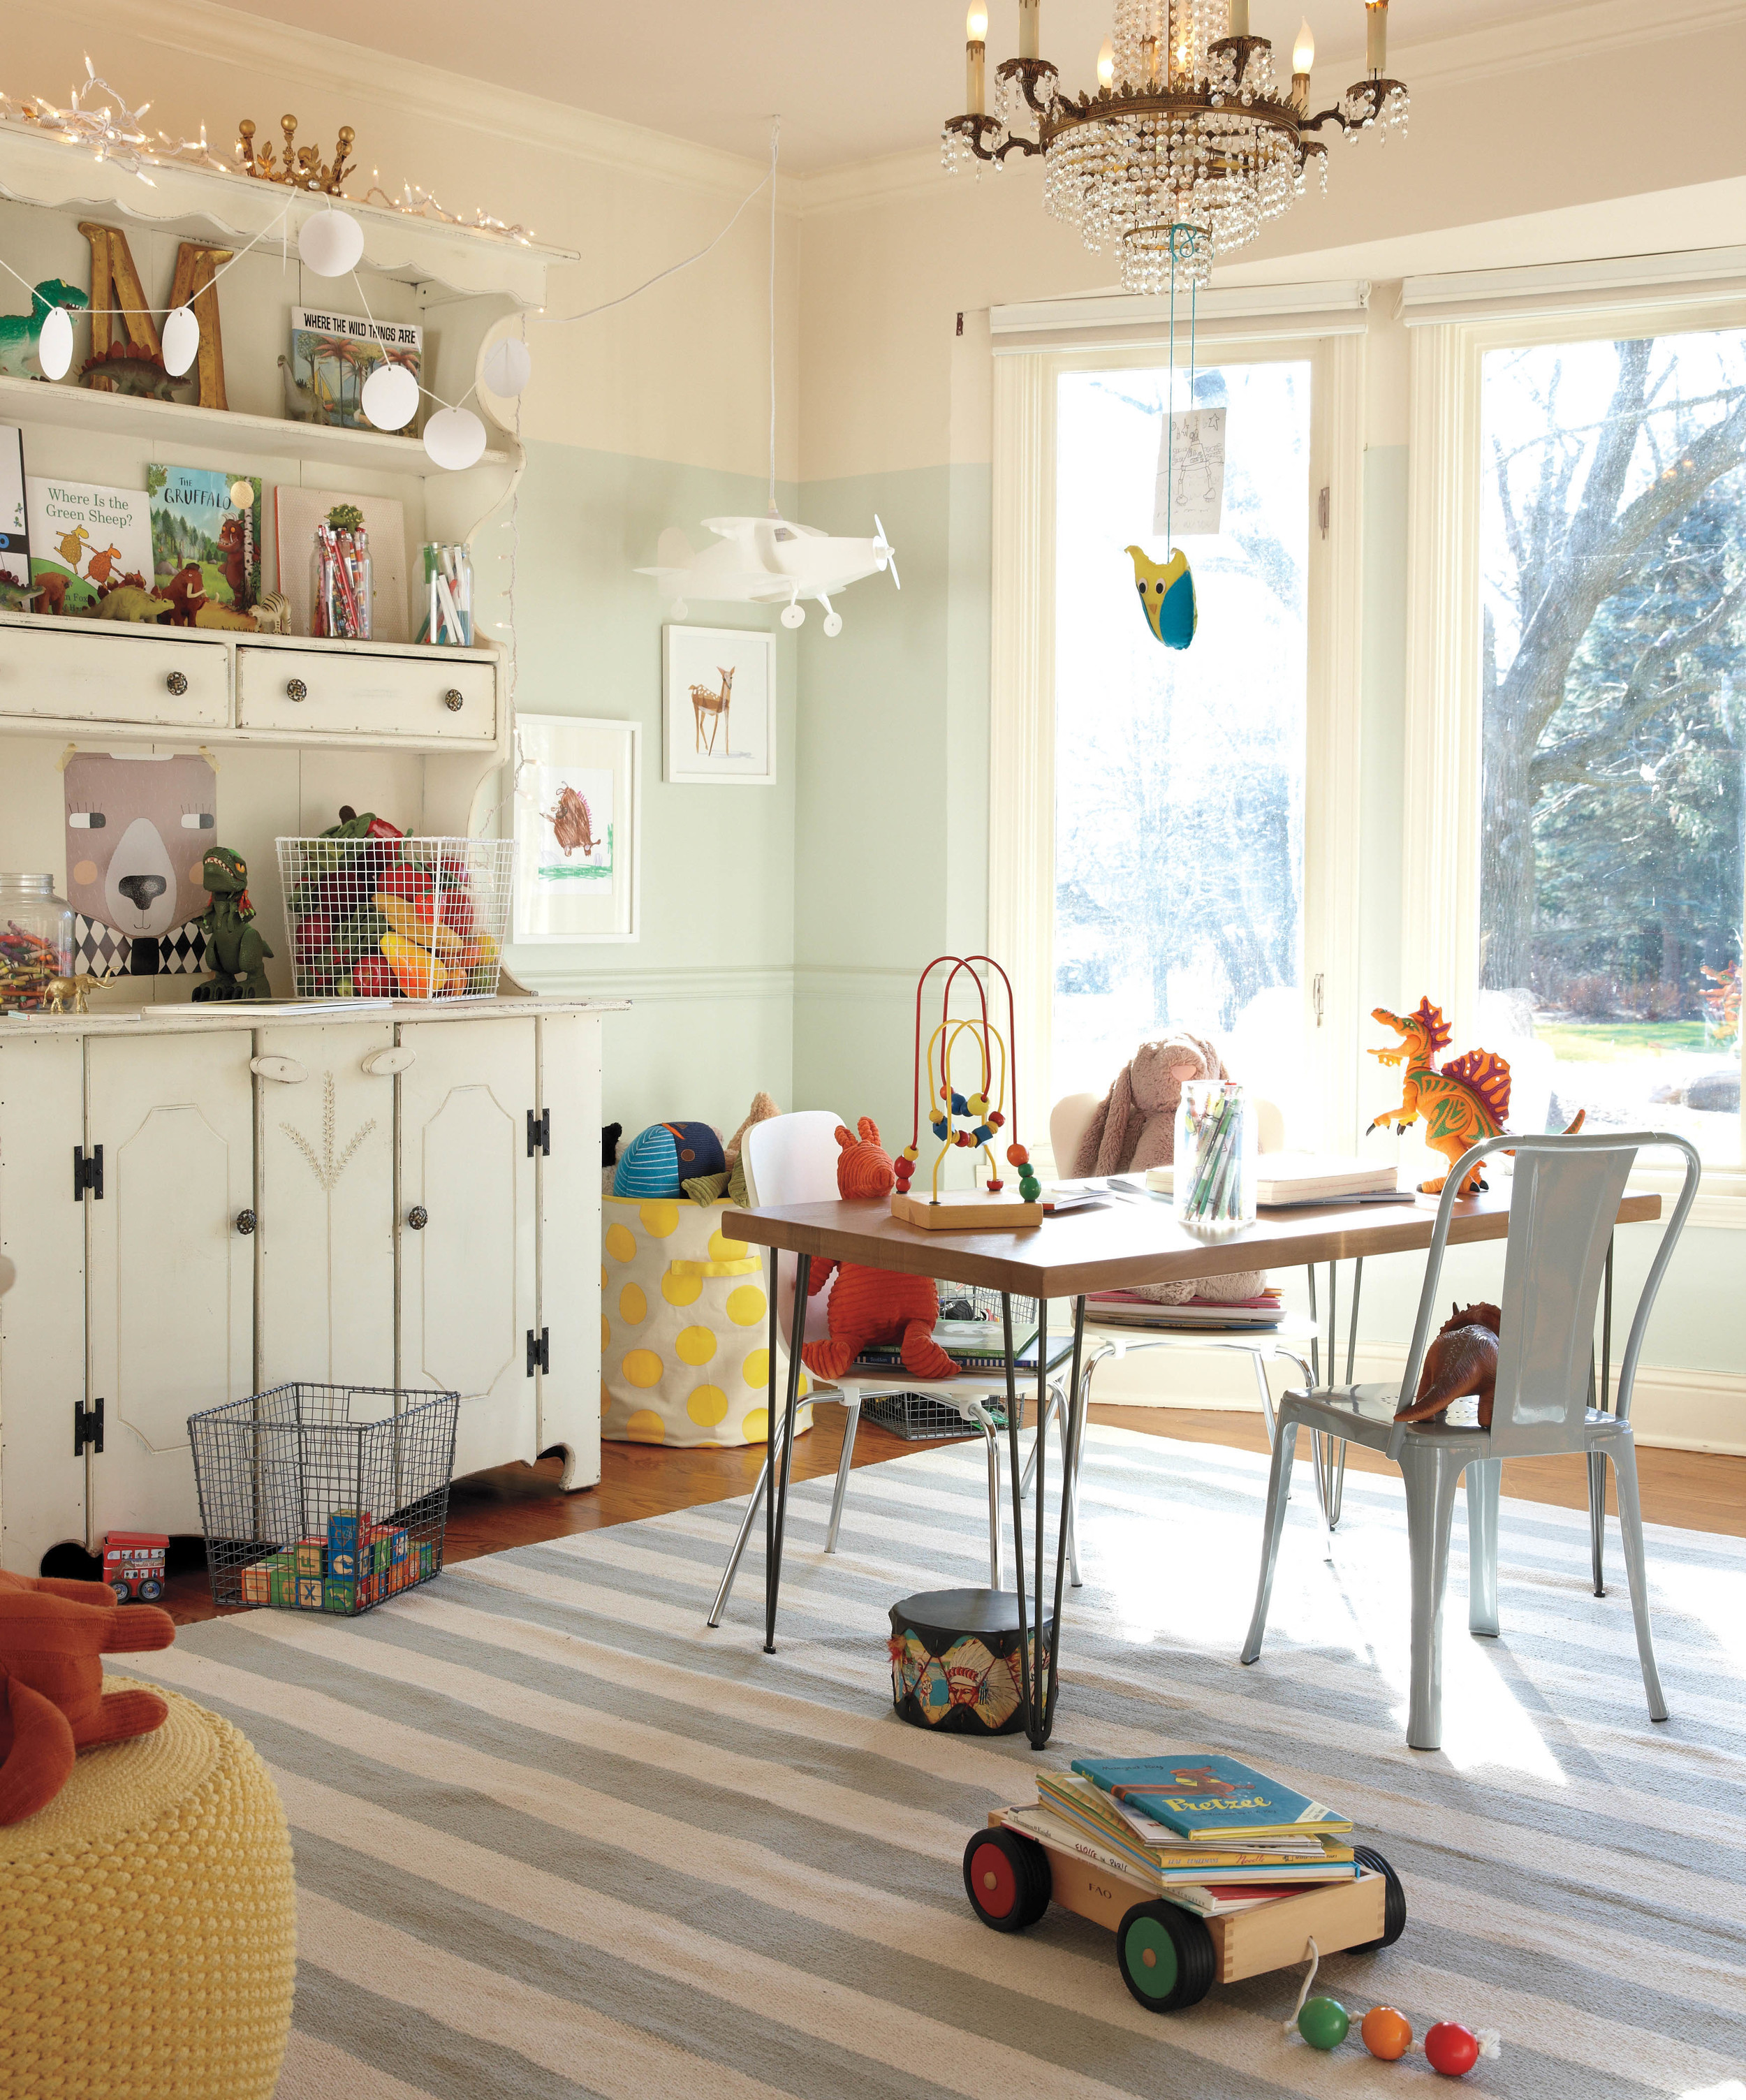
These are a few of my favourite images from the book to give you a taster. I love how there are clearly children living in these homes, but the owners have made it part of the space, rather than trying to hide it all away. It really is a lovely book that is practical as well as pretty. I'm sure I'll be referring to it for years to come! 

Photo credits: 1: Caroline Rowland / 2: Caroline Coehorst / 3: Meta Coleman / 4: the Land of Nod / 5: Anna Napthali / 6: Meta Coleman / 7: Heather Zweig, with stylist Jordan Ferney

Design Mom: How to Live with Kids: A Room-by-Room Guide by Gabrielle Stanley Blair (Artisan Books). Copyright © 2015 Buy it now mums and dads

DIY: wedding favour napkins

The wedding season is well and truly upon us! I am preparing for a hen weekend this weekend, and then the wedding in Spain in July, and know all too well how much work and planning goes into your big day It is our 2 year wedding anniversary next week so it's all still quite fresh in my memory! 

There's always so much 'stuff' on the tables, so I thought that I would share this DIY idea for reducing the clutter on your tables, by incorporating your table linen, favours and potentially place names all into one! 

You can find the full tutorial over on the AO blog today. If you don't have time to make your own napkins, you can buy ready made ones, and just add the initial to the corners... 

The benefits of Blogtacular

It's fair to say I don't get out much these days! As a mum with not much childcare support I don't tend to make it to many press shows, blogger events or exhibitions. Not that I'm complaining, I'm a bit of a home bird these days anyway, and it does tend to make going out all the sweeter when you do get the chance! 

On Saturday, I did just that and attended Blogtacular, an annual blogging event held in London. I spoke at the conference last year, but this year it was nice to go along and enjoy the day without the underlying fear of standing up in front of everyone! 

I've been reflecting on the day a little since the weekend, and thinking about why these events are so important for us bloggers, and what the benefits are in terms of what you are doing professionally. Below are five things which you are very likely to take away from Blogtacular, and be a better blogger for it....

1. You are pretty much guaranteed to meet new people which you have something in common with - mostly likely blogging! - and these people may lead to a new opportunity or may simply give you a snippet of advice and information that is really valuable. 

2. As well as new bloggers, you will also discover new designers, makers, shops, magazines and brands, either through the speakers, the stalls, the activities or the goody bags. And who doesn't want to know about lovely new places to spend your dosh?! As well as potential content for your blog! 

3. There is no doubt you will go home feeling inspired to get working on your blog or business. Even if you've been doing it for a while, it is the inspirational people who are sharing their knowledge and experience that will truly put fire in your belly and their enthusiasm is infectious. 

4. Even if you think you know everything there is to know about social media and promoting your brand, you will mostly likely come away with one or two new ideas to try. Mine was to try out Iconosquare for Instagram. 

5. If like me, you are restricted on how many events you can attend, then a larger one like this is ideal. It's a full day and you will get to catch up with old faces and meet new ones all in one go! 

I can definitely see Blogtacular becoming an event that I go back to every year. Were you there this year? What did you take away from it? And if not, do you think you would give it a go next year?! I'd love to hear your thoughts on blogger events! :) 
Images courtesy of Mollie Makes

xxx


My home on Apartment Therapy!

Ever since we moved into our home nearly 6 years ago, I'd always dreamed of having it featured in a magazine or on an interiors blog (other than my own!) and though I was often asked to have it shot, I always declined as I wanted it to be 'finished'. Well, of course, your home is never completely finished, there is always something else to do, but as close to finished as it can be at any one time. The main thing was to renovate the kitchen, which we saved for since we bought the place, and finally got round to doing last year. 

So whenever I got an email from Cathy Pyle, a photographer, asking me if she could shoot my home for Apartment Therapy, I was thrilled and excited that I could finally say yes! Apartment Therapy was probably one of the first interiors blogs I'd come across when I first got into blogging.
Cathy visited one Saturday in May, and we had a lovely day chatting and shooting, she even managed to get some half decent shots of me! So now I'm super excited to share the link to the post on Apartment Therapy and below is a little sneak peek. You will also find a source list for where I got lots of our furniture, accessories, art work etc. 

I hope you enjoy having a nosy, and thanks to Cathy for the lovely photos and Apartment Therapy for the feature! 

View the full set of images on Apartment Therapy

BOOK NEWS: The cover and subject!

You may remember back in January I announced the news that I am working on my first interiors book? Well, I've been beavering away for the last 6 months writing my socks off, and as we are nearing the finish line, I can finally reveal what the book is all about and also the cover! SO exciting!! Drum roll please.... here it is!
So as you can see, the book is called The Shopkeeper's Home. Inside are some of the most beautiful independent shops from around the world, handpicked by me, AND you get to peek inside the homes of the people who own these stunning shops! I have always been inspired by shop interiors, and shopping is most definitely one of my favourite past times. I love visiting new places, either at home in the UK or abroad and seeking out lovely shops to browse. And of course, with so much style bursting from their retail spaces, I knew that the homes of these proprietors would also offer oodles of decor-related eye candy and lots of ideas for your own home too. 
The book is due to publish in October, so over the next few months I will keep you posted on the progress, share some sneak peeks, and let you know when it's available to preorder. I also hope to host some competitions to win a copy or two! 

That's it for now, but I'd love to hear your initial thoughts on the theme and of course the cover! xxx

DIY: Floral wreath

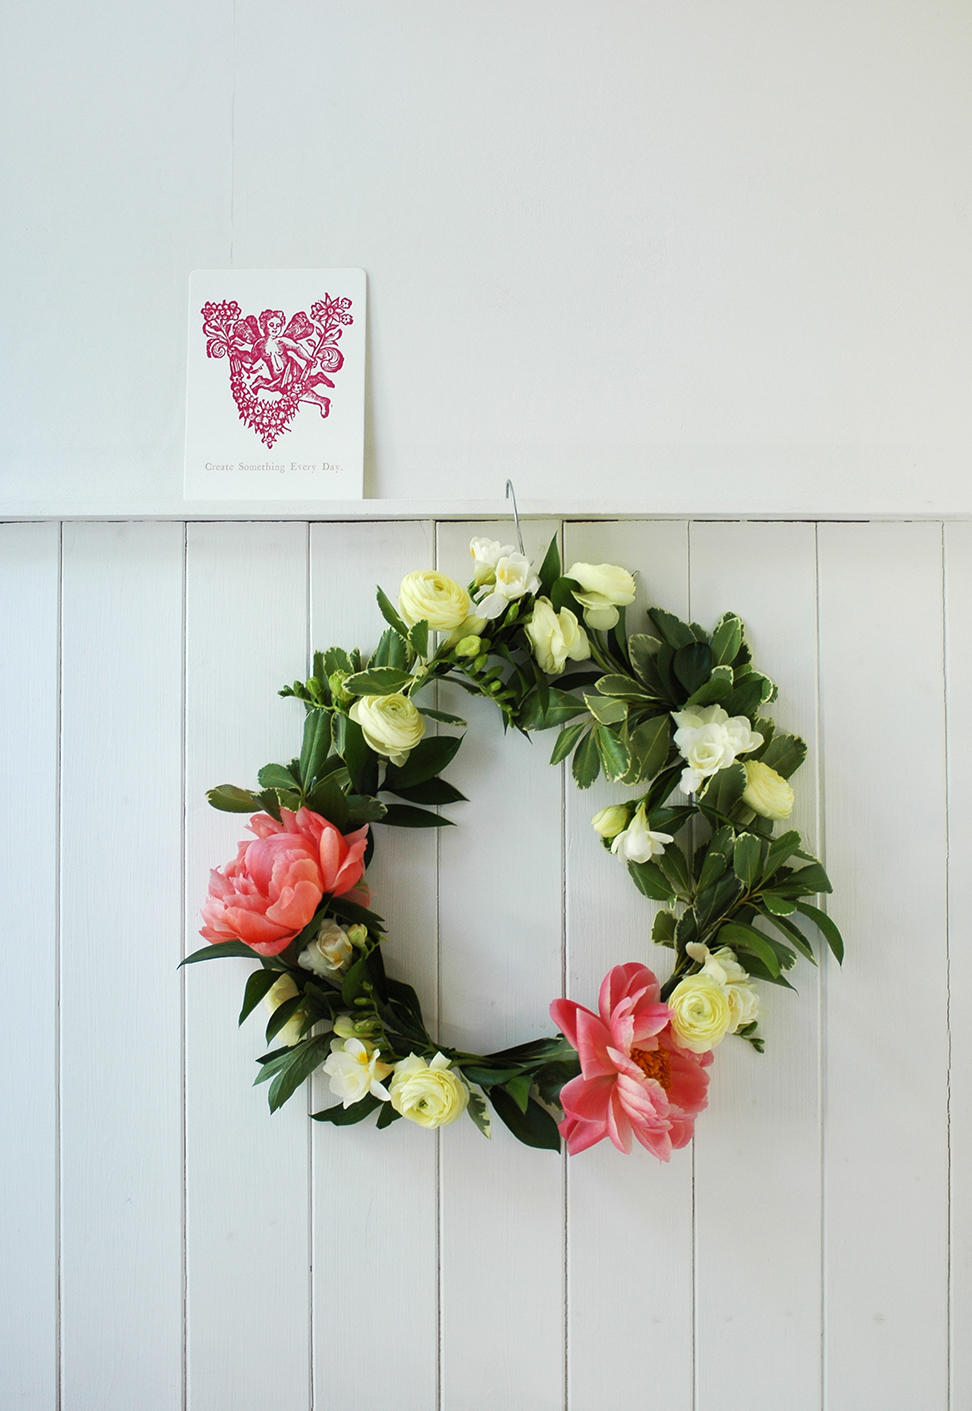
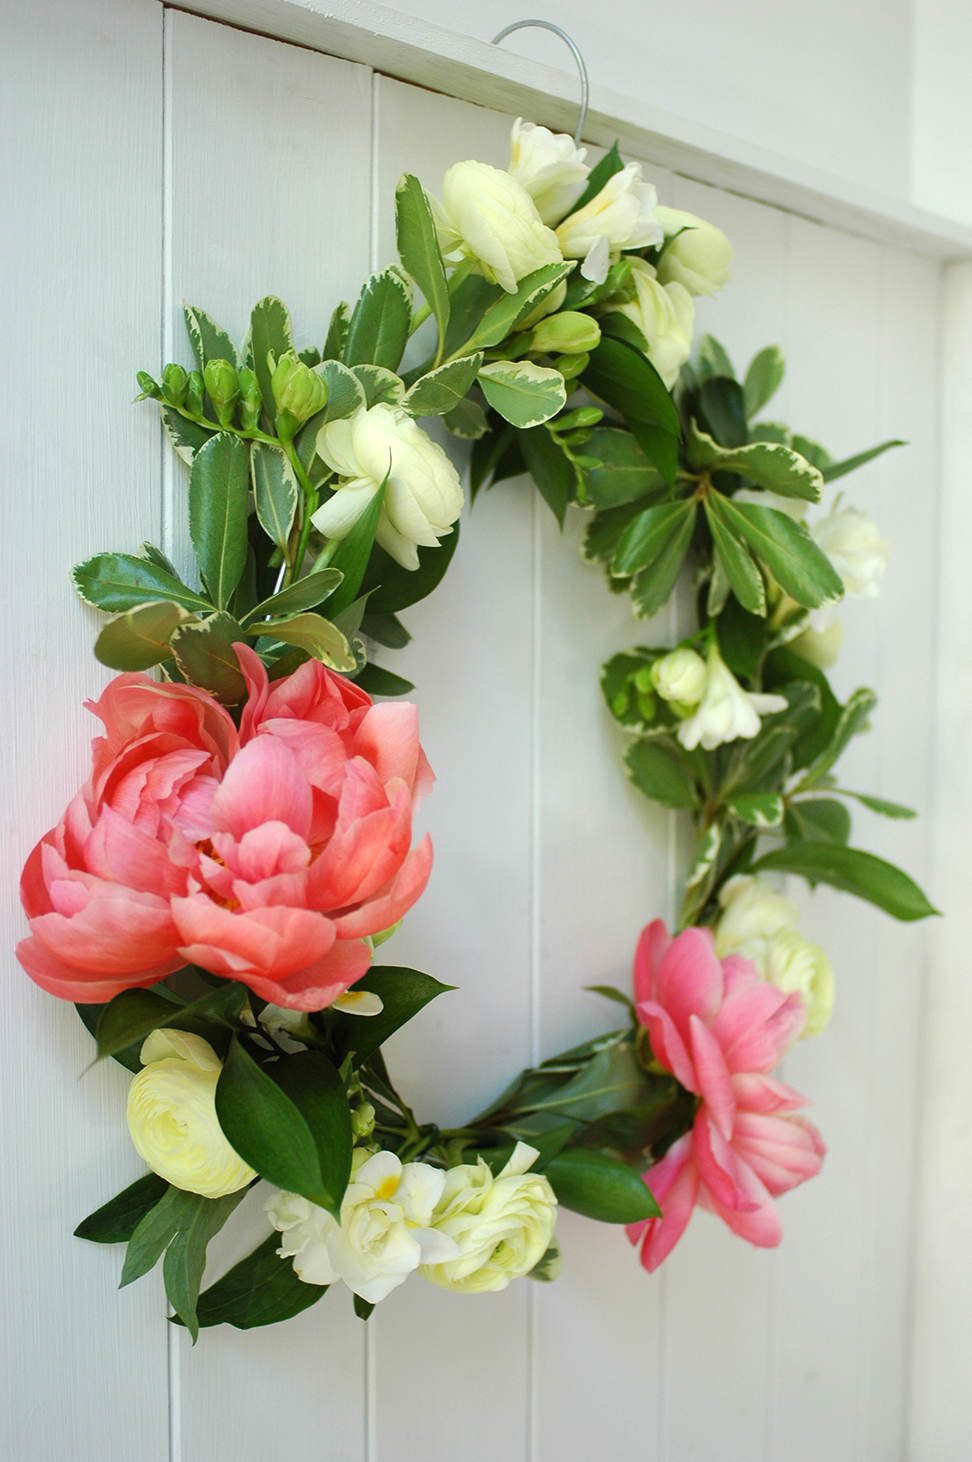
Is it summer? is it not?! It's hard to tell here in the UK at the moment! But if you are planning a summer party or event (maybe a wedding?) then a fresh floral wreath is a lovely way to use flowers in a different way. 

I made this one using a wire coat hanger! I chose these flowers as they are some of my faves and remind me of my wedding bouquet, but you can of course select your own favourite blooms, or even dried or fake if you prefer. The full tutorial is live over on the AO blog today, so do have a peek! 

Get the Patchwork Harmony look at Joss and Main

I'm really excited to share that I have just collaborated with Joss and Main as one of their guest curators. If you are not aware of Joss and Main they are a members only site, who hold limited time sales (usually around 3 days) on homewares, furniture and lifestyle products. 

Below is a little peek of what you will find in the sale. You can view the whole edit by registering as a member, which is free, and see if anything takes your fancy! Everything is inspired by my own personal interior style - the sale is called 'The New Vintage' and features industrial, rustic and mid century pieces, mixed with contemporary items and pops of colour for an eclectic, up to date vintage look. 

What's really nice is that Joss and Main's buyers hand pick the products from not only household name brands but also up-and-coming designers and small business artisans, so there is a real mixed bag when it comes to what you will find and everything is of course discounted so you are sure to bag yourself a total bargain! (my fave thing ever!) 

There really is lots to explore, so register now to have a peep at my curated sale (don't worry, you can edit your email preferences in Your Account so you can choose how often you get communications) I'd love to hear what you think and if you buy anything! My favourite is definitely that bright yellow industrial stool! 

Sign up to view the Patchwork Harmony sale. 

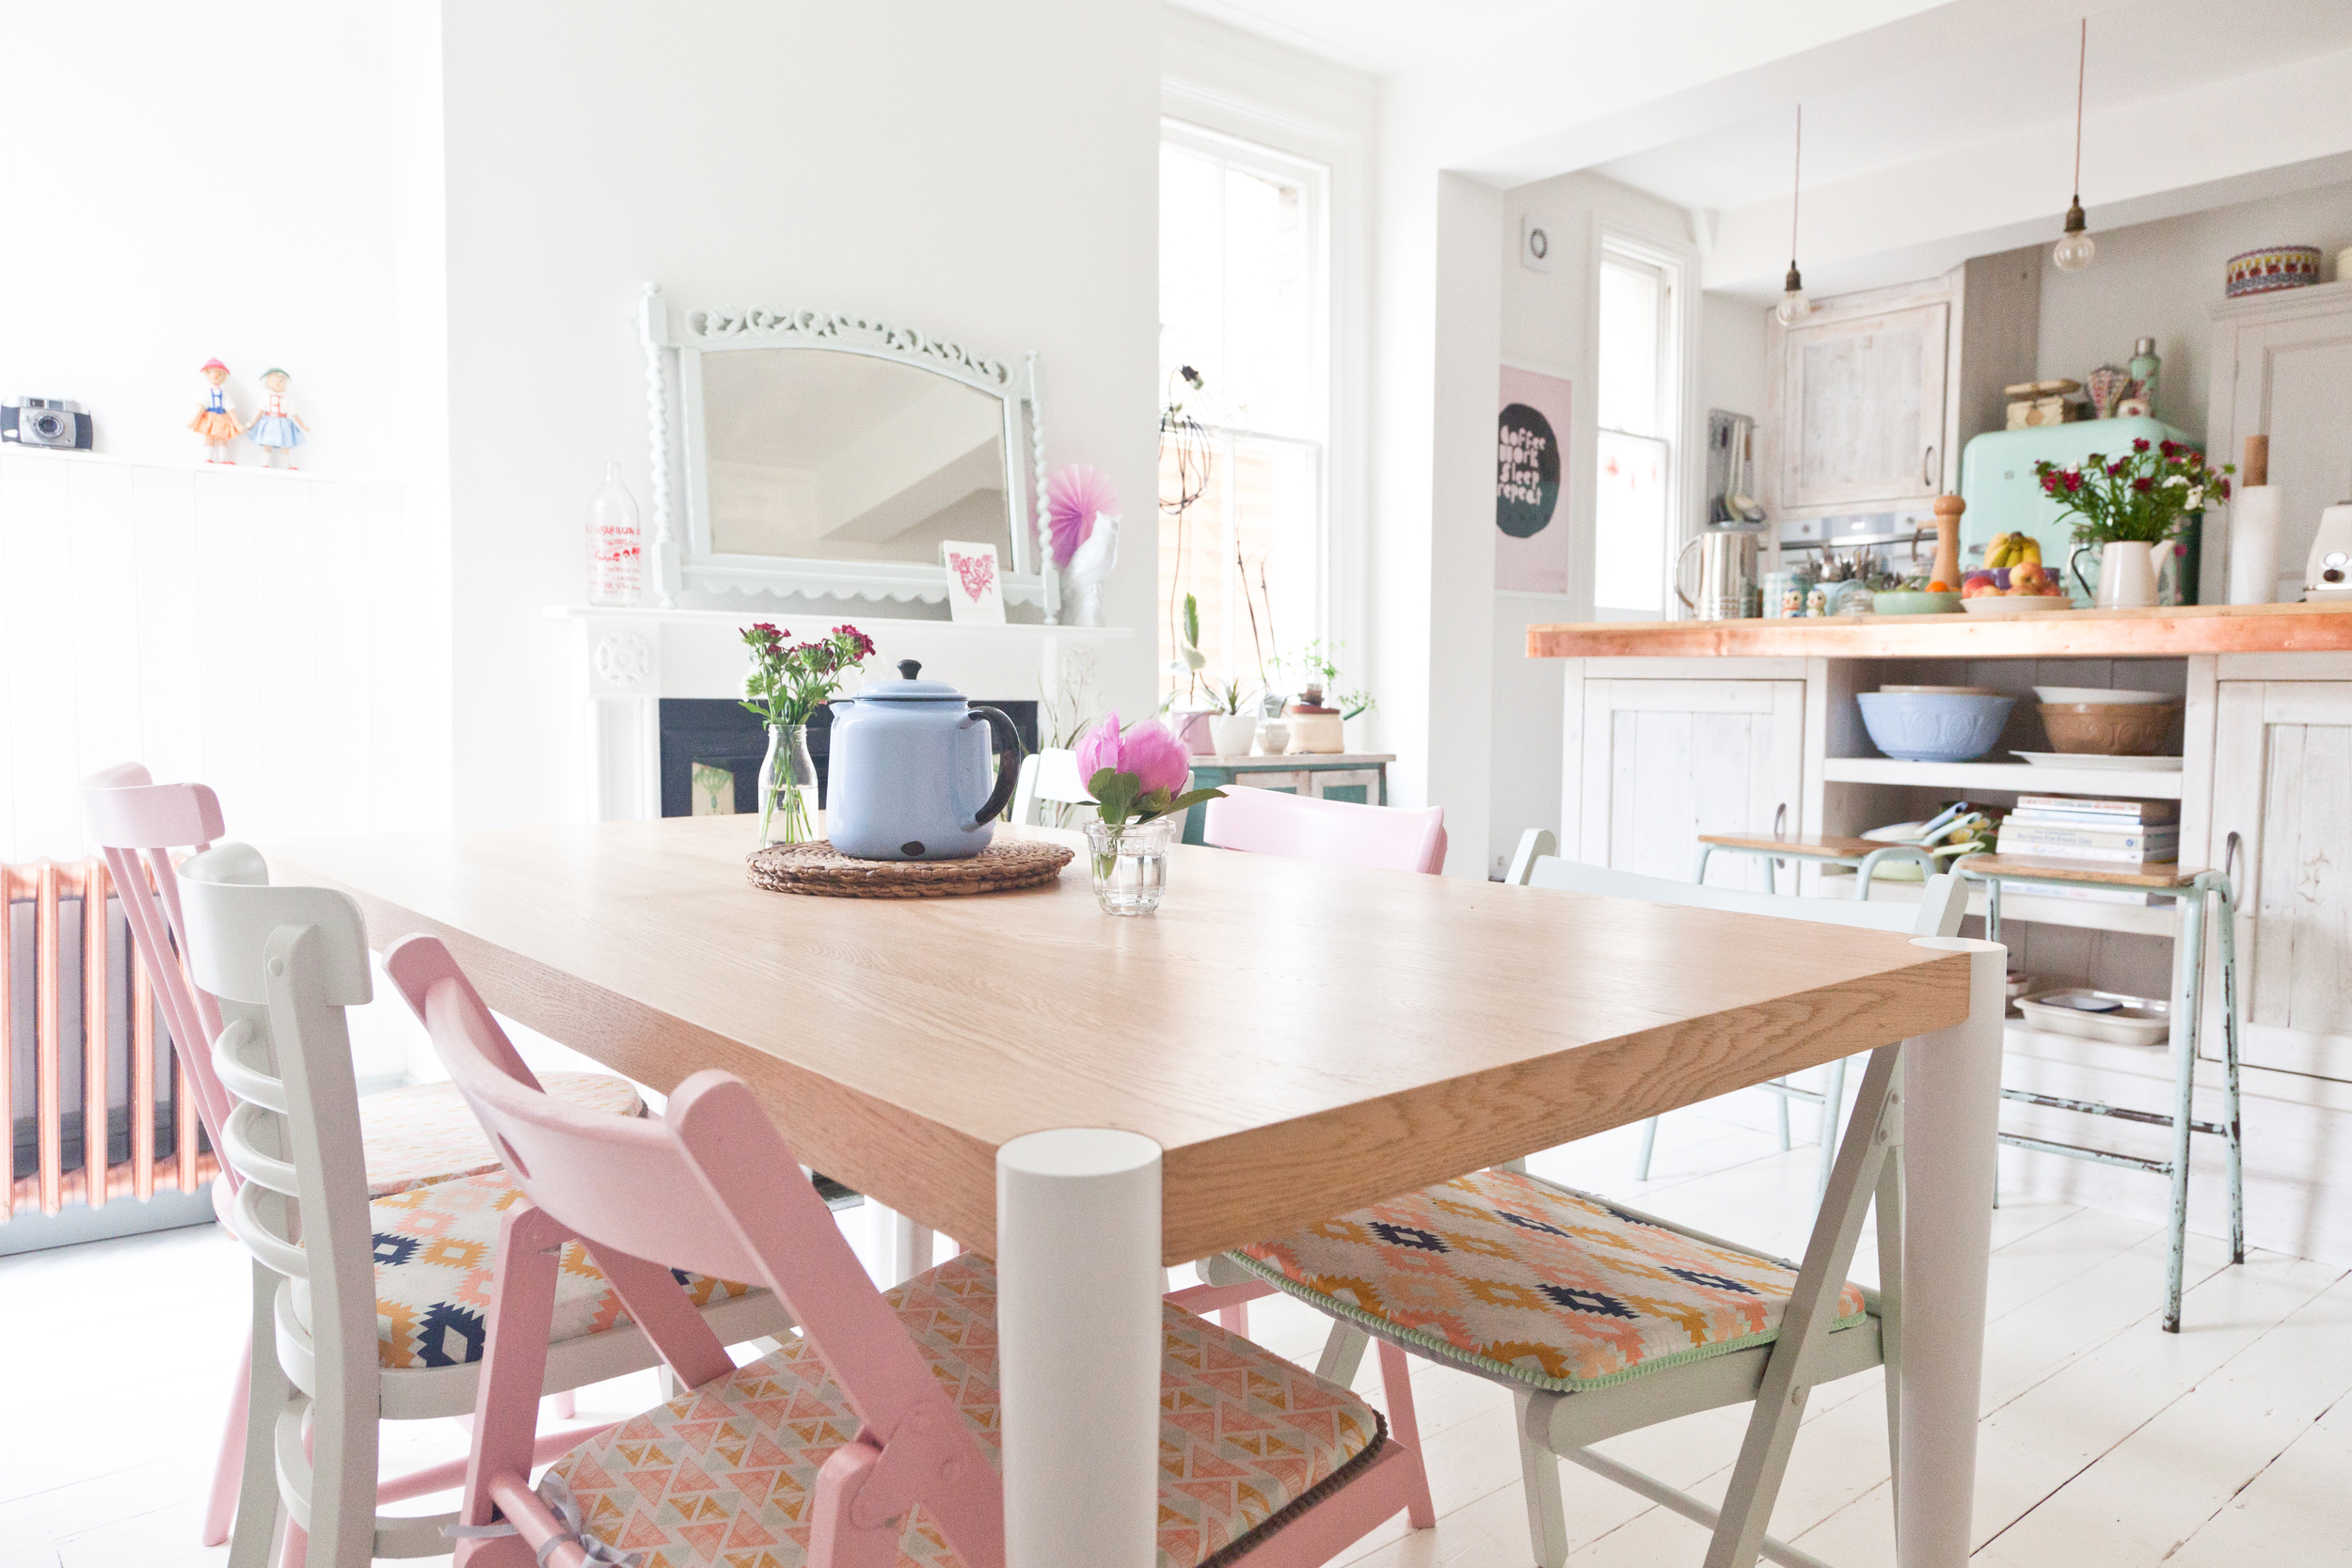
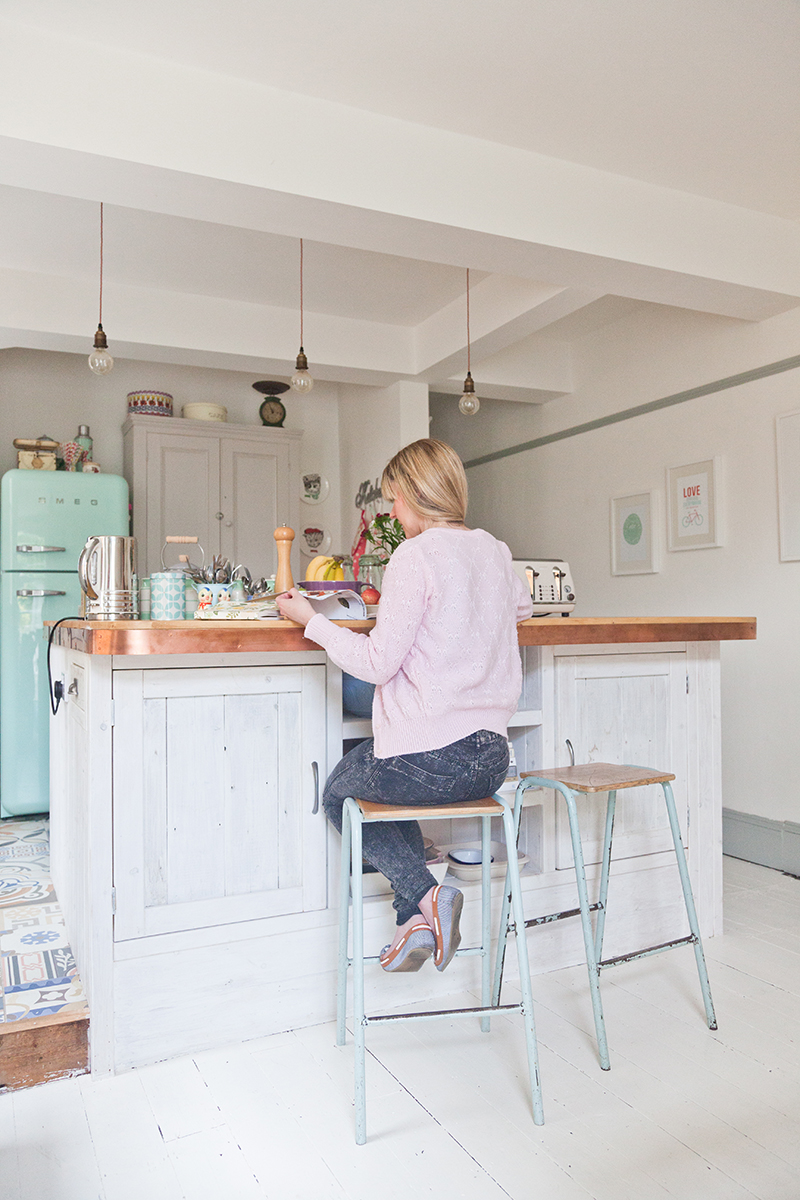
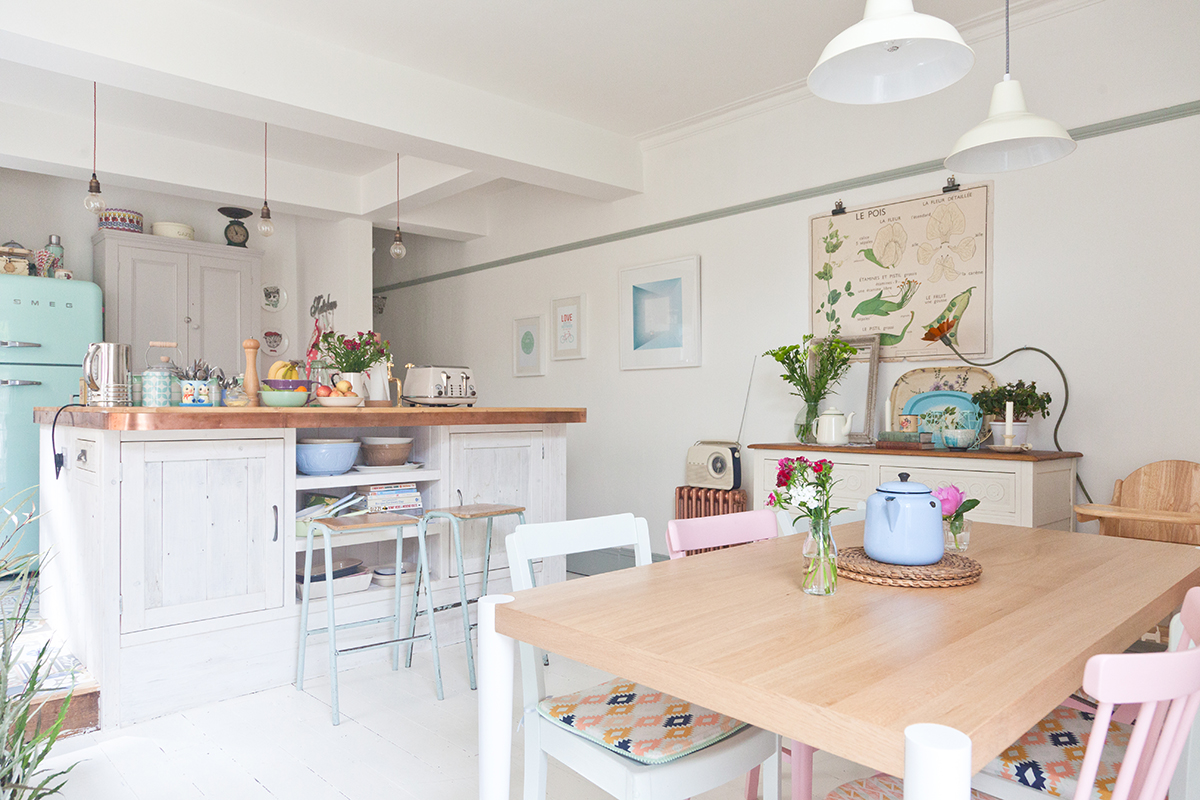
kitchen renovation tour

Following on from my last post about our DIY kitchen worktop, I thought I'd share some more images of the kitchen renovation we've done over the last year. I'm so happy with the space now, so I'm quite sad that we are going to have to sell later this year. :( 

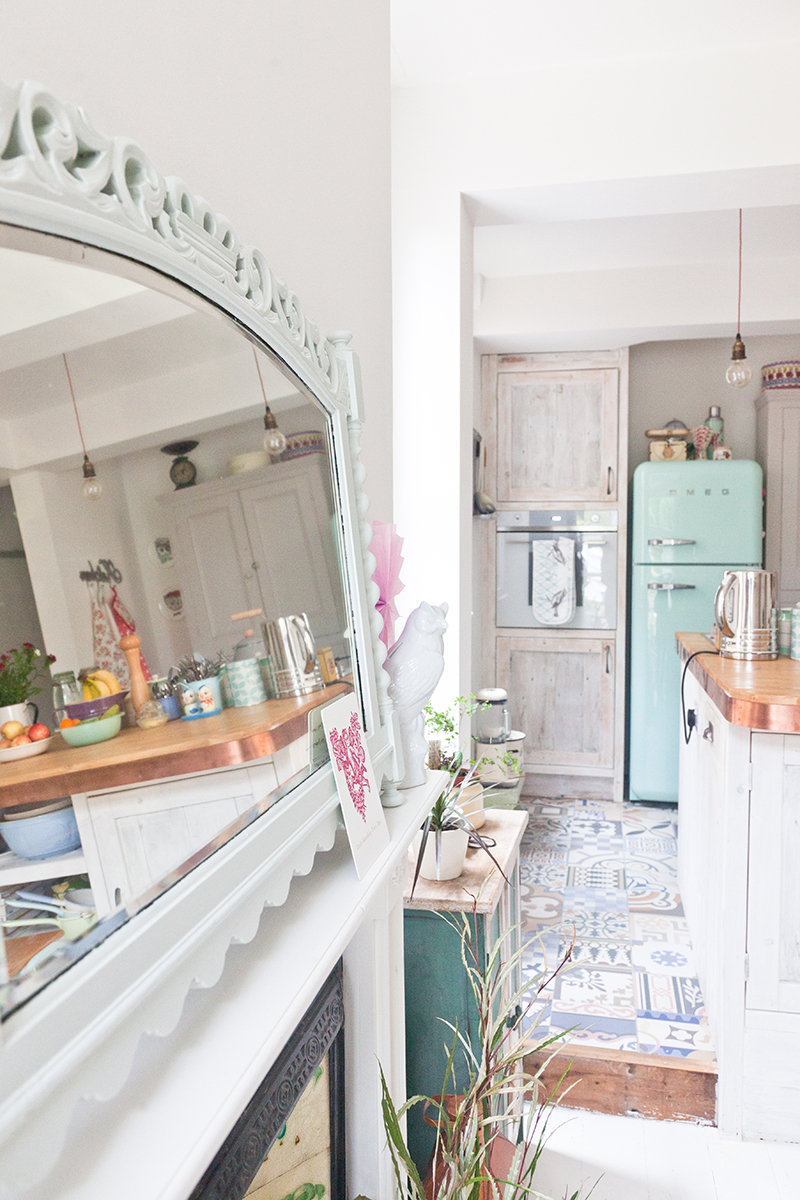
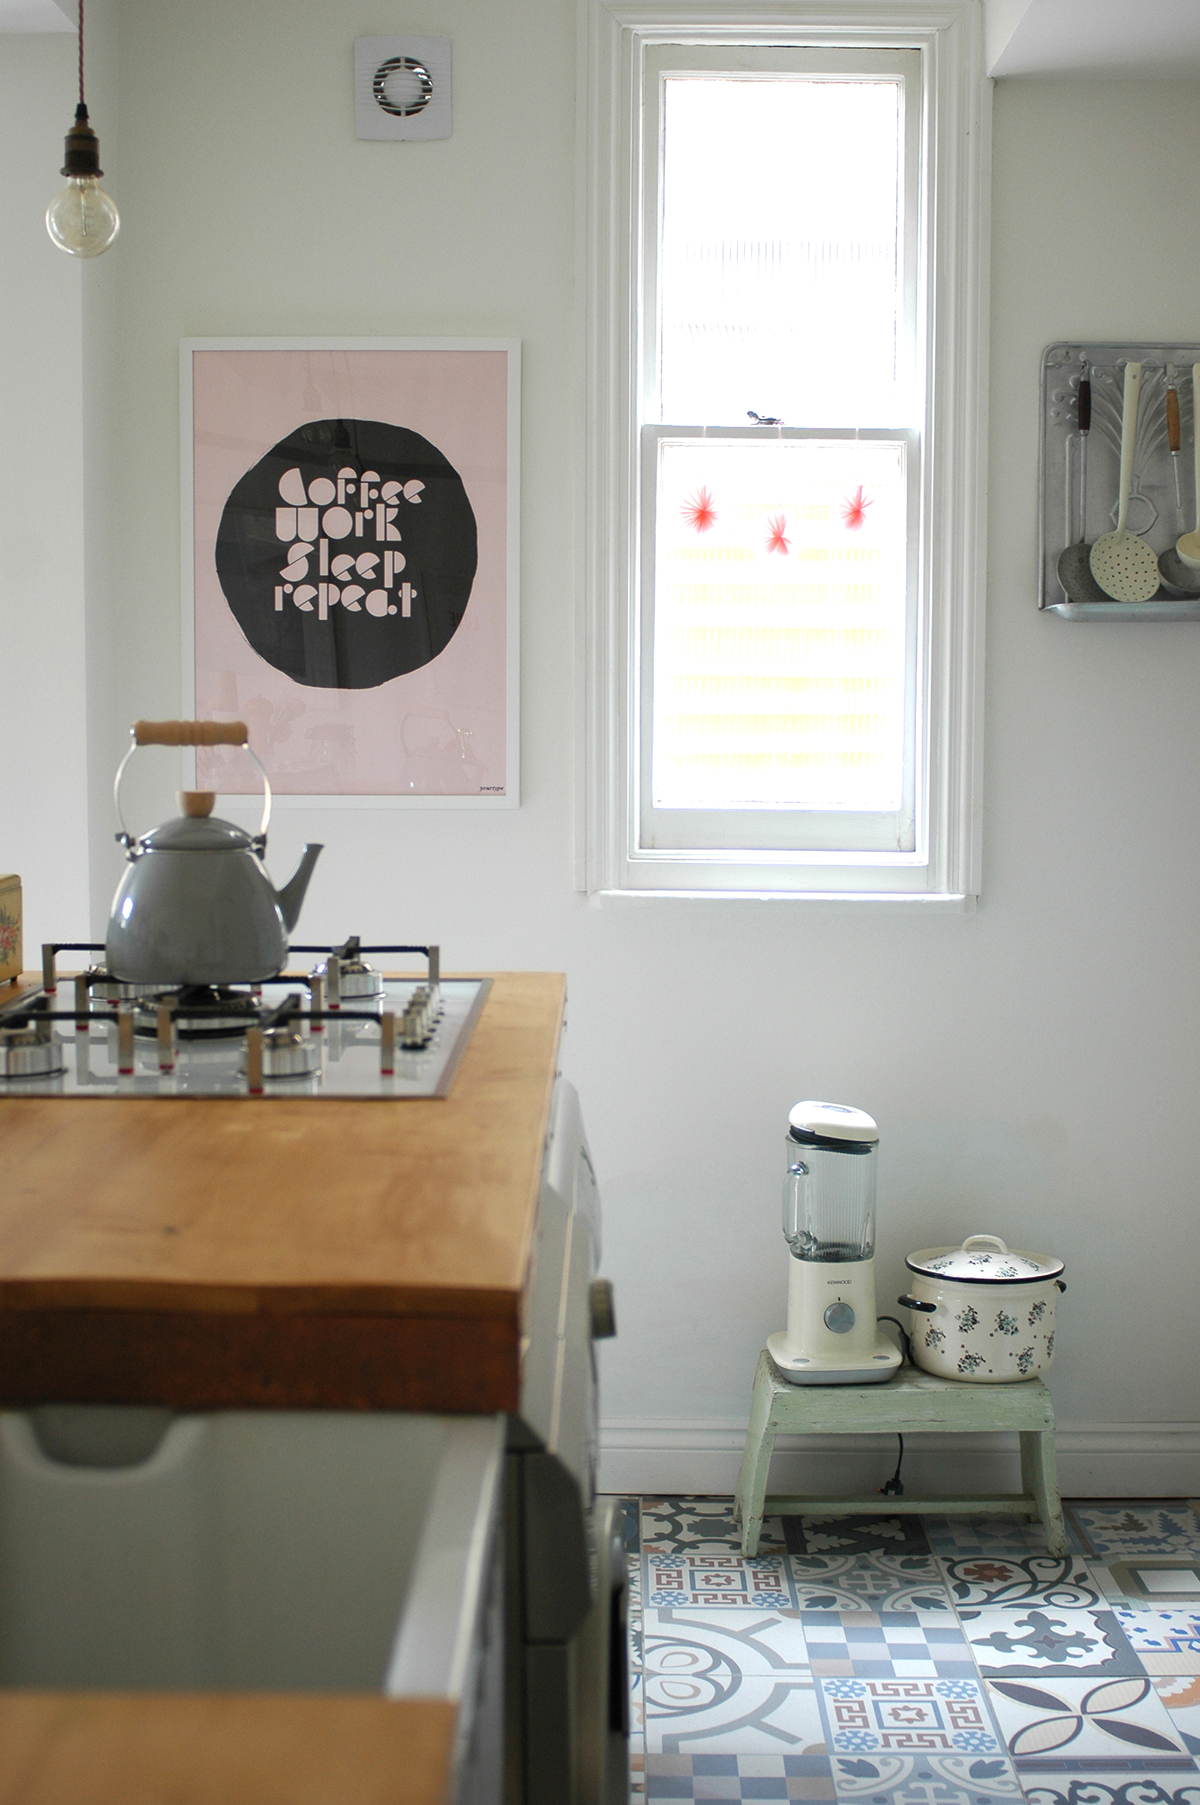
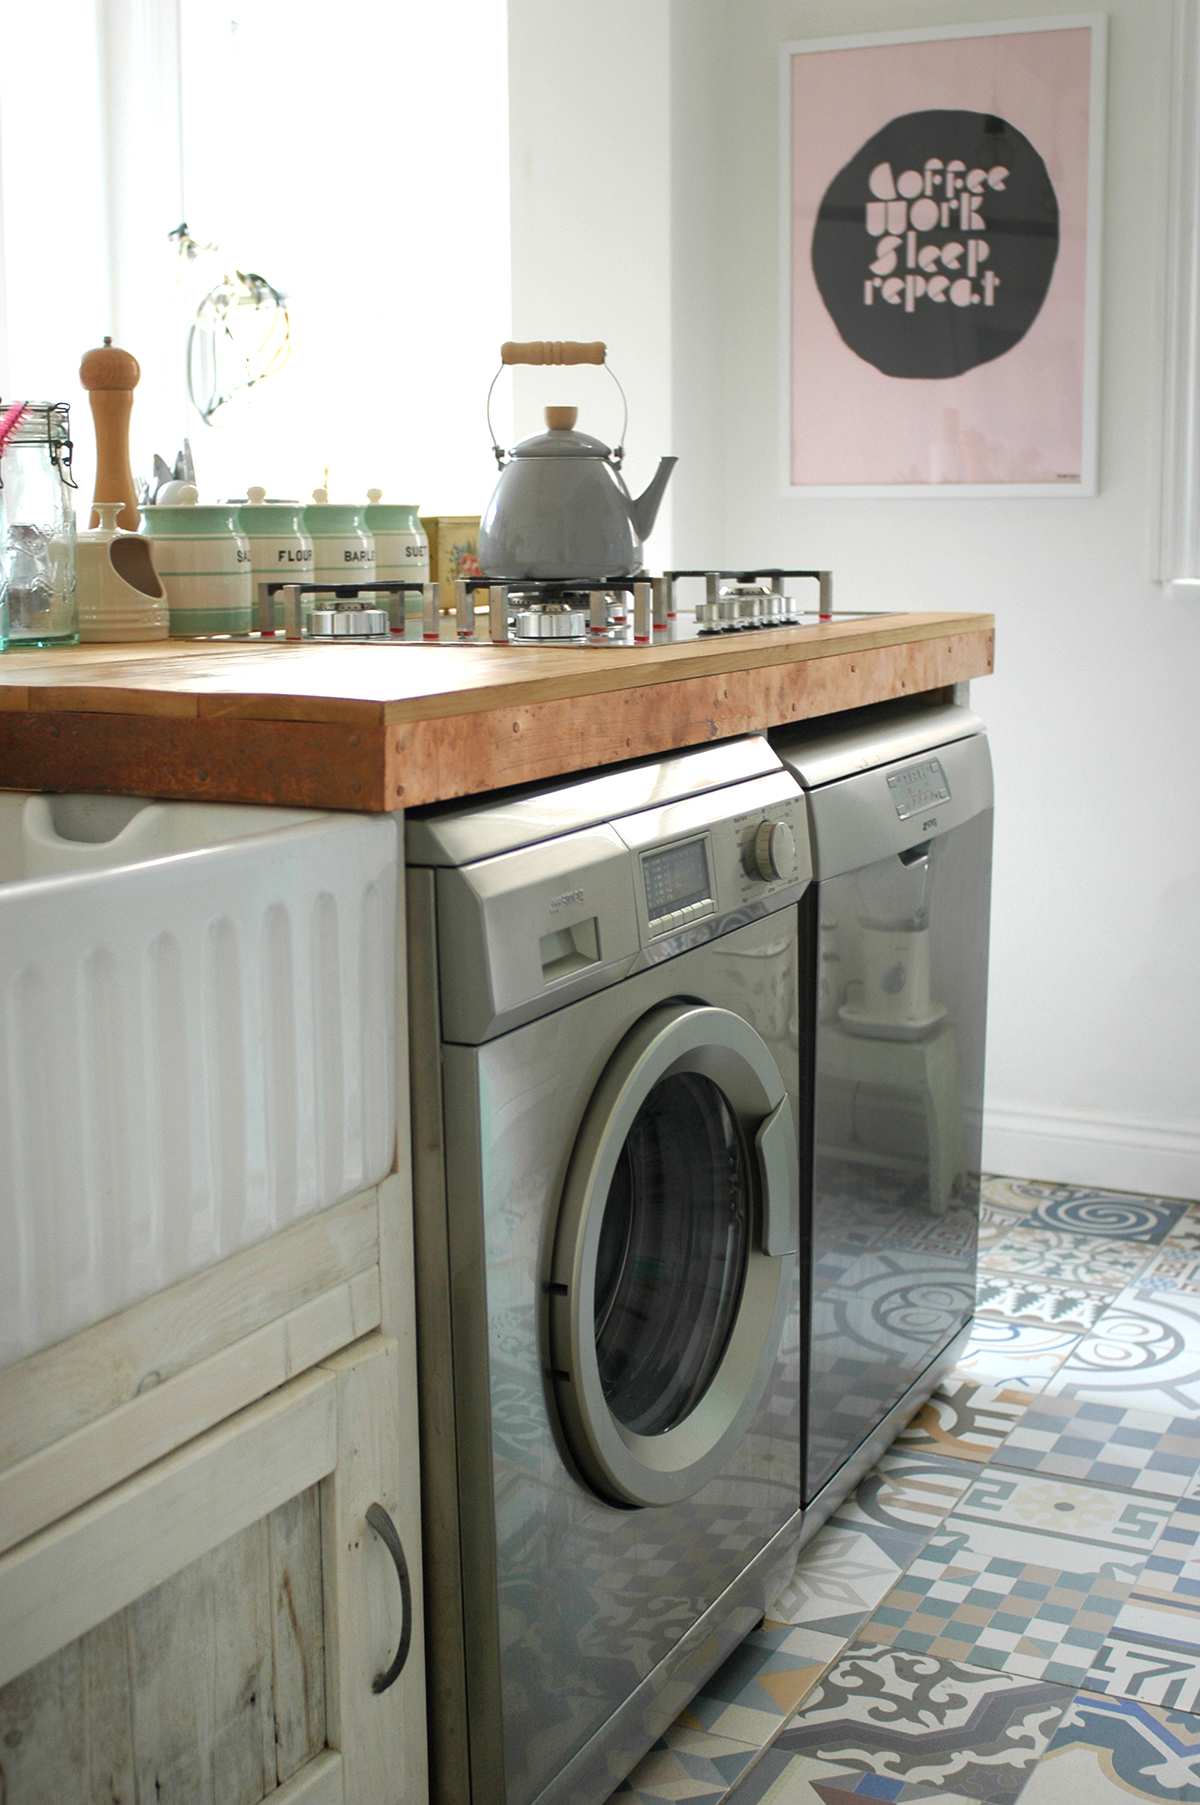
Annoyingly I can't find any decent shots of what we had before, but basically it was a small kitchen and a separate dining room which we never really used that often, apart from sometimes in the summer as it opens into the garden. So the main thing we did was knock through the wall between the two rooms. We had to get steel beams installed, and that was probably the most costly bit. We had a back door in the kitchen (where the pink and black print is now) so this was blocked up and then we had a raised floor created for the kitchen area. As I mentioned in the worktop post, I designed the kitchen island myself and a carpenter built it for us. Strangly while they were trying to source some reclaimed wood, it was discovered that we actually had two layers of floorboards in the dining room! So they ended up using the top layer to construct the island, saving us quite a bit of cash! We then white washed all of the wood for a bit of a rustic feel.

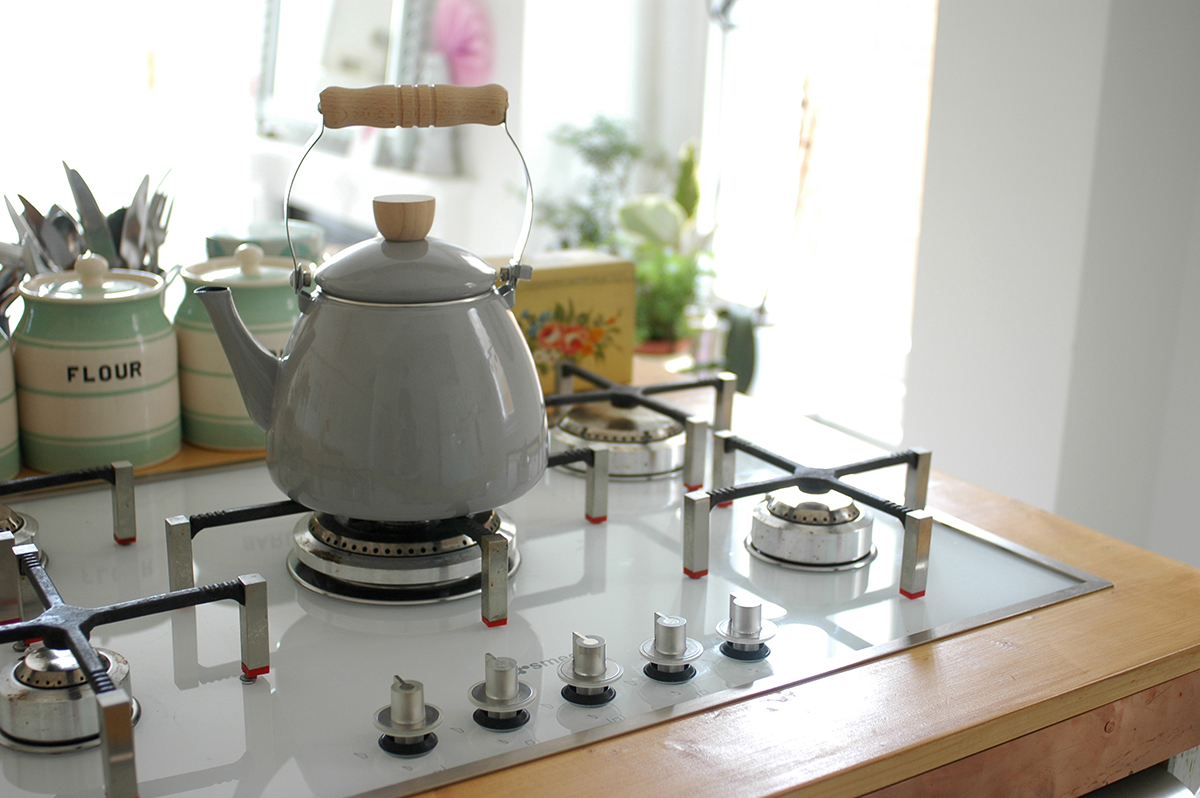
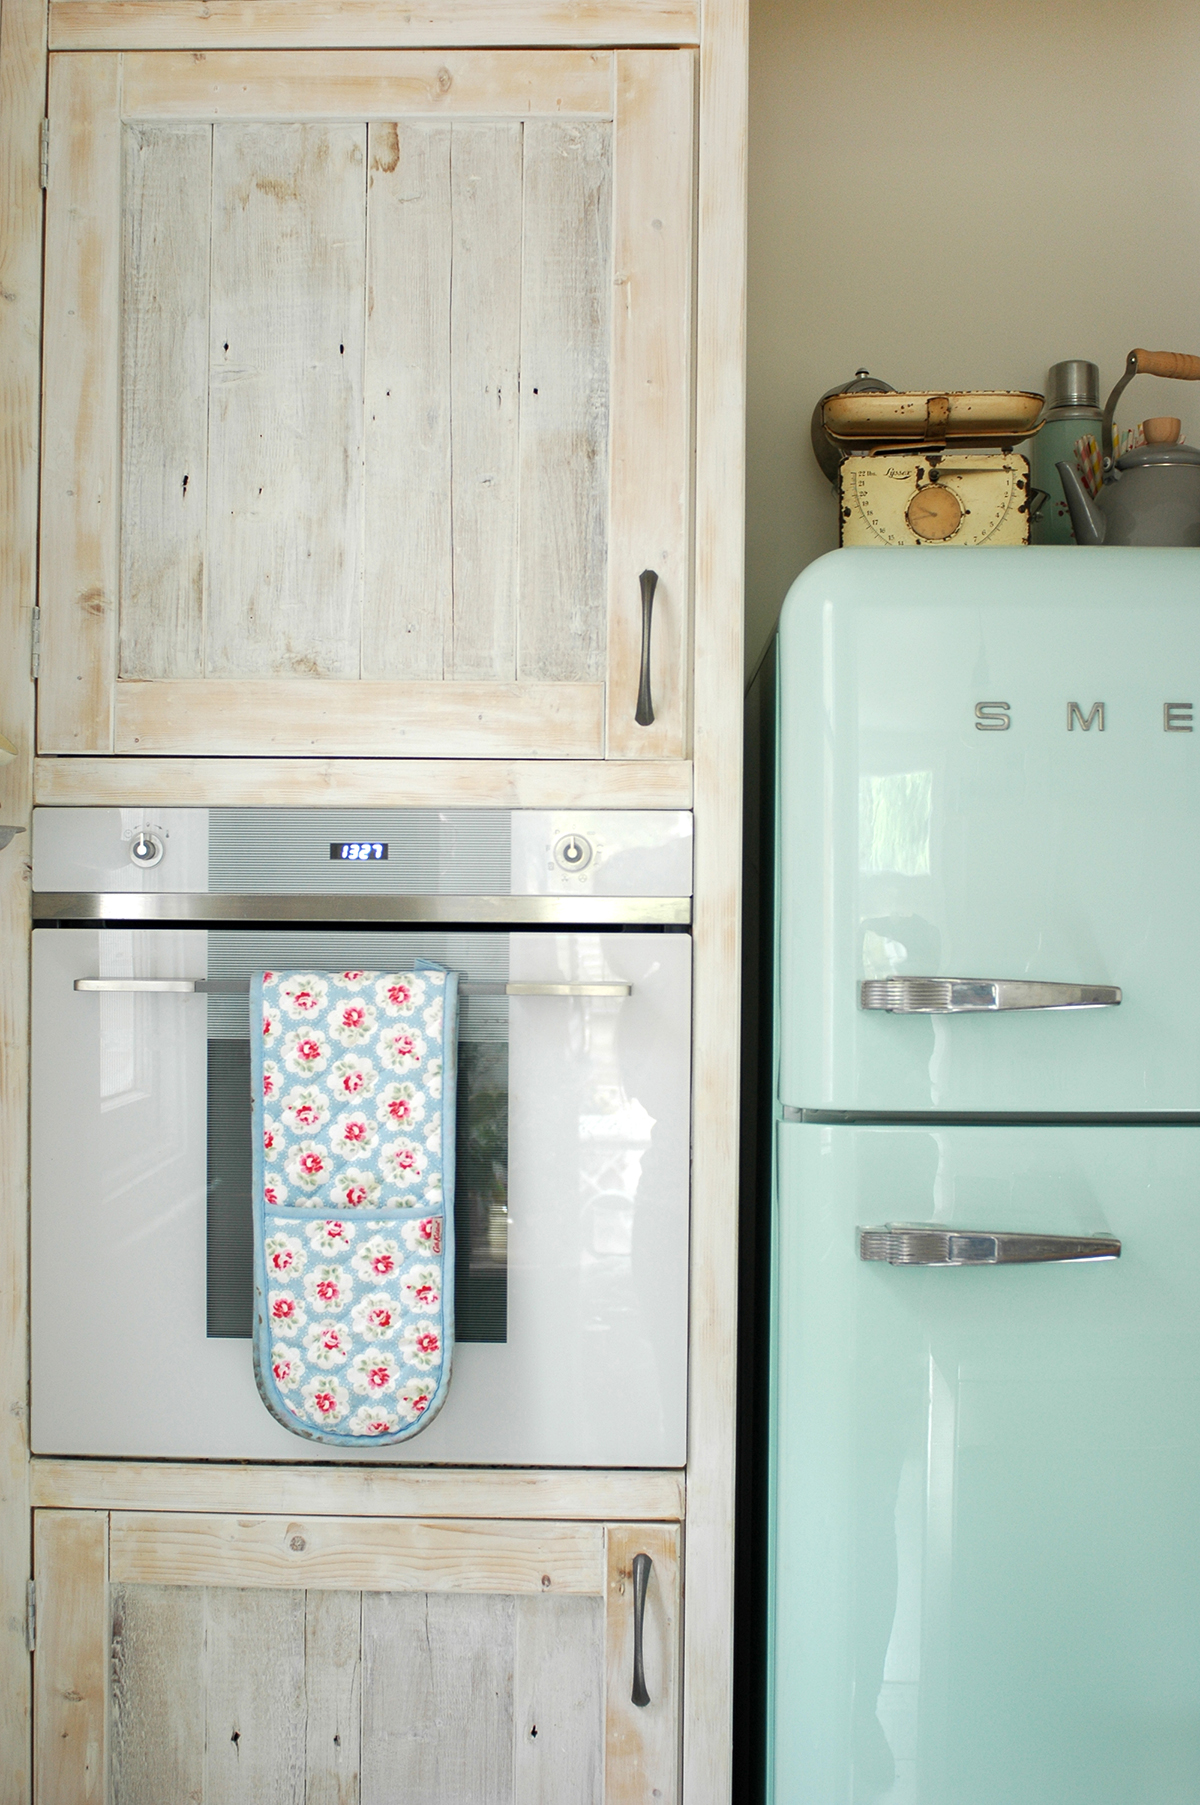
It was my dream to have a Smeg fridge ever since we bought this house, so I was super happy the day it arrived! We also had a Smeg hob and built in oven installed, as well as a Smeg dishwasher and washing machine which are tucked in the other side of the island, opposite the fridge. I wanted the lighting to be really simple in the kitchen so we just hung three bare bulbs from fabric covered cable above the island. The freestanding vintage larder I bought from lovely Paul and Sarah of Goose Home and Garden - it is so perfect for all our store cupboard foods, and the lower part has all my china, cake stands and things like tea towels and baking items. 

The tiles in the kitchen are were sourced from Armatile. I really loved the idea of encaustic tiles, but original ones were expensive and hard to look after, so these were a perfect alternative, and I love the patchwork look. The Belfast sink I bought online from TapsUK and I sourced the gold taps from a small bathroom supplies company called Colton bathroom supplies.

I found the vintage school science lab stools on eBay. They were a real bargain, at £25 each! I love how they have got graffiti scratched into the wood! 

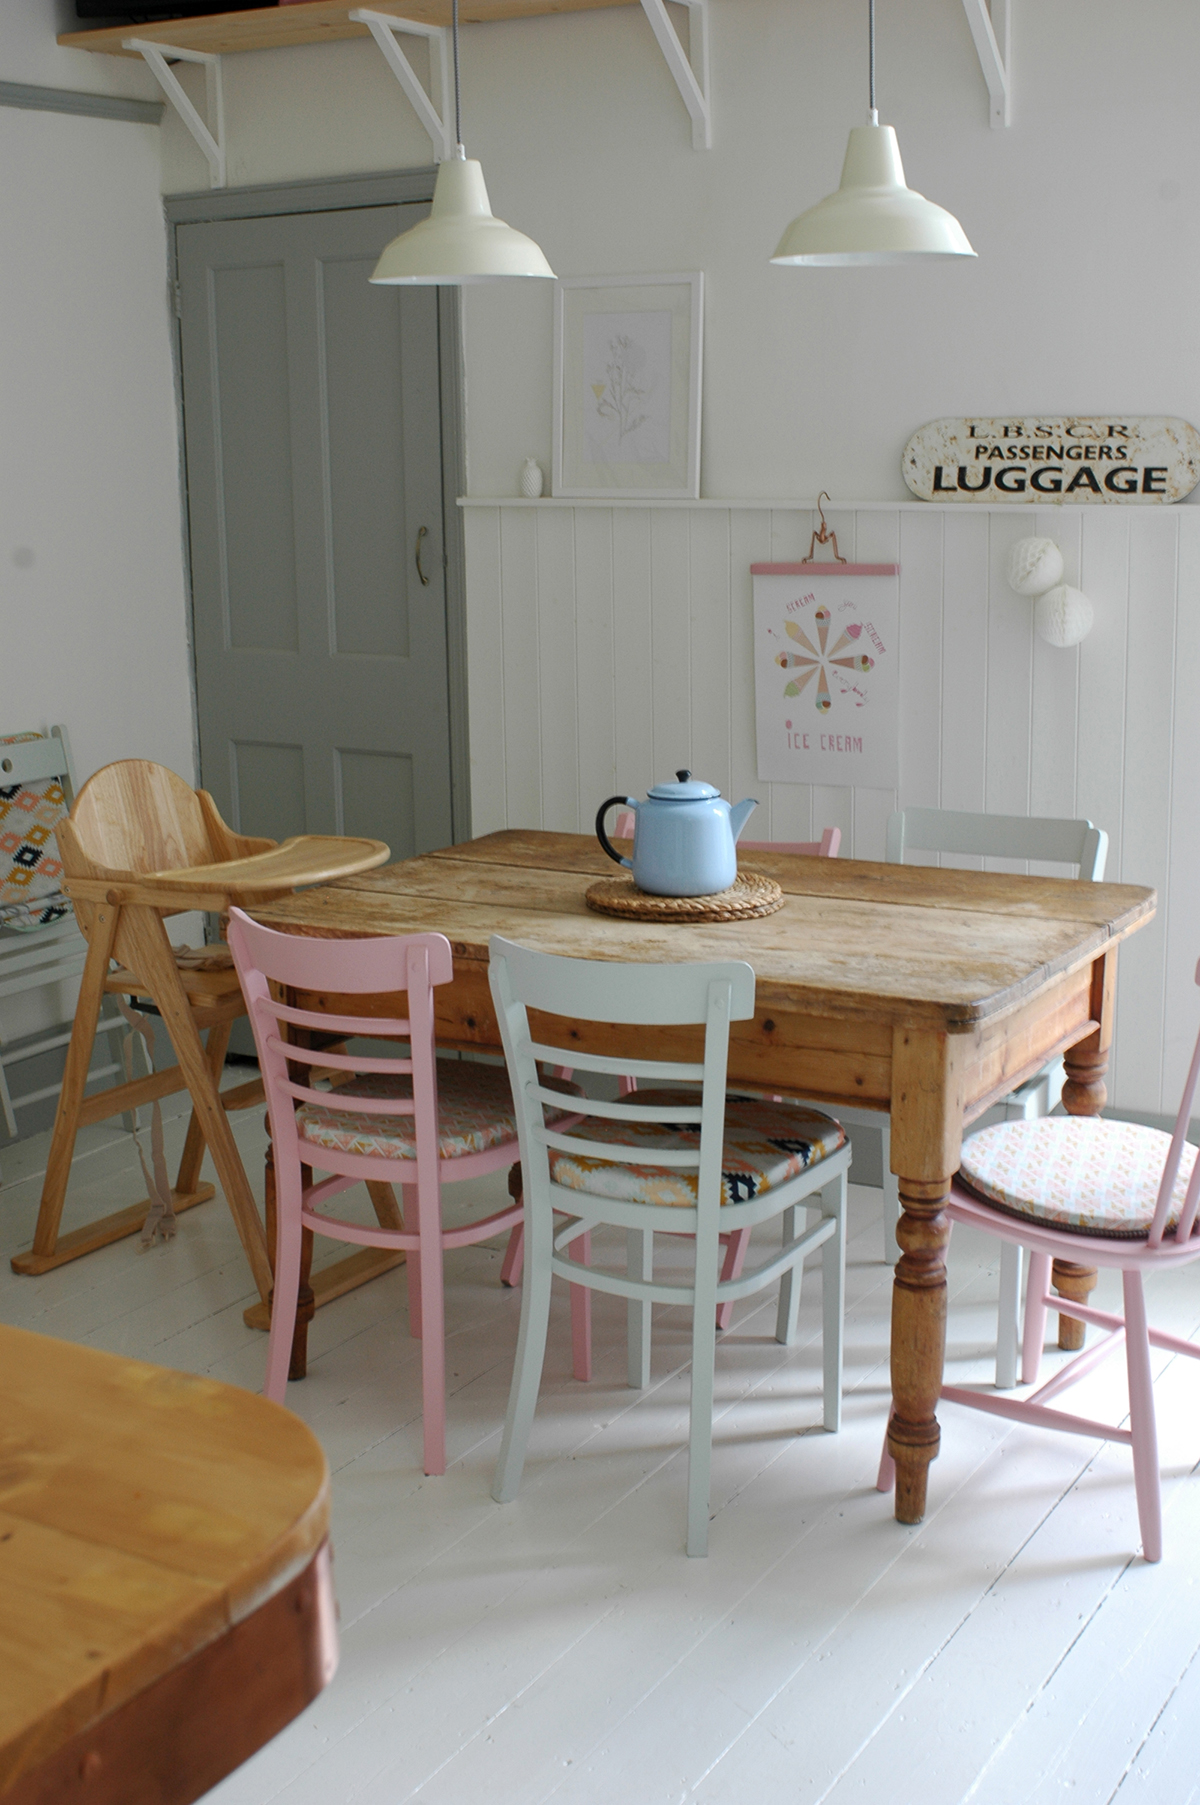
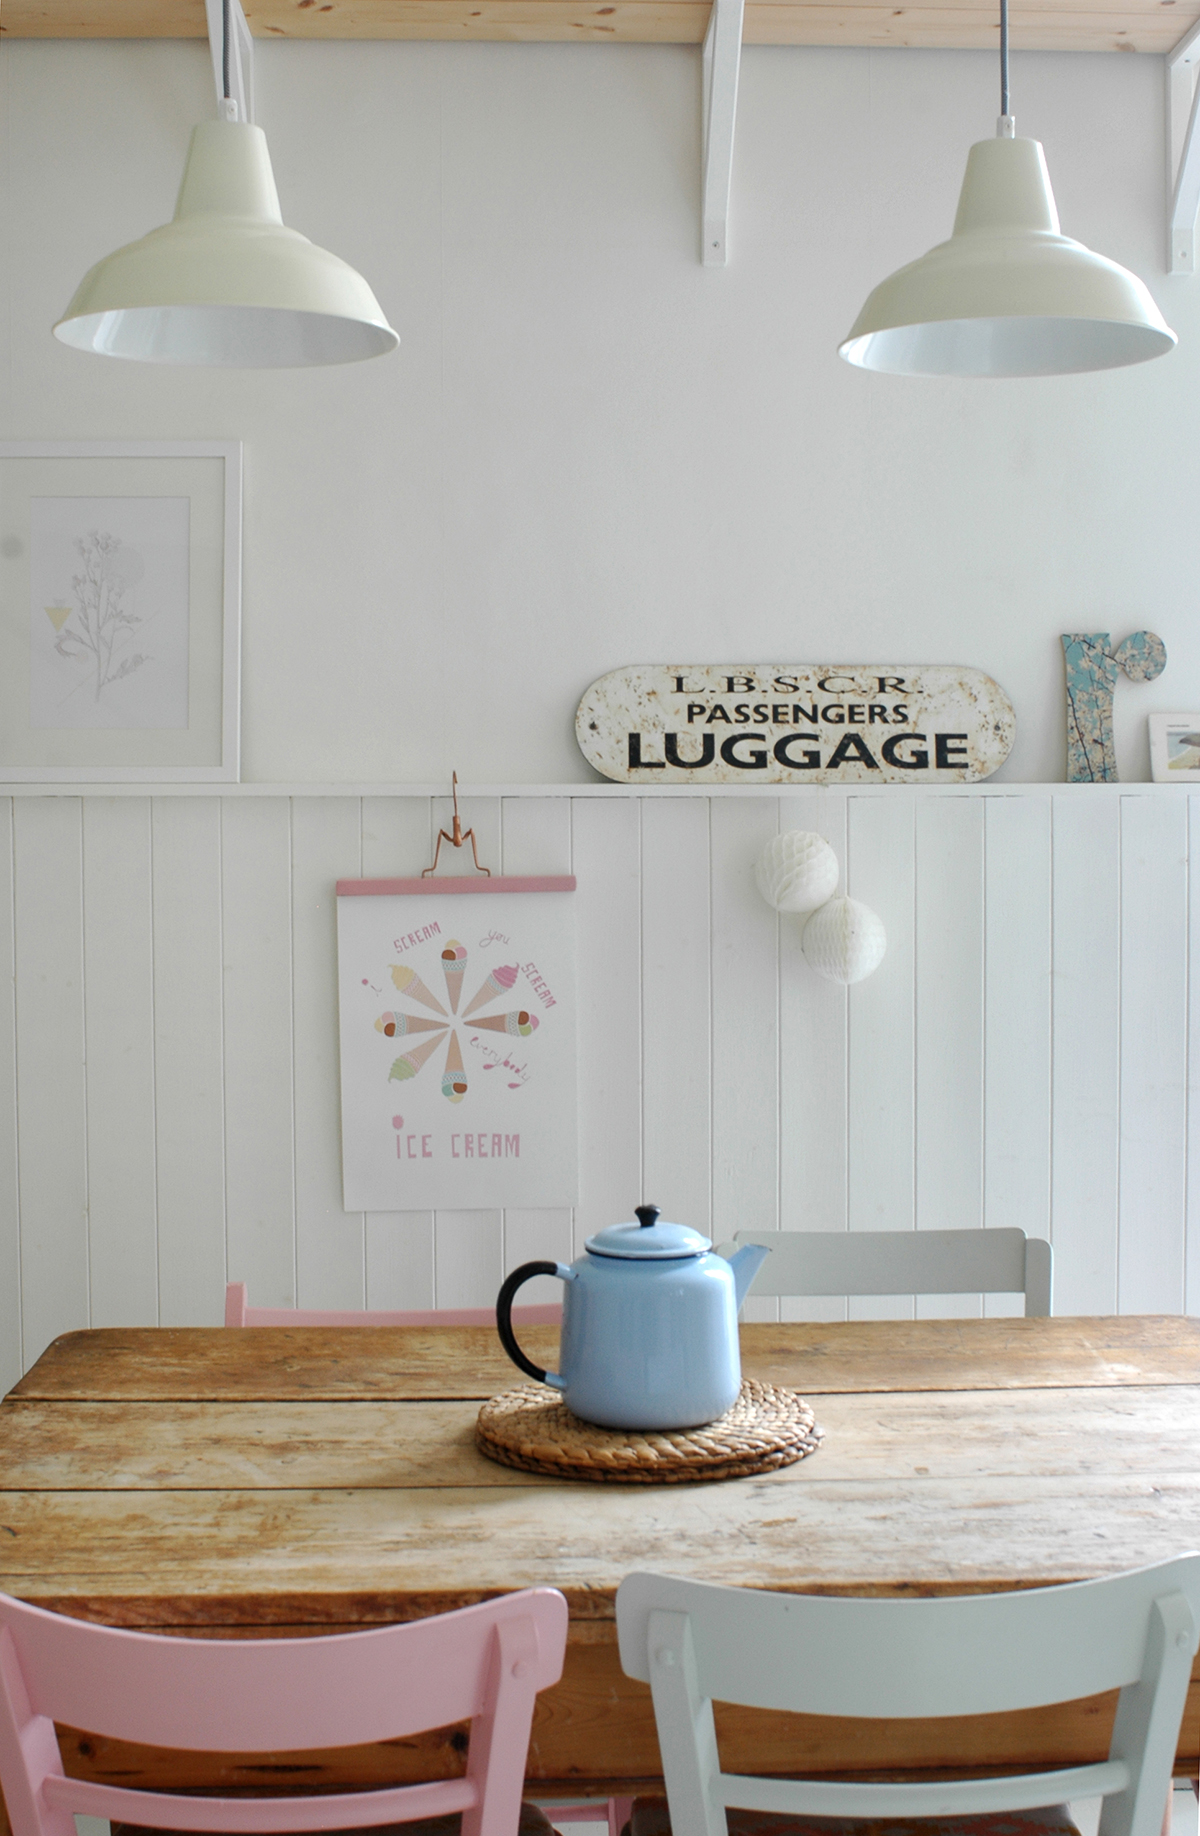
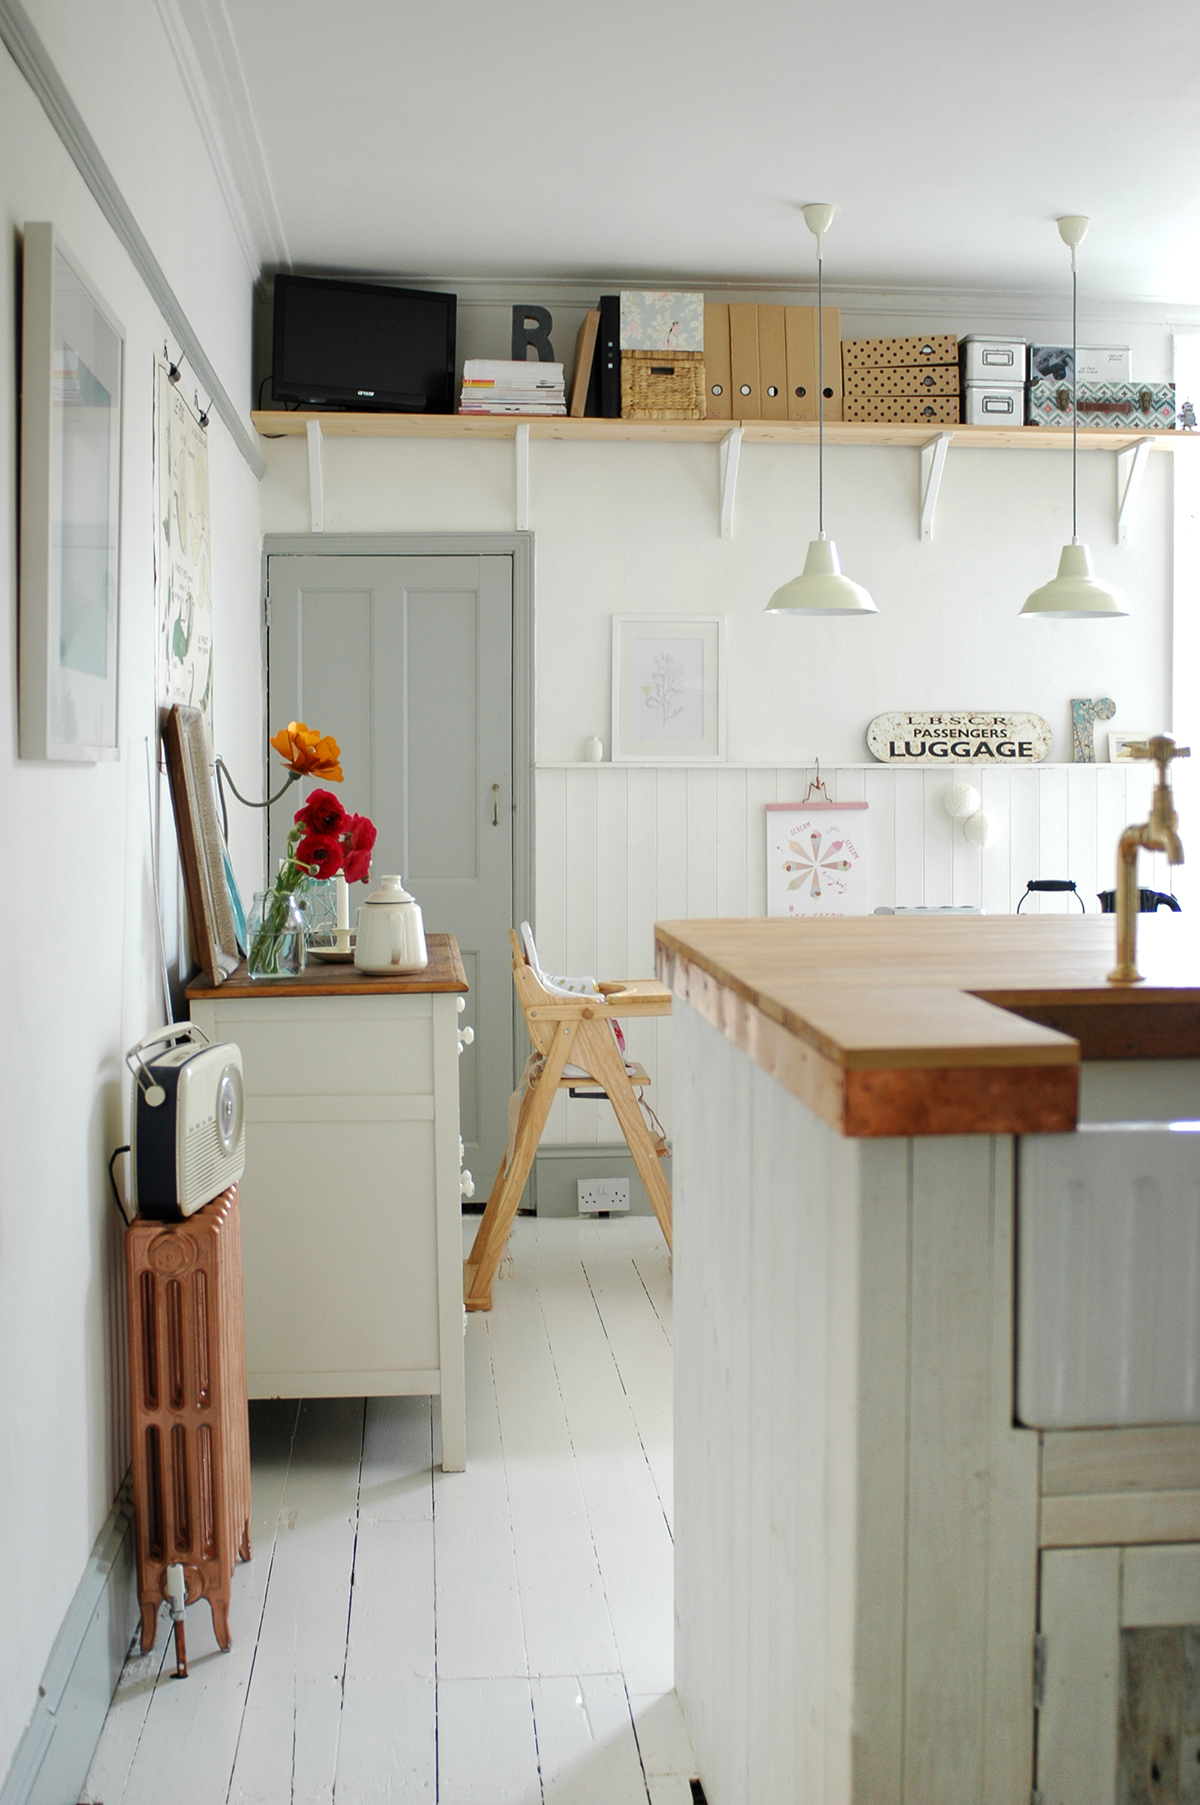
In the dining area there were no big structural changes, but we added some tongue and groove cladding to the wall and adding some shelving to help solve storage problems, and then painted the floor in Farrow and Ball Wimborne White floor paint. We actually have a new dining table since I took these photos which you can see here on Instagram which came from made.com. The pendant lights are from John Lewis.

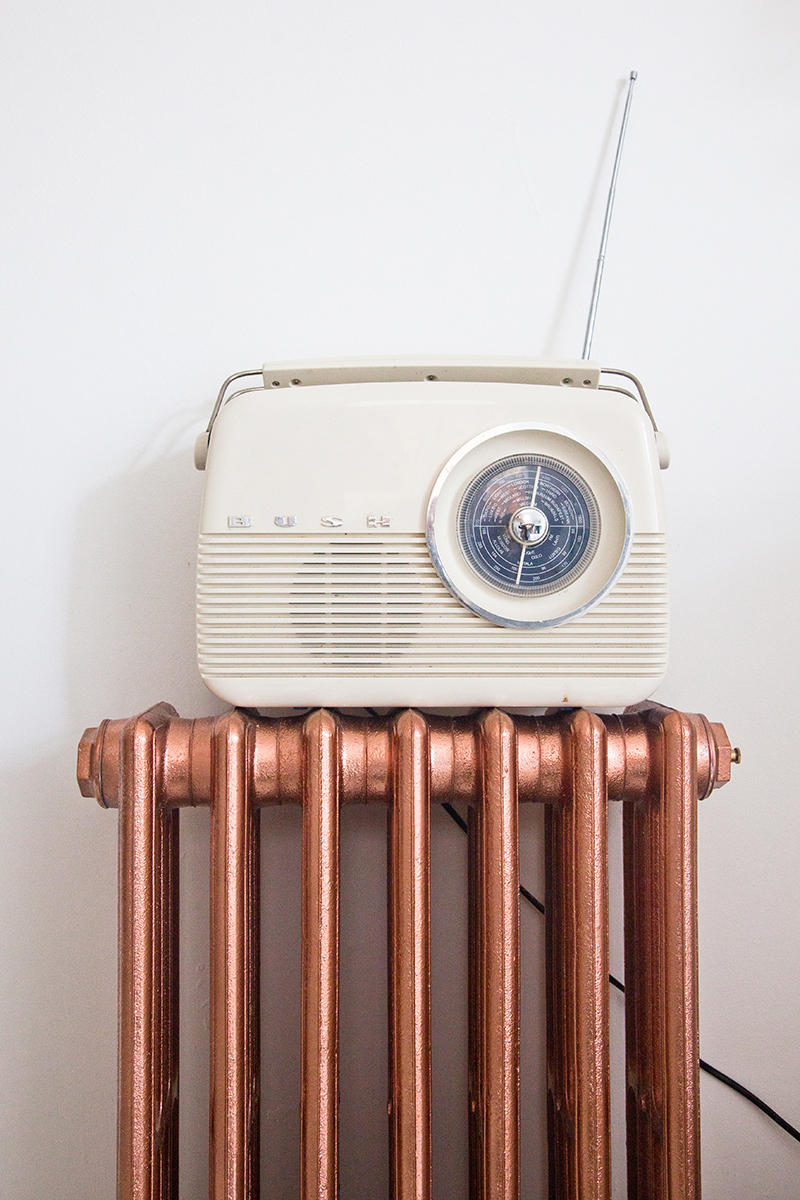
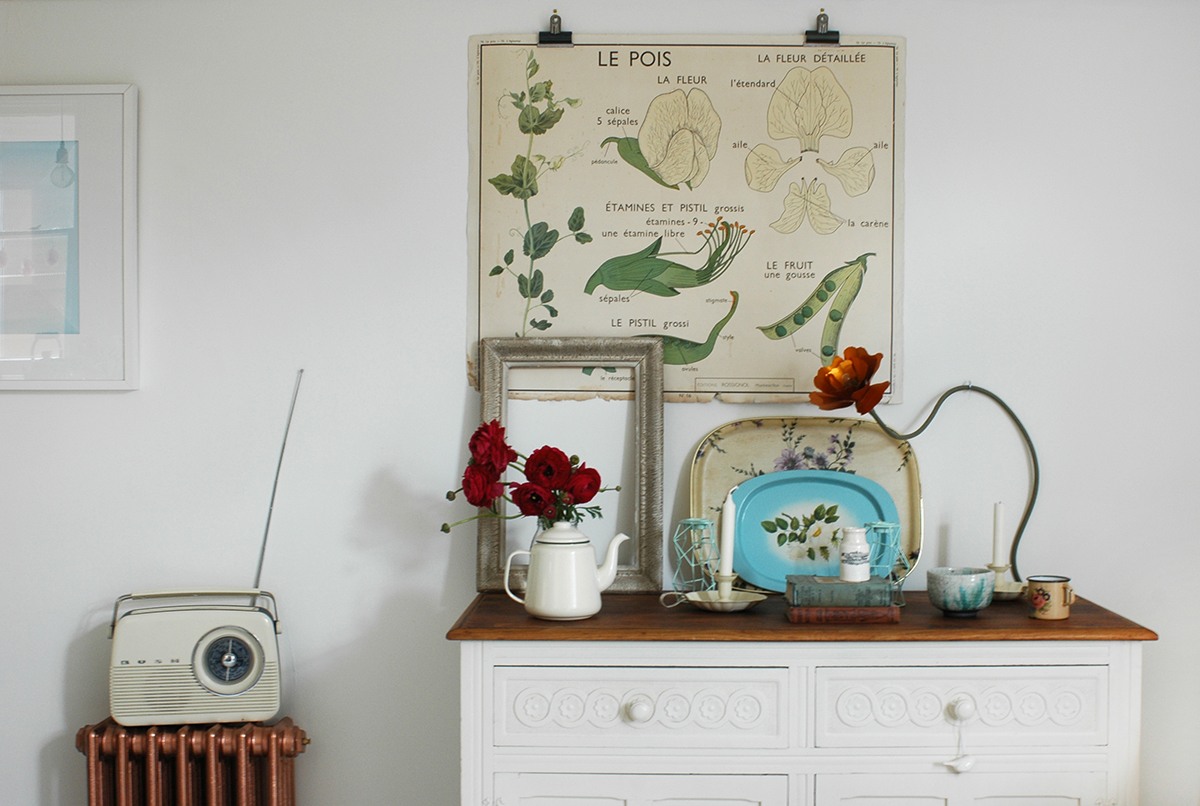
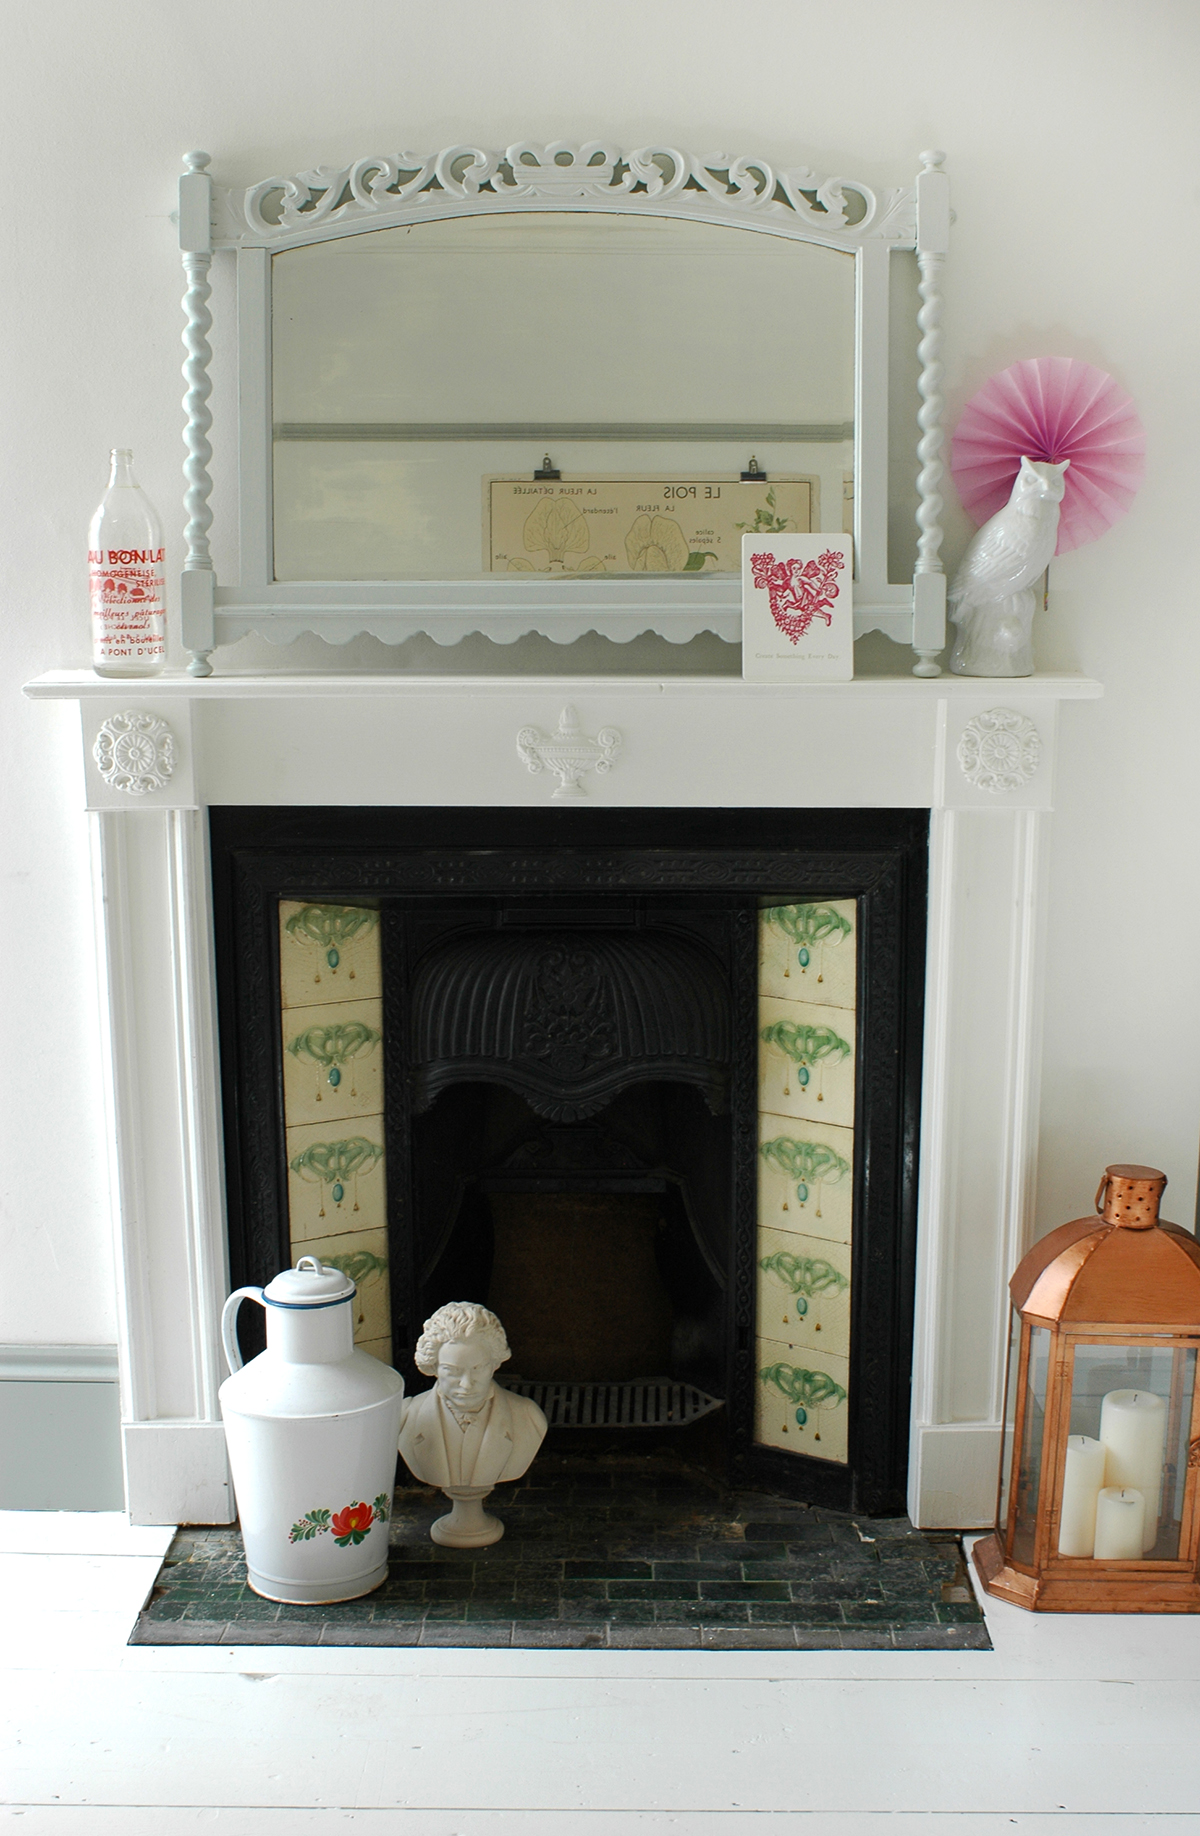
We put in new radiators as the original one was on the wall which was removed. They came from Period House Store. I just ordered the ones that came with primer on, and then I spray painted them in Plastikote Metallic Copper. The sideboard was another eBay find.

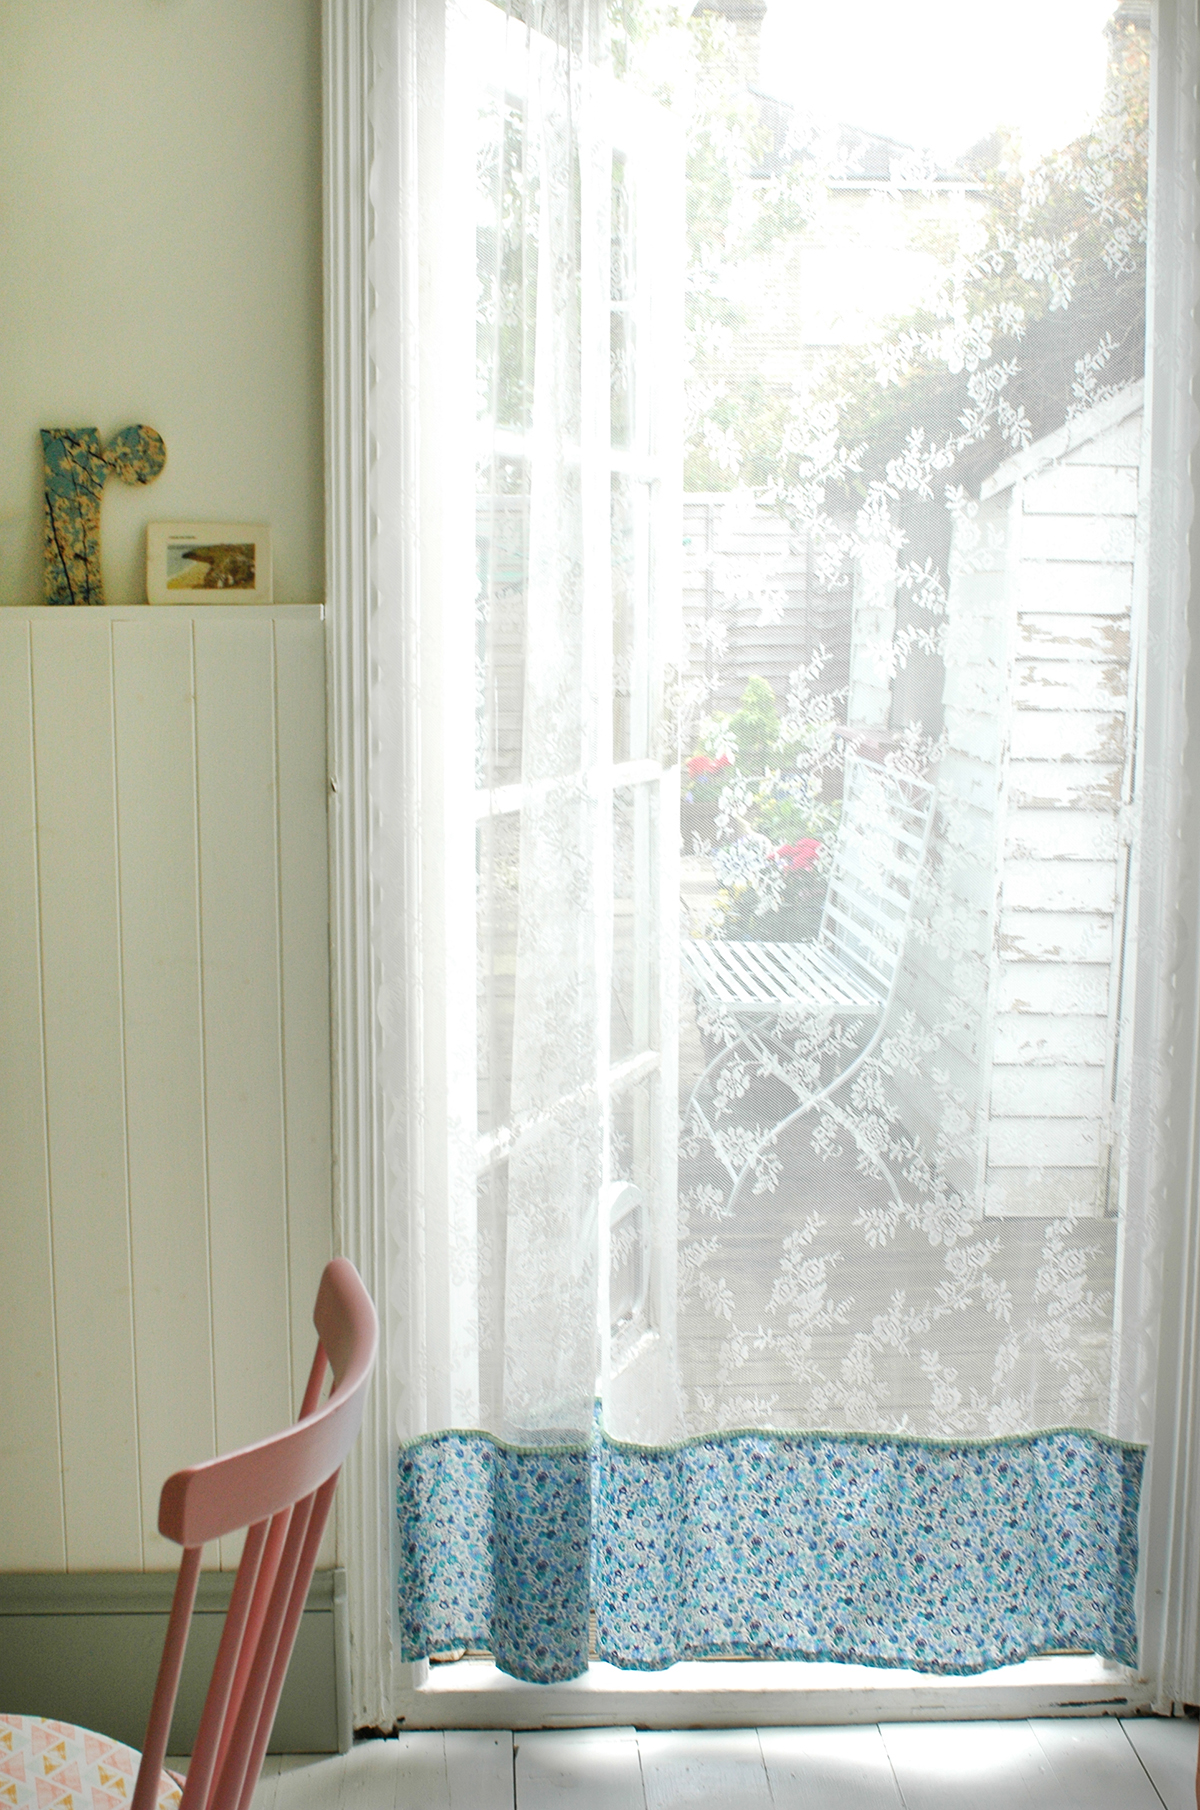
I had to have some handmade details in there too, so the dining chair seat covers were made by me, and I also customised the Ikea net curtain, by adding a little bit of Liberty fabric and some pom pom trim to the bottom edge.

And that is pretty much it! Apart from the main building work we really did try to do this on a tight budget, mainly through doing a lot of things ourselves, like decorating, making the worktop, painting radiators etc. I did use some of my industry contacts to get some discounts for things, but I was also super savvy when it came to sourcing fixtures and fittings. All it takes is a little bit of time researching online to find the best deal. 

Anyway, I'd love to hear what you think, and if you have any questions just let me know! ;) 

xxx

DIY: Kitchen island worktop

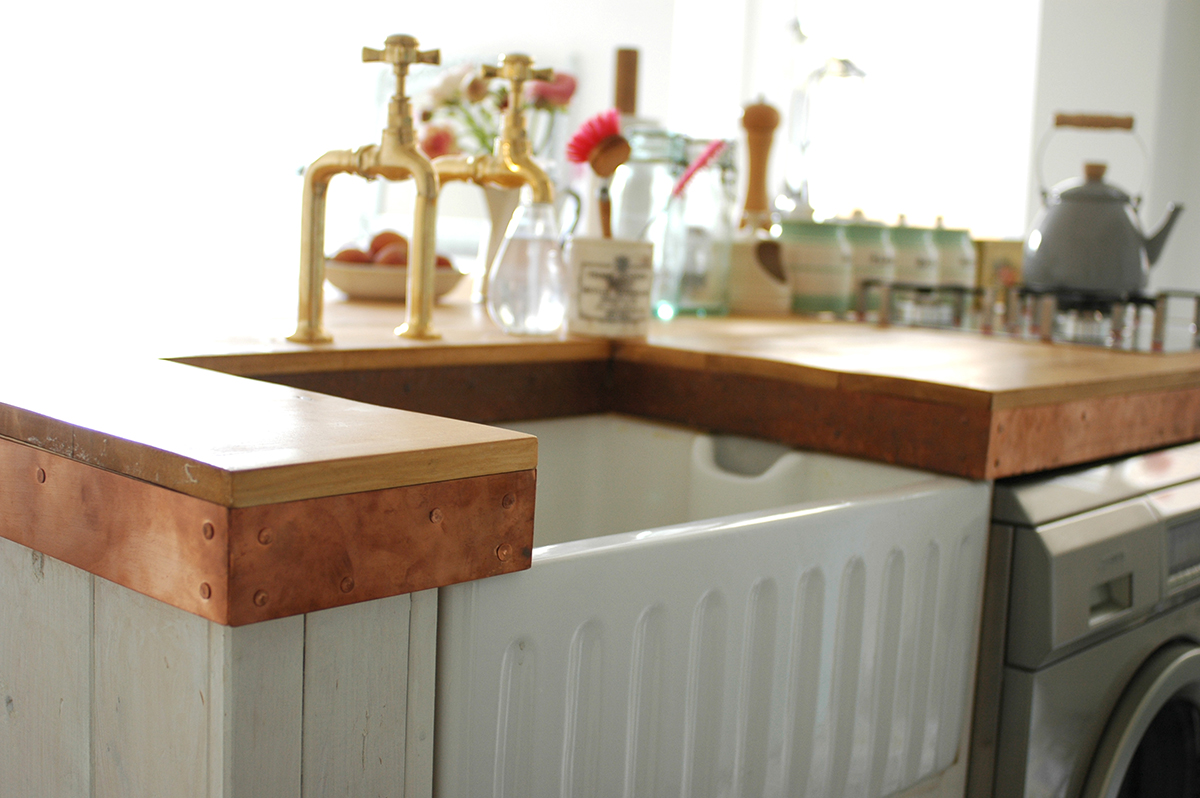
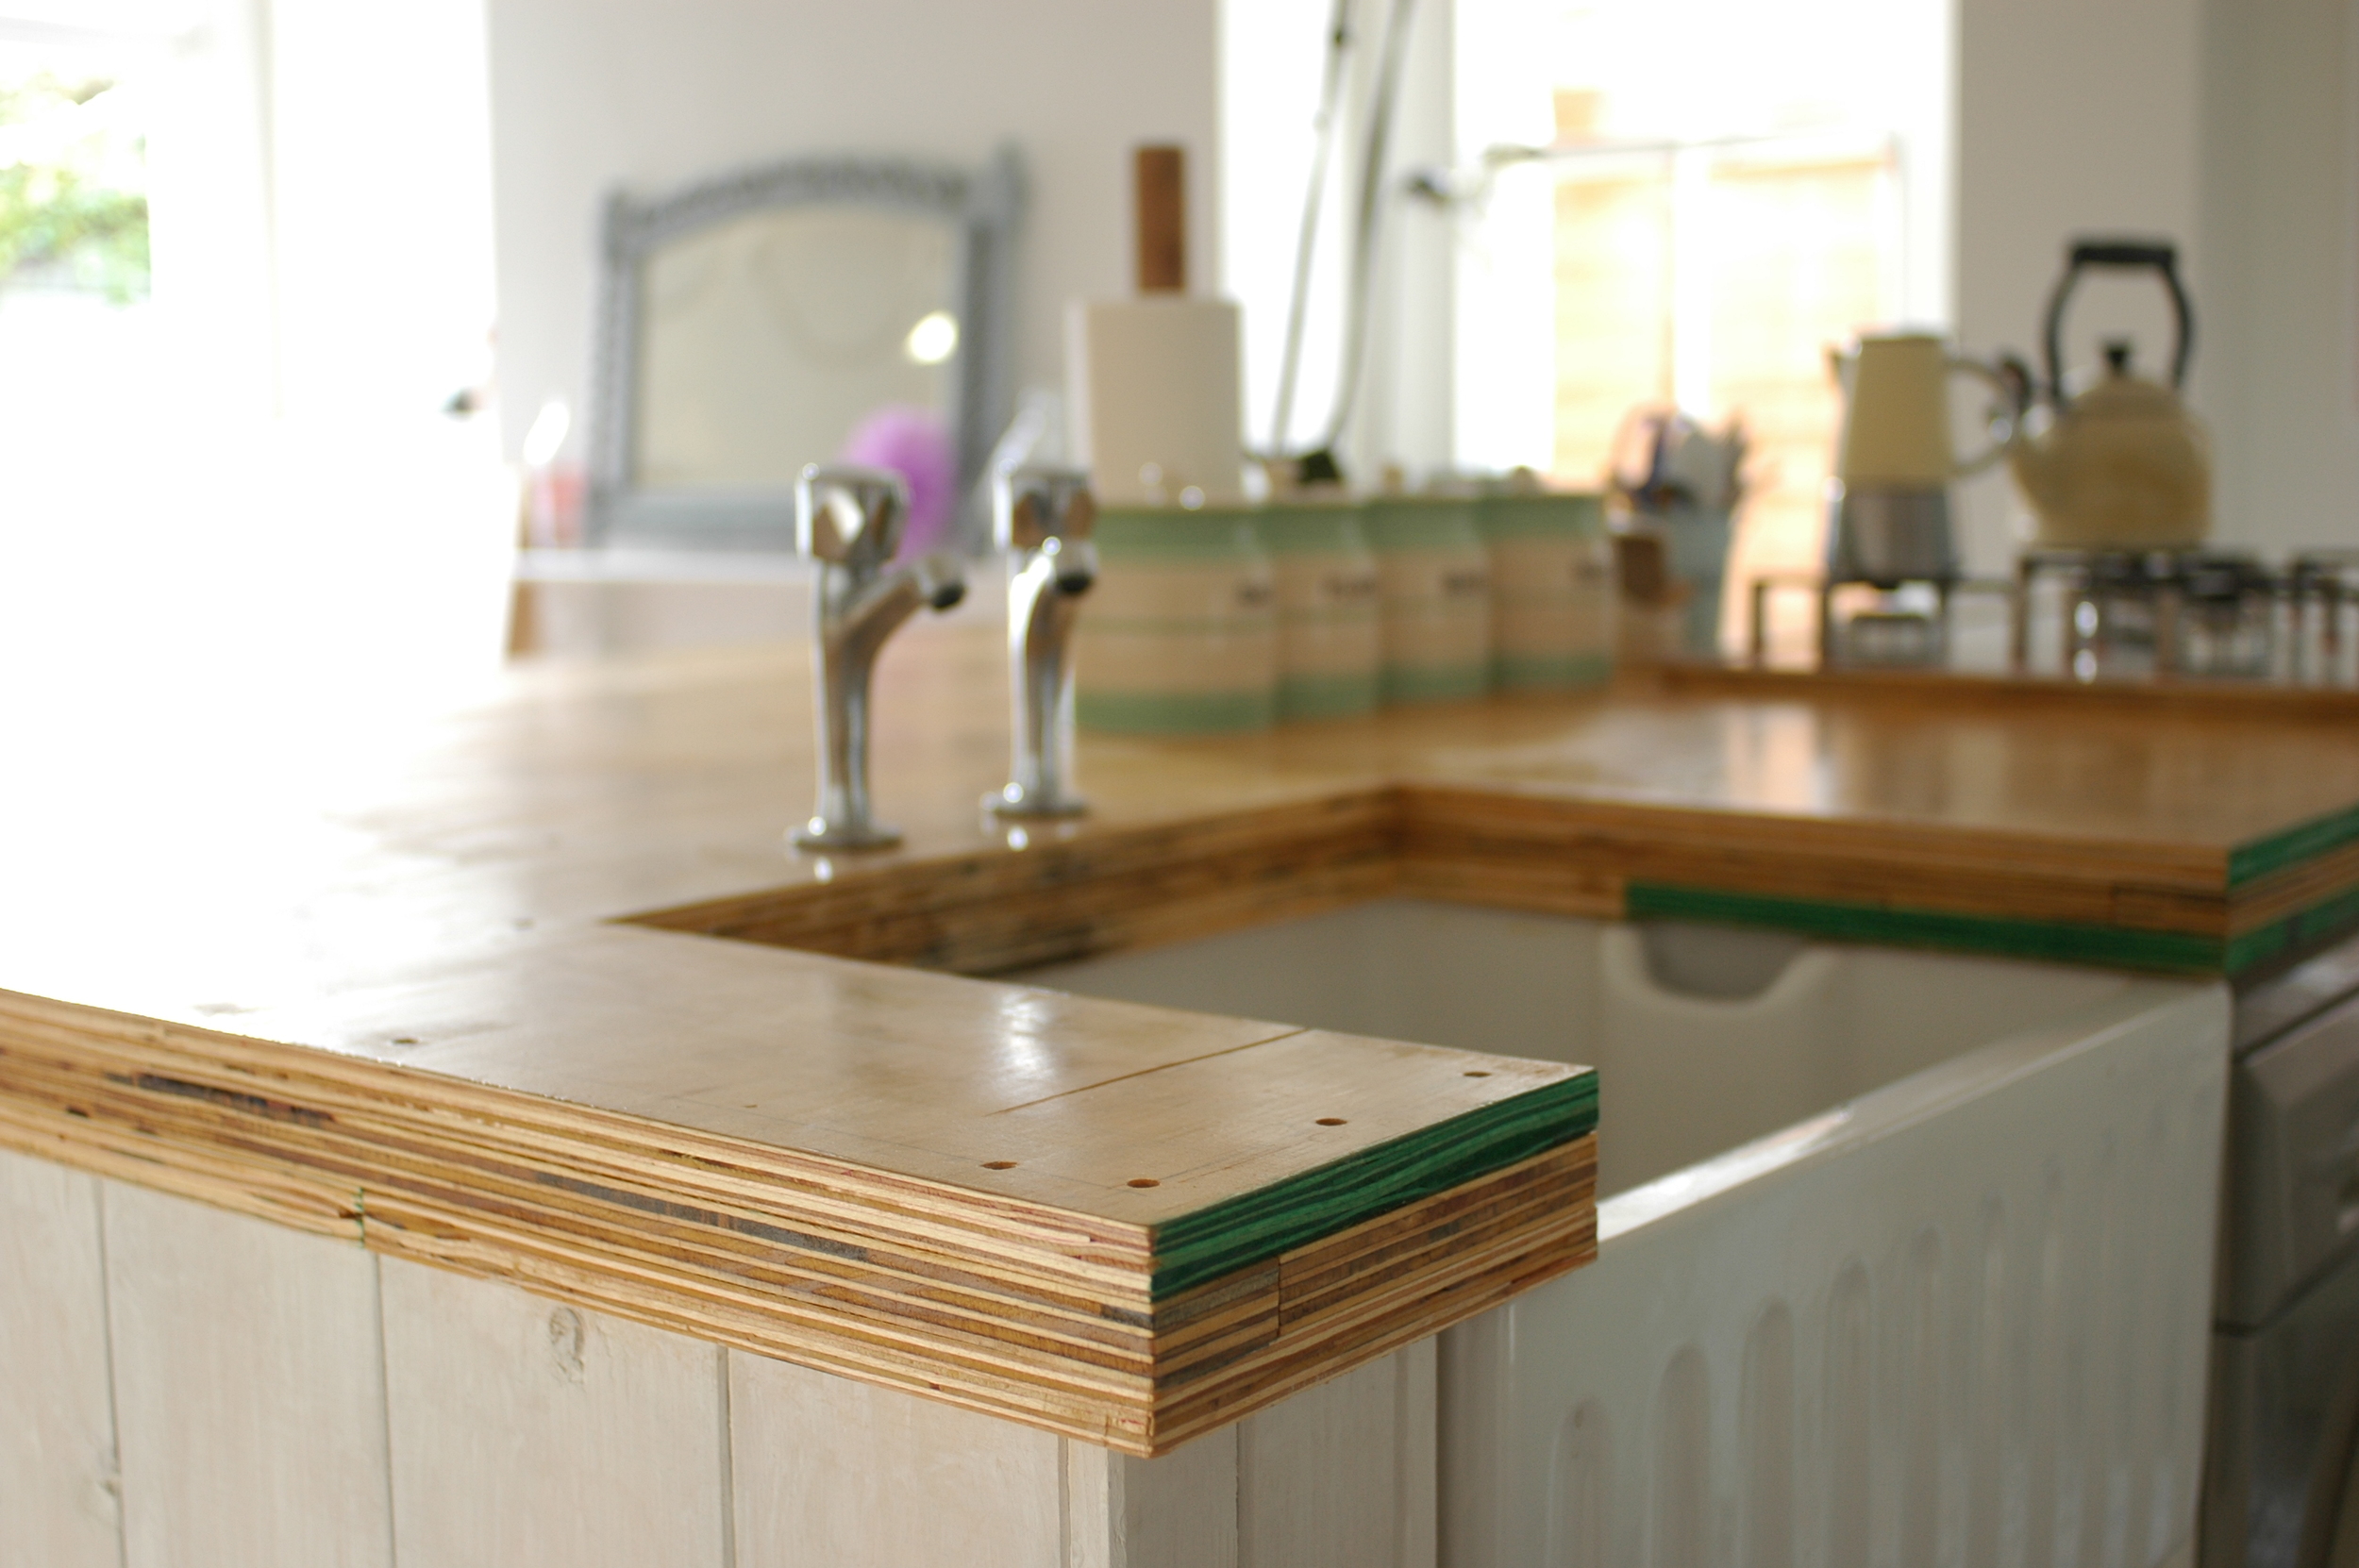
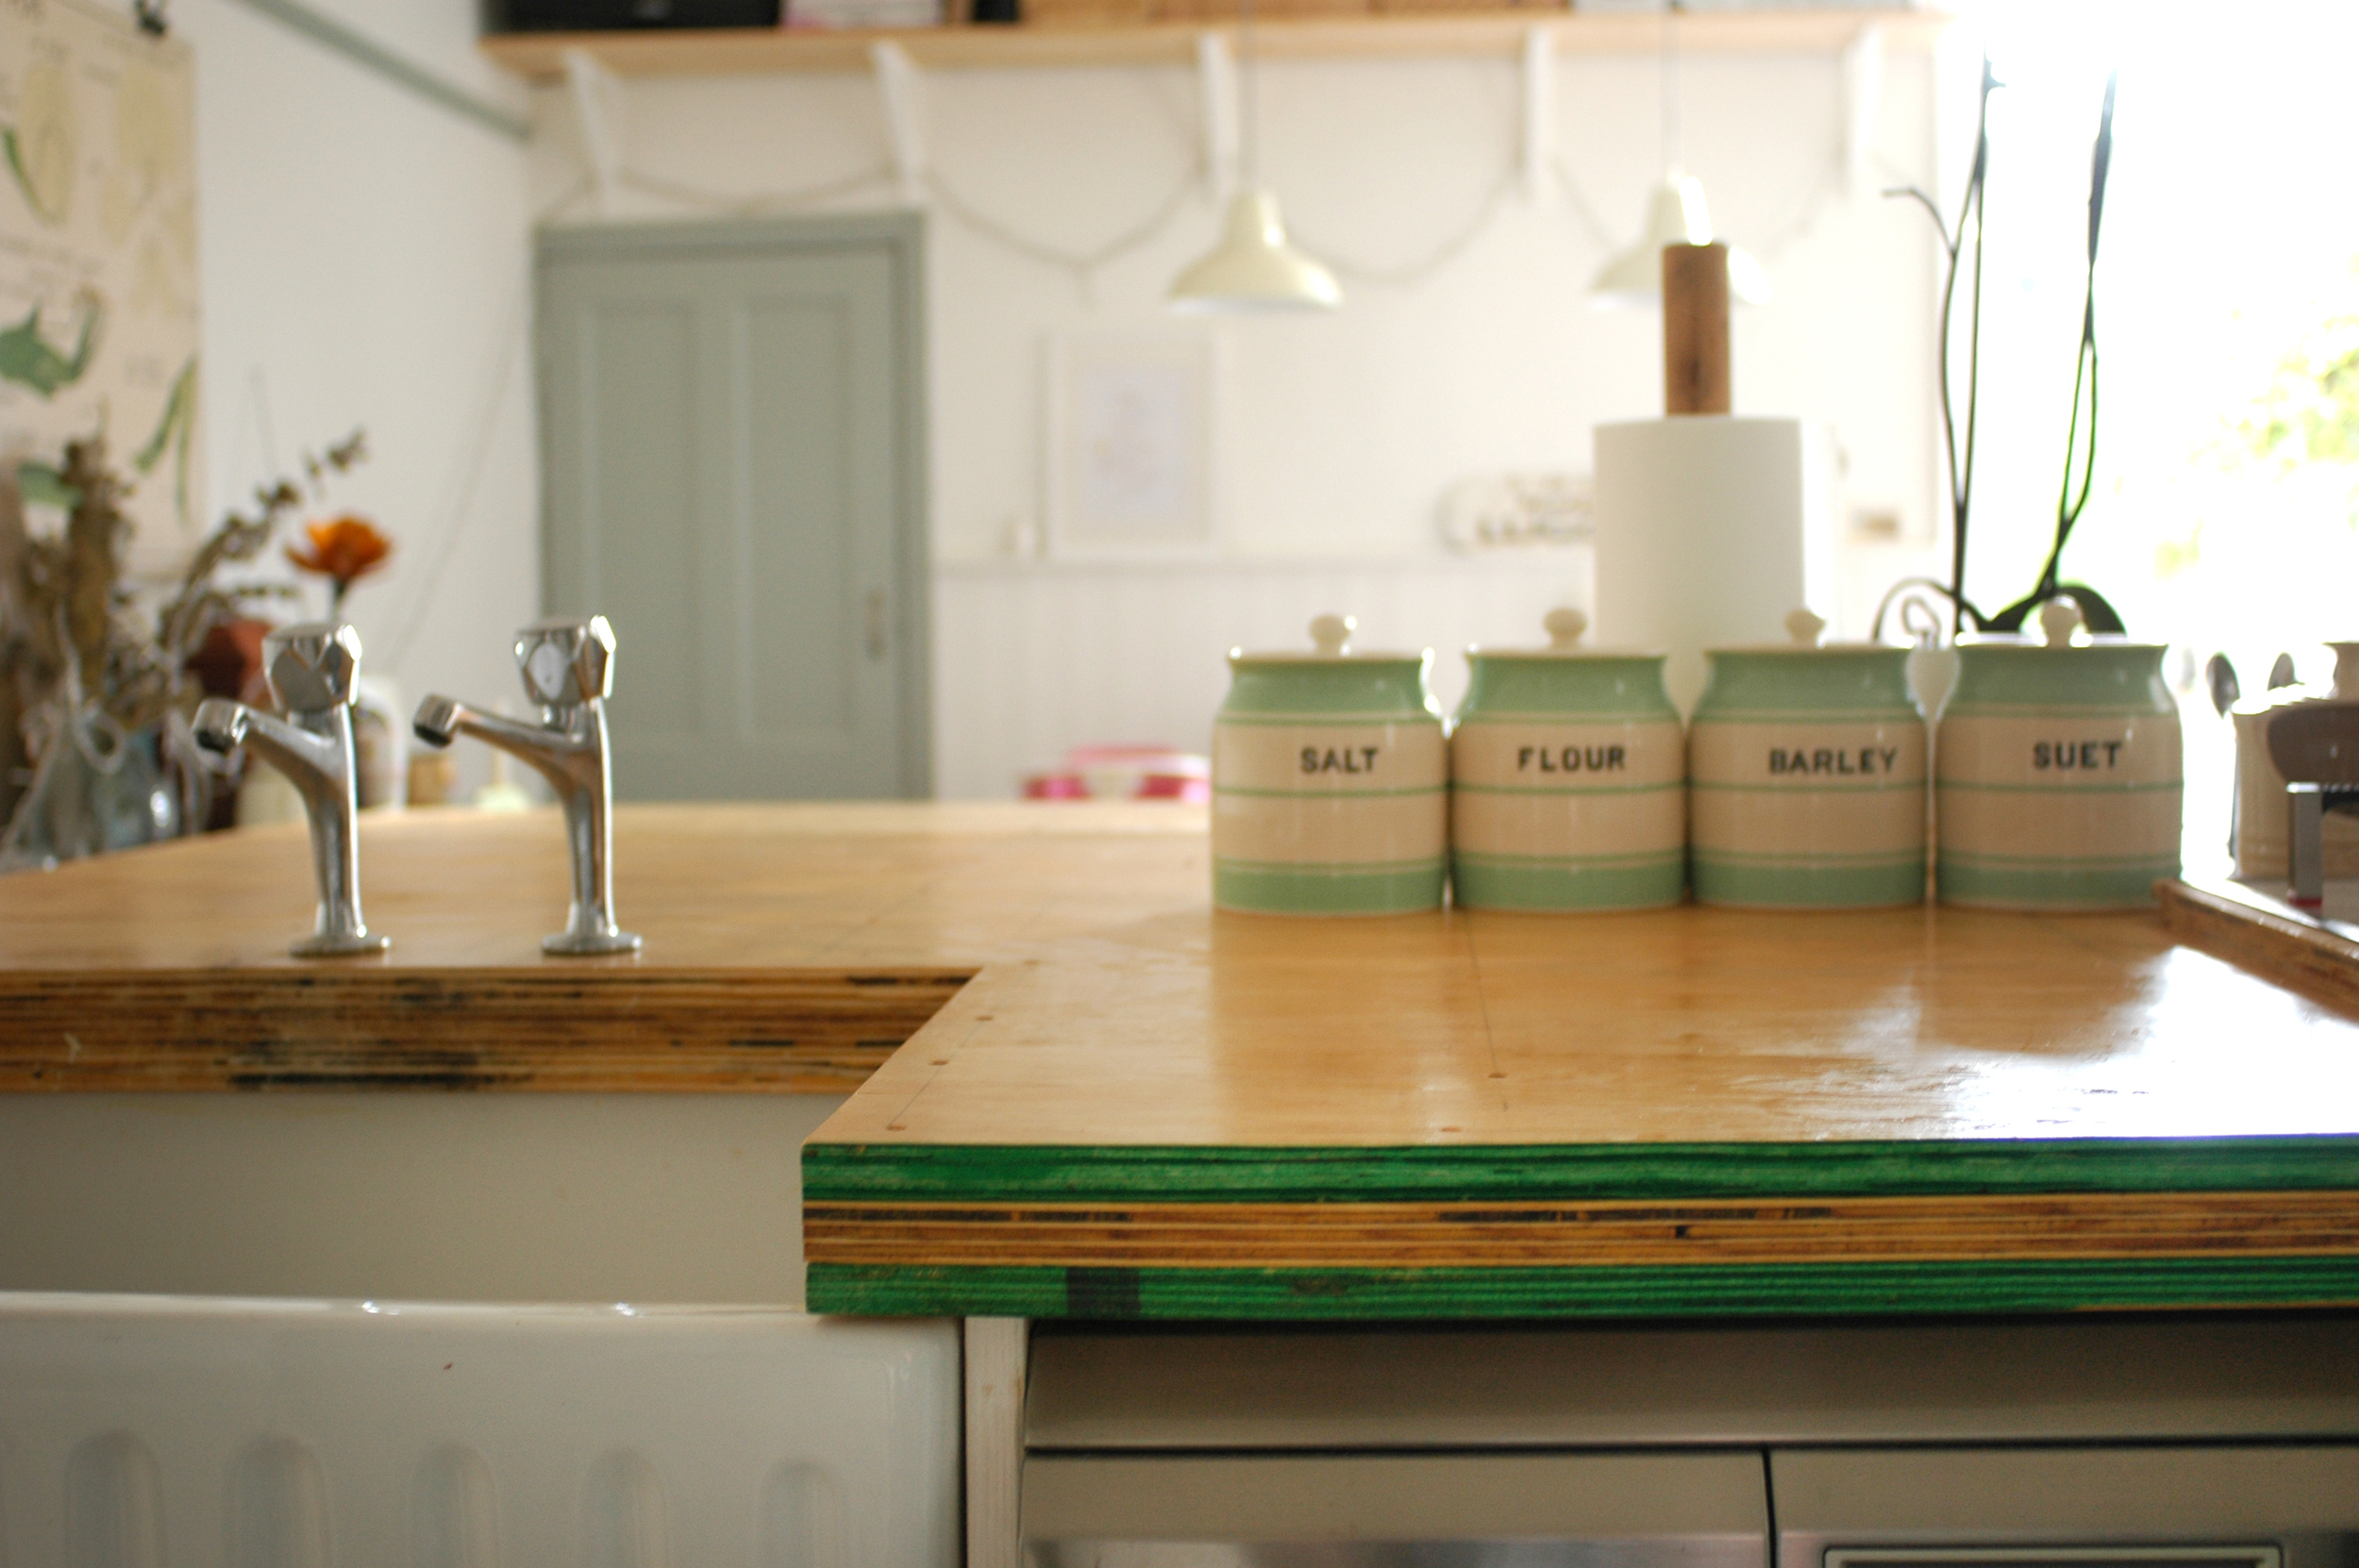
If you are regular reader or follow me on Instagram, you will more than likely know about our kitchen renovation that we've been doing over the last year. (yeah, it's really taken that long to finish!) This was my original moodboard post. It is finally finished now, and one of the major challenges we faced was the kitchen island worktop. The initial plan was to have it clad in copper - this wasn't a cheap option but something that I was really keen on. This all fell through when the company went awol, then our builders offered to do it, but then they went awol too. They left us with a plywood worktop which, while I actually quite like plywood at the minute, it just looked really rough and unfinished. They also left us with temporary taps as they hadn't yet fitted our new ones and I hated them! The cheapest of the cheap taps that kept twisting round when you turned them! 

We decided we needed to find an alternative to a copper worktop as really it was just a bit expensive. For a while we toyed with the idea of concrete, which I blogged about here. We thought about doing it ourselves, but then concluded that it was just a little too daunting and we might make a real mess of it! So we got a quote from a company to do it, but this was just as expensive as the copper. So we were back at square one. In the end, we decided to go for a simple DIY idea, that would finish off the worktop but not cost a fortune. 

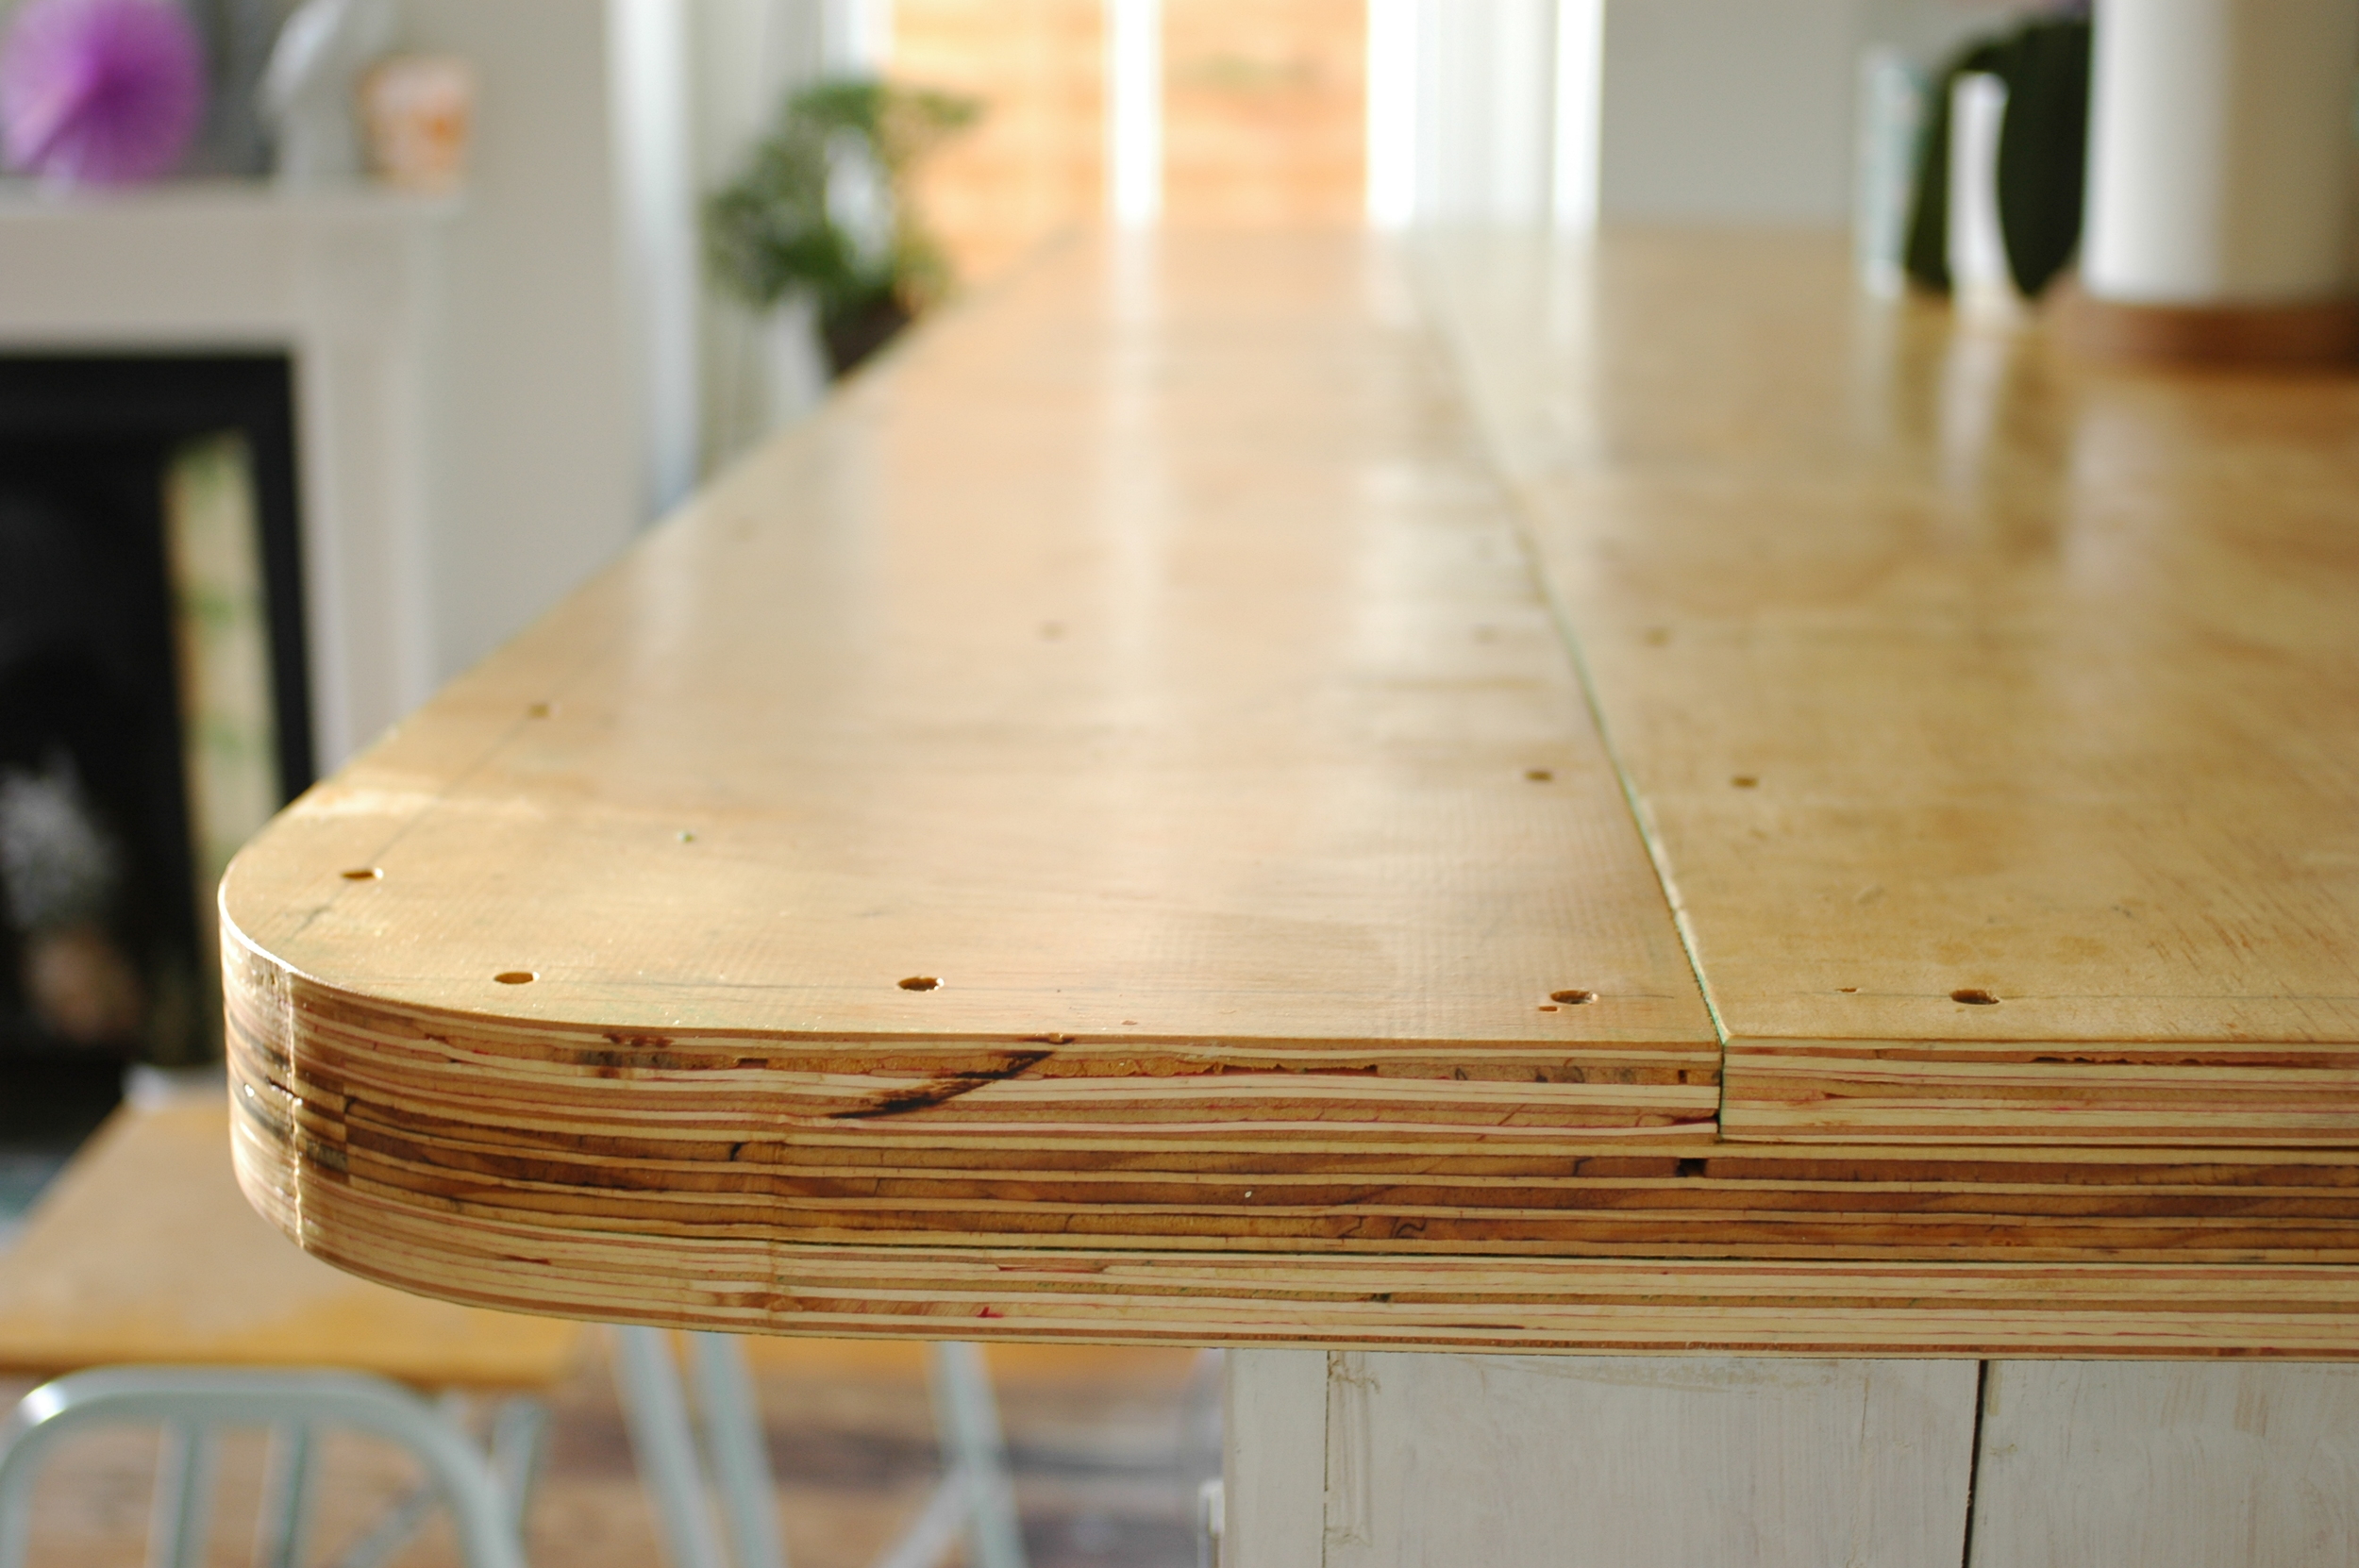
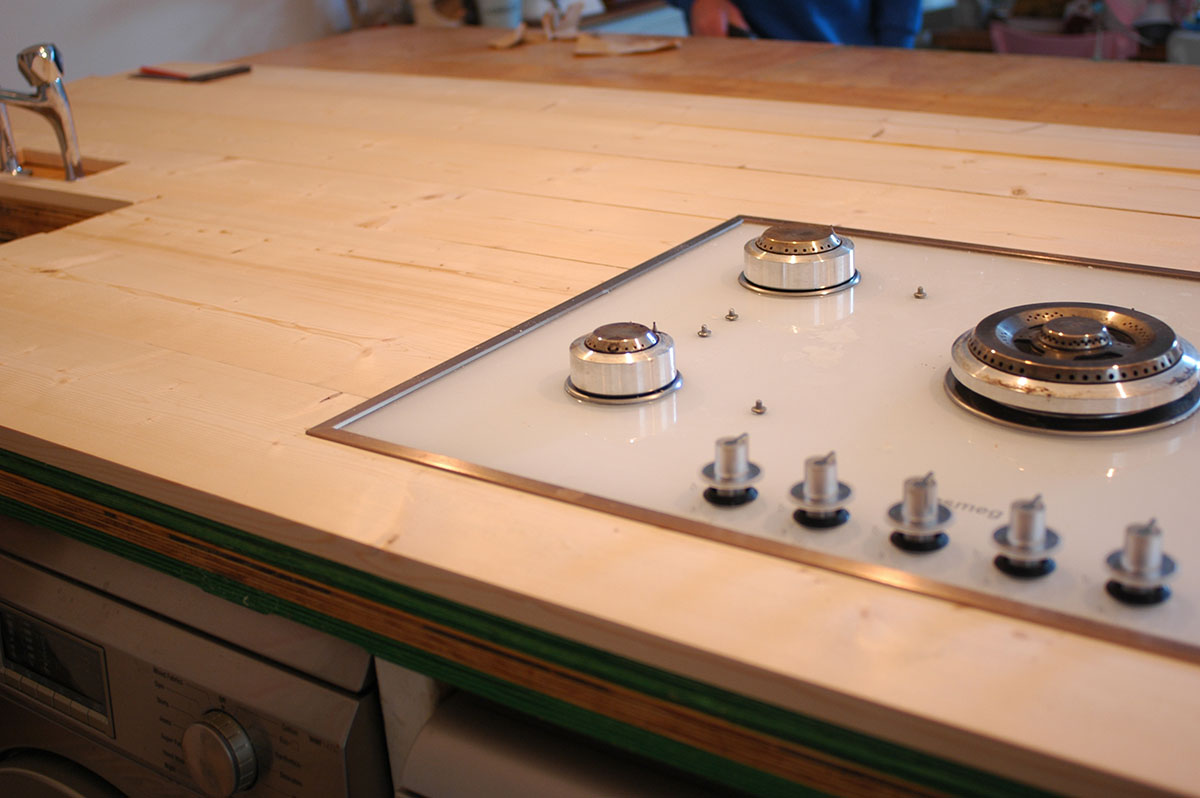
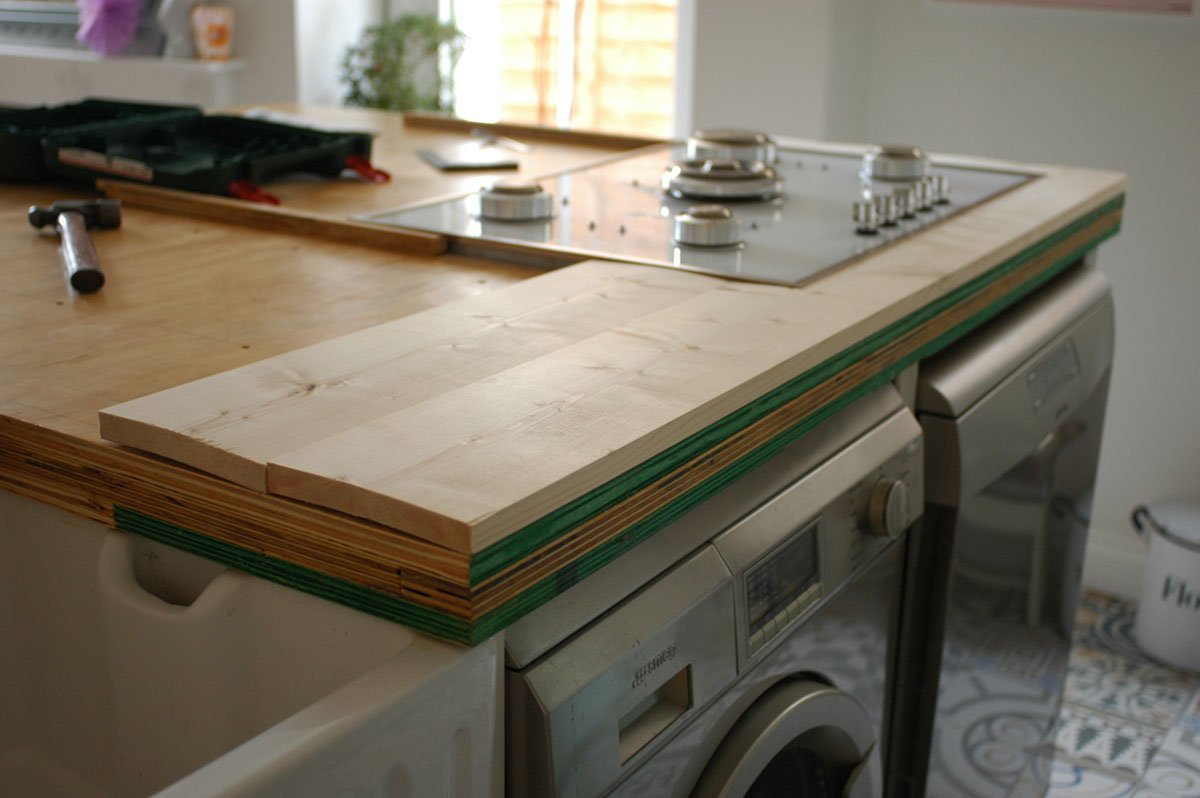
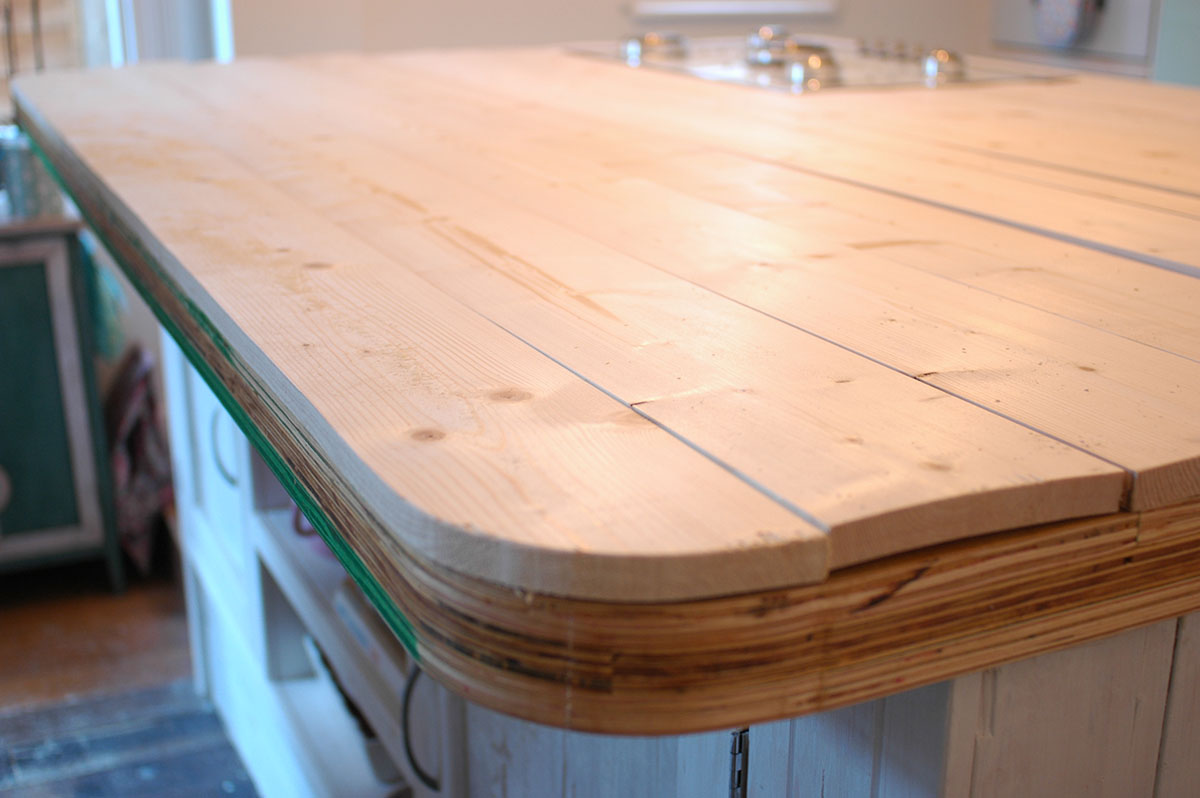
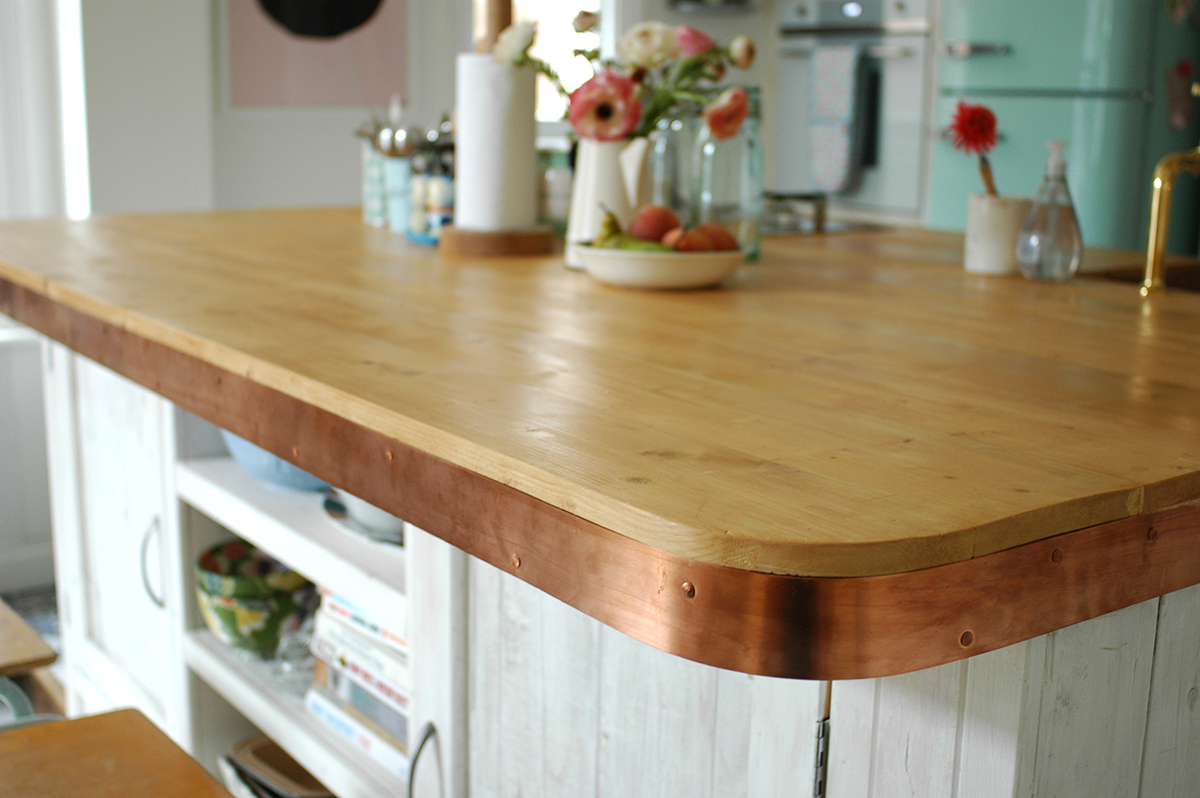
We bought some wooden planks, and simply screwed these on top of the plywood. Thankfully this meant that the hob was now flush to the worktop. (The builders has left it slightly raised up above the plywood for some reason)

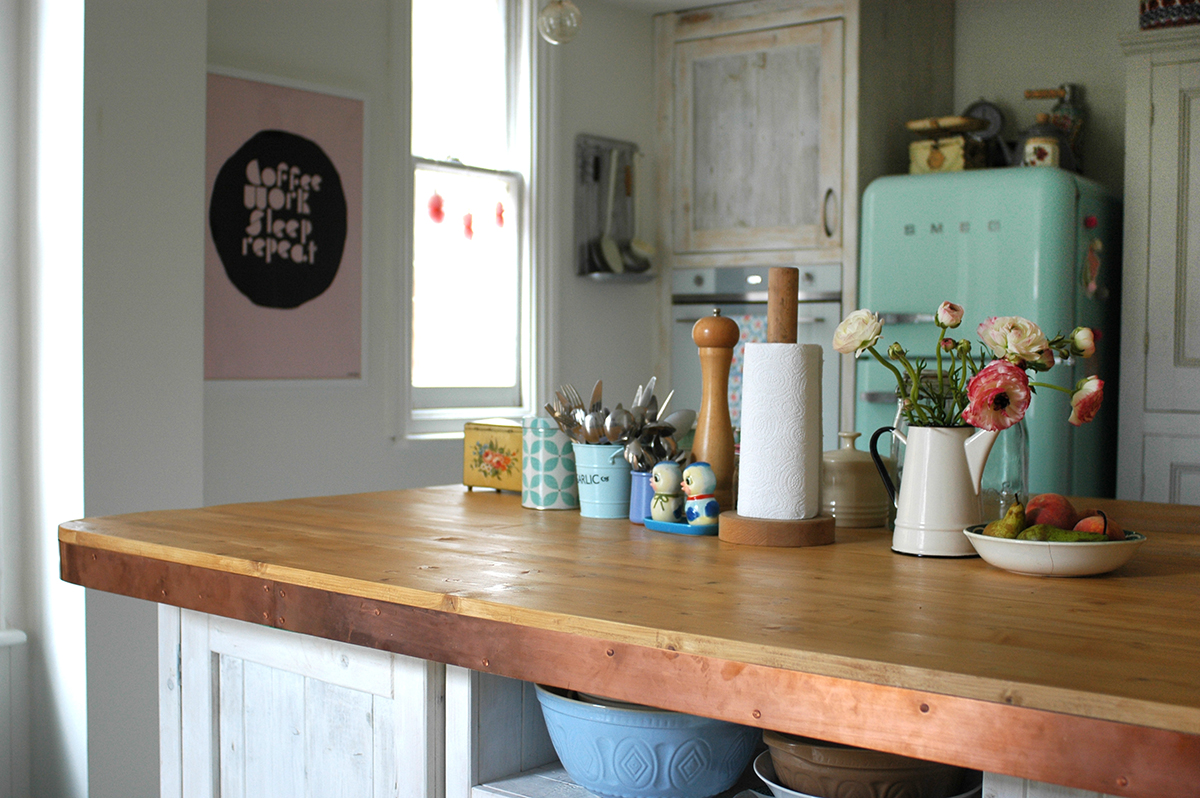
This was then all sanded down, and the screw holes and any gaps were filled with wood filler. We then stained and varnished the wood. The final issue was how to cover the edge of the plywood. We went back to the original idea of copper, and bought copper strips and copper nails online and used these around the edge.  

Ta da! This is the finished result! Oh and we fitted the taps ourselves! I think it turned out really well and was a much cheaper alternative. The great thing about copper is that it ages well, so even around the sink where it gets wet, the oxidation and patina just adds to what i hope is a kind of modern rustic look.

It cost us approx. £400 for the materials - the wooden planks, stain, varnish, copper strips and nails. And nothing else but a bit of our time and hard graft. Compared to the quotes of between £1000-£2000 for the copper or concrete worktops, it has certainly proved a more affordable option. It might not be quite as impressive as either of those, but hey, when you're on a tight budget, you often have to compromise. I'd love to hear what you think! x

Garden refresh & DIY plant holder

The bank holiday weekend is a perfect time to give the garden a quick tidy up and refresh. The weather was a bit hit and miss this weekend, but I managed to get enough dry hours to get a few things done. 

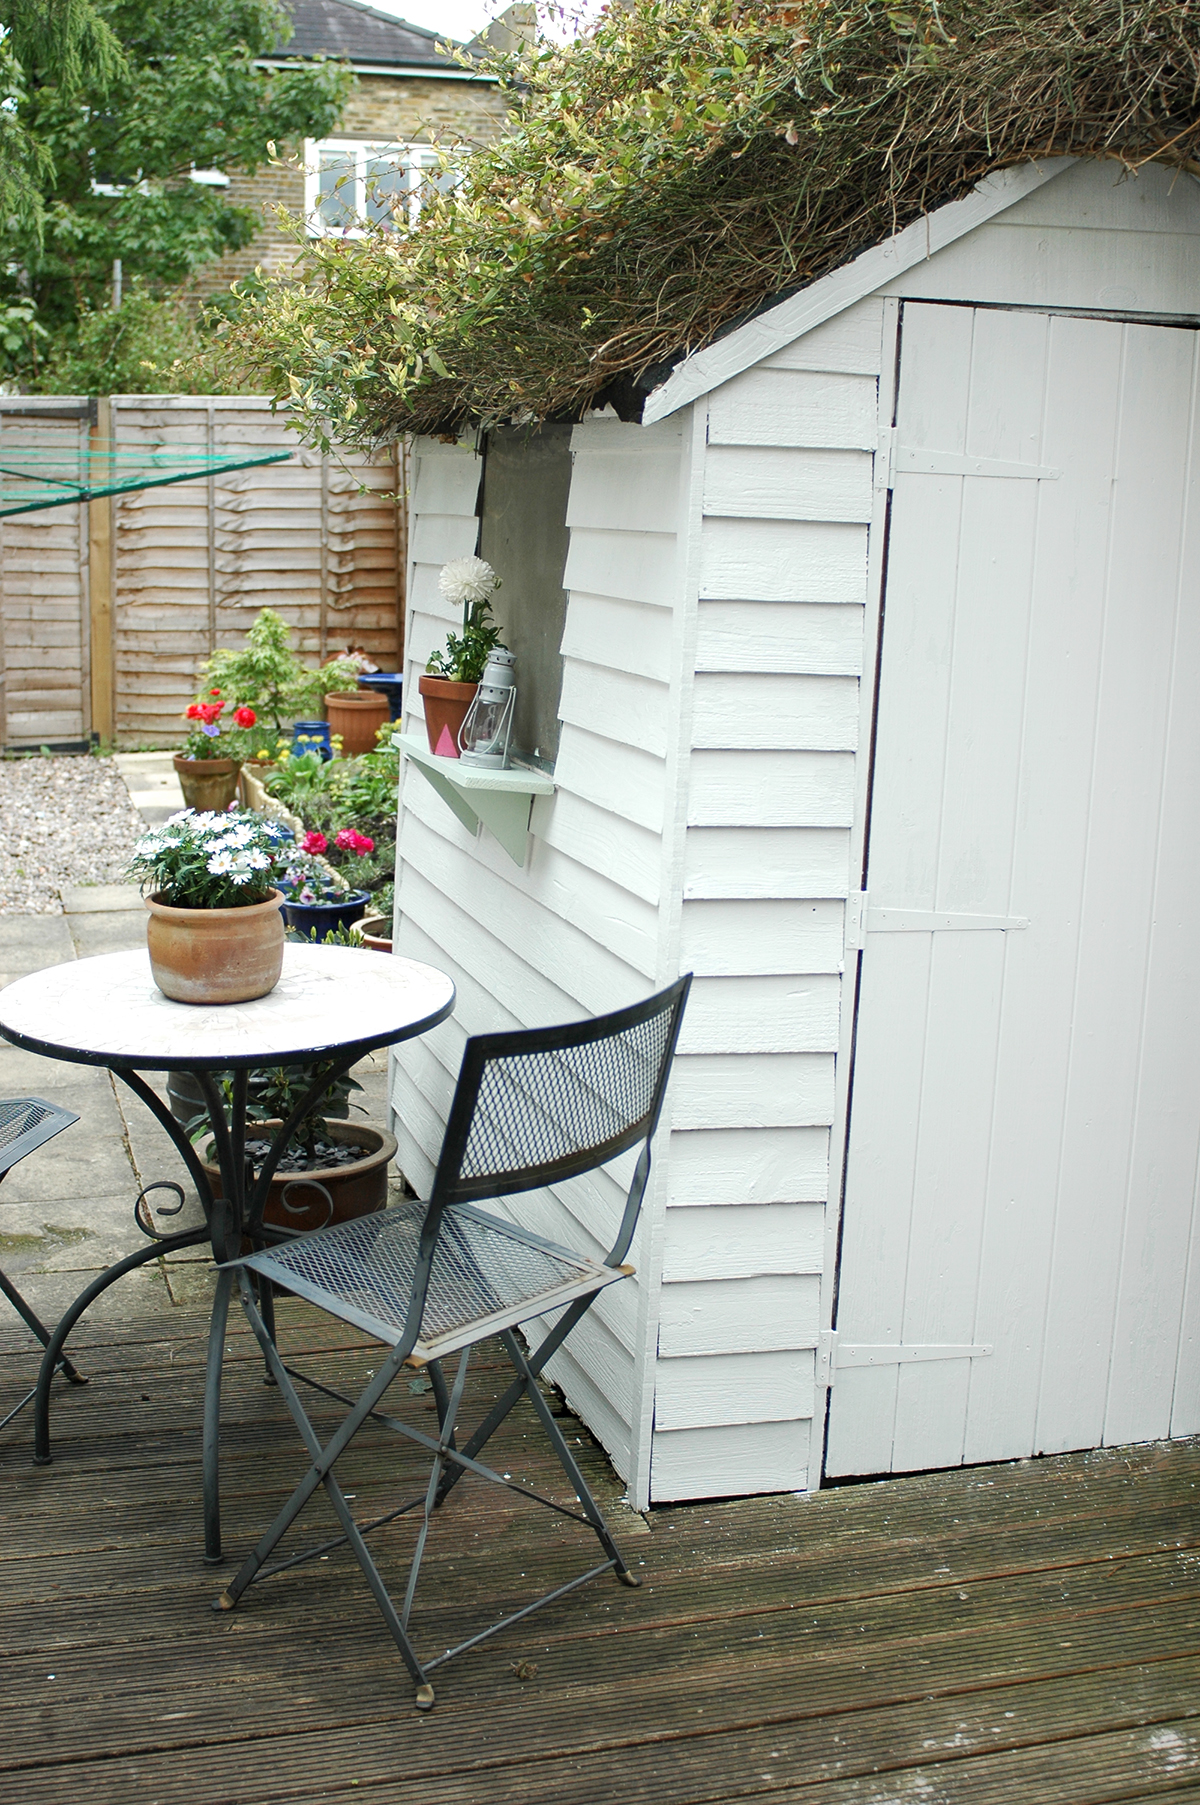
Our shed was in need of a lick of paint and the area next to the back door was looking very sad indeed....

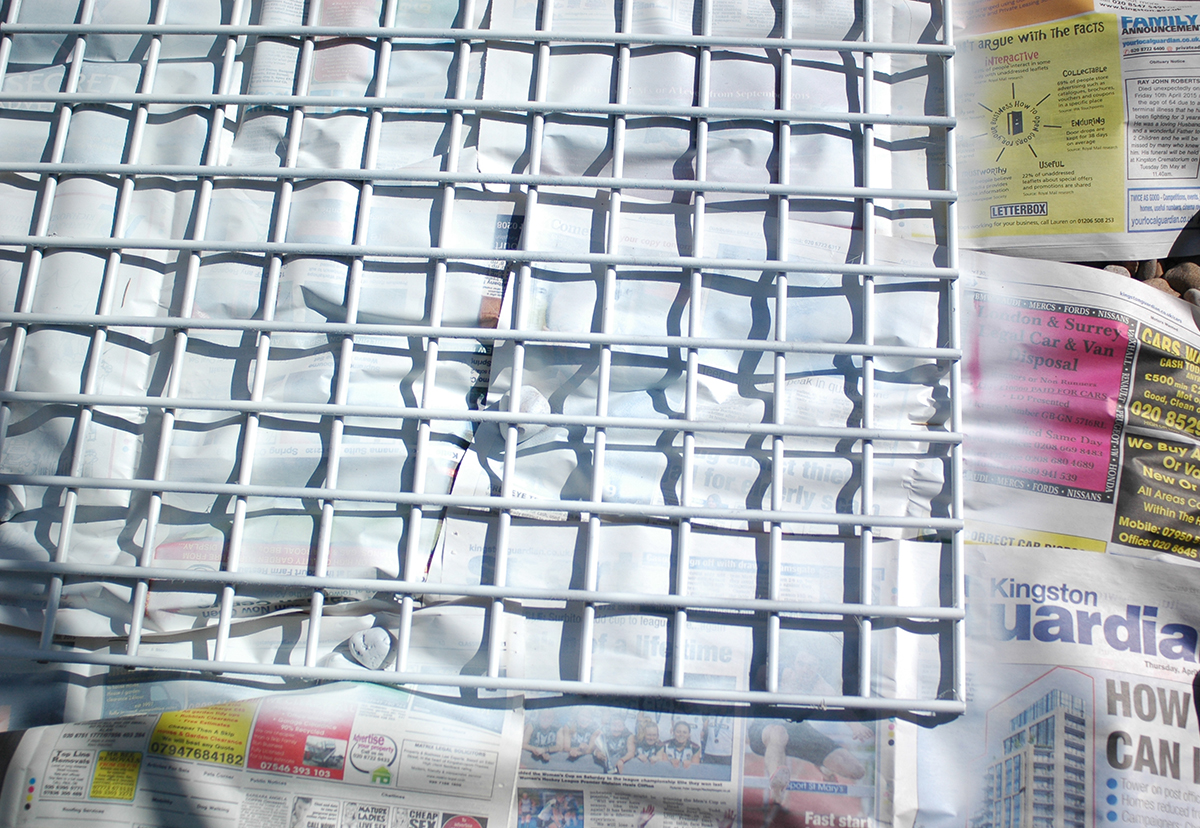
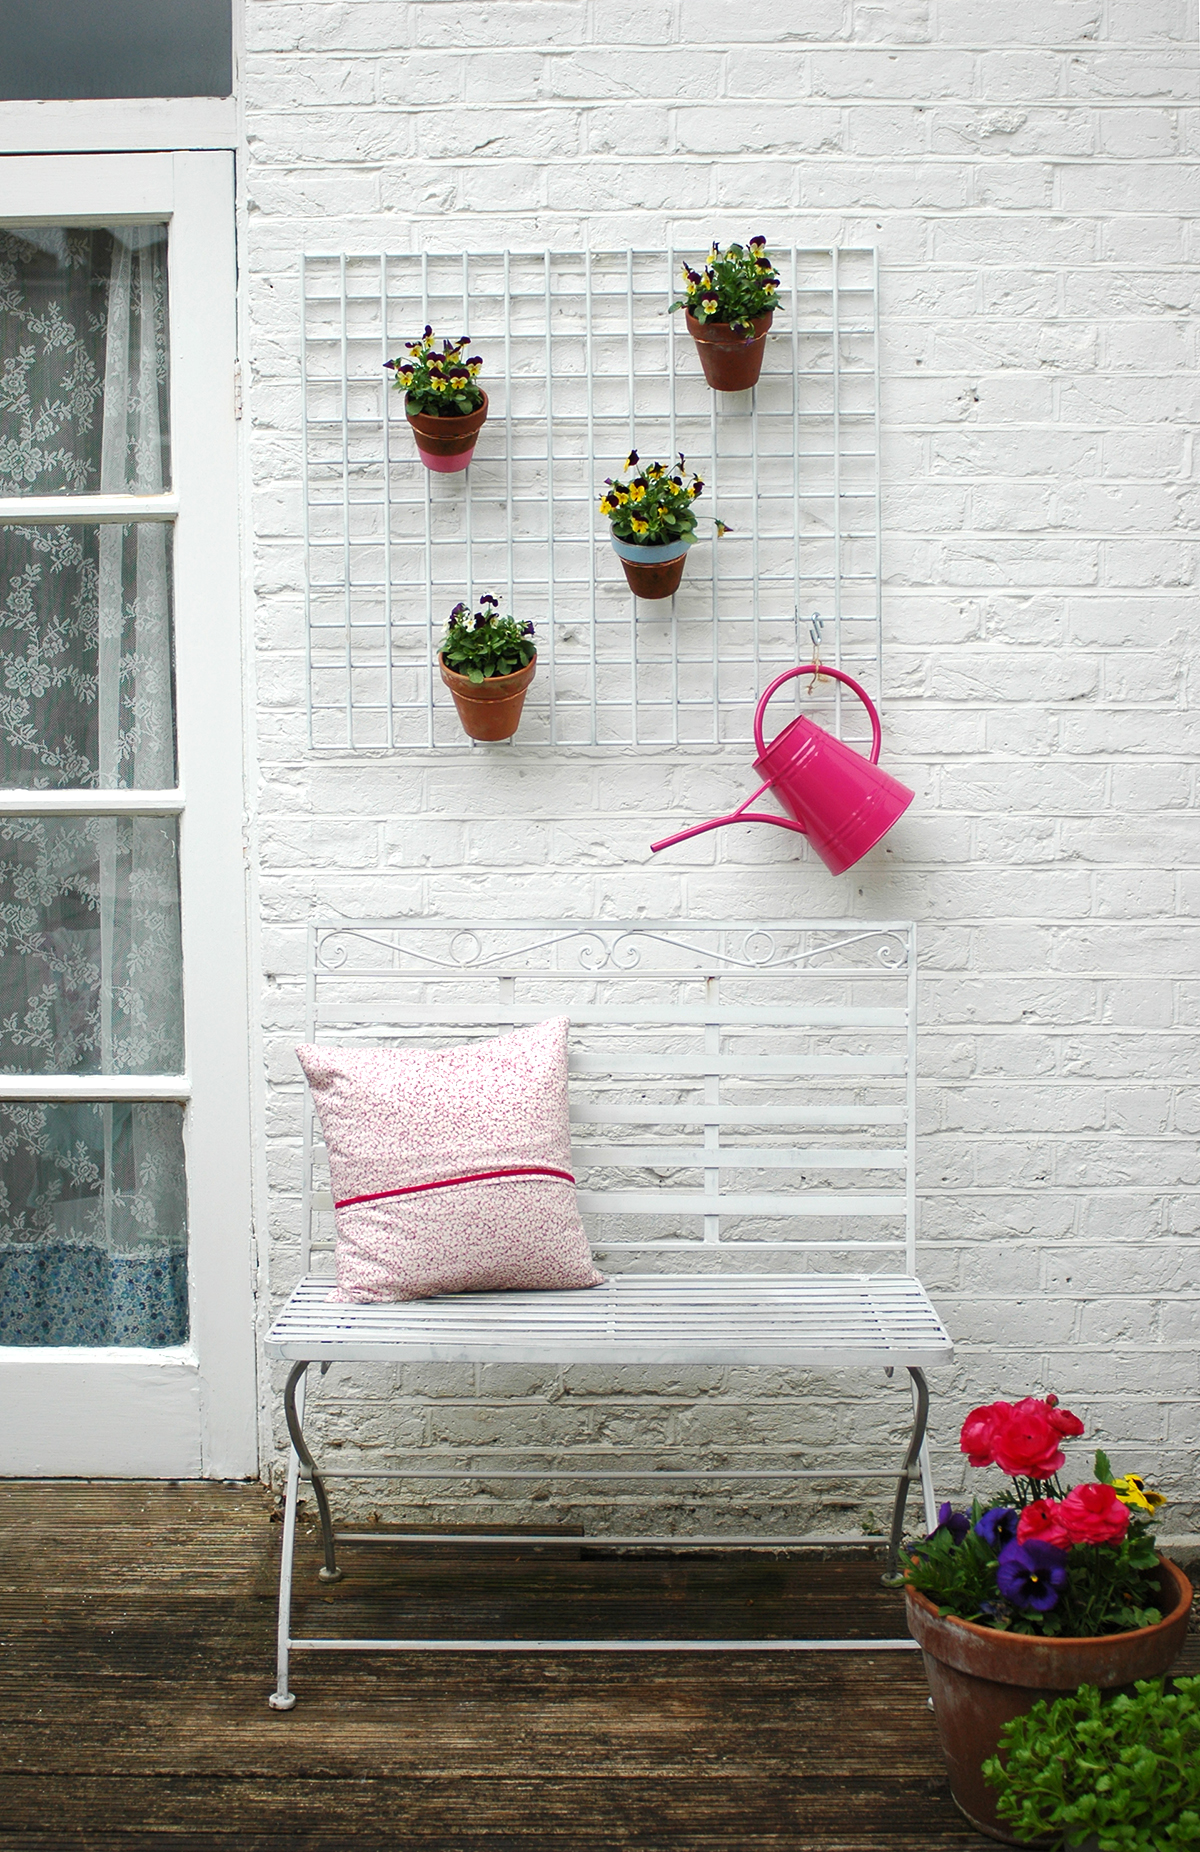
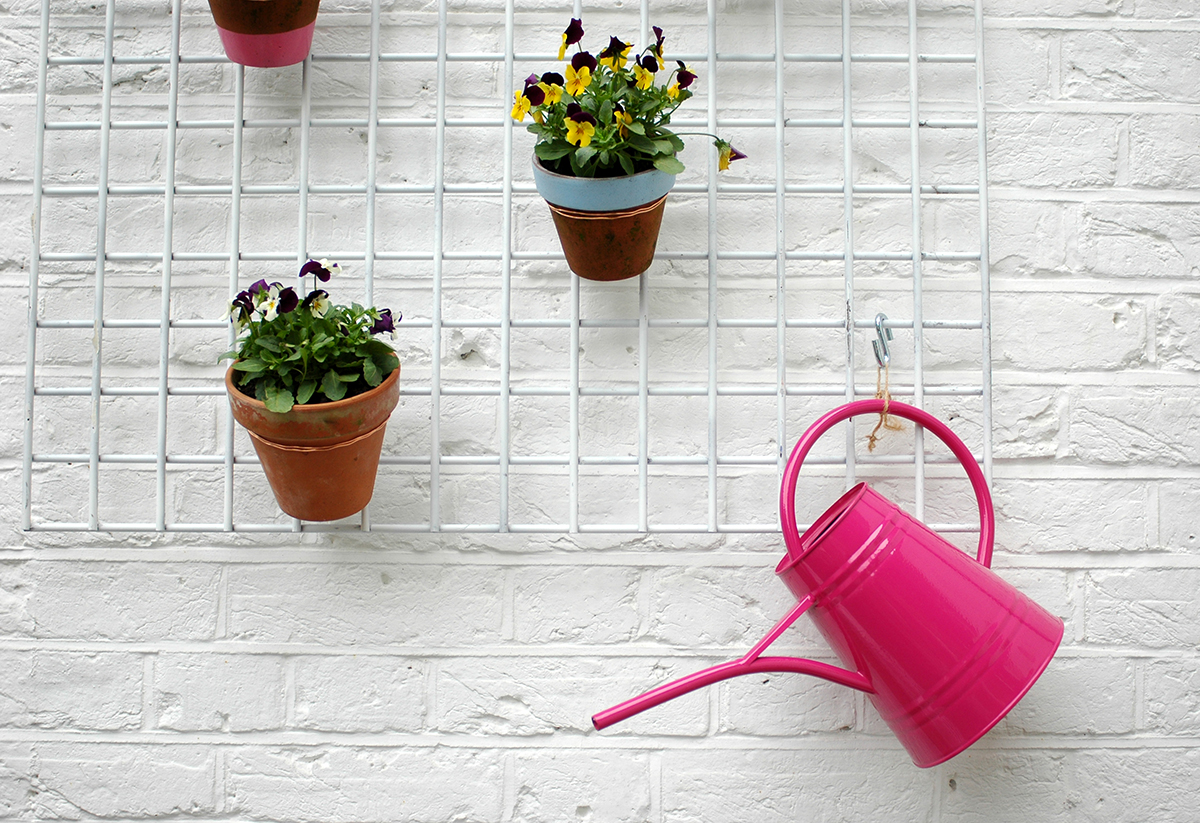
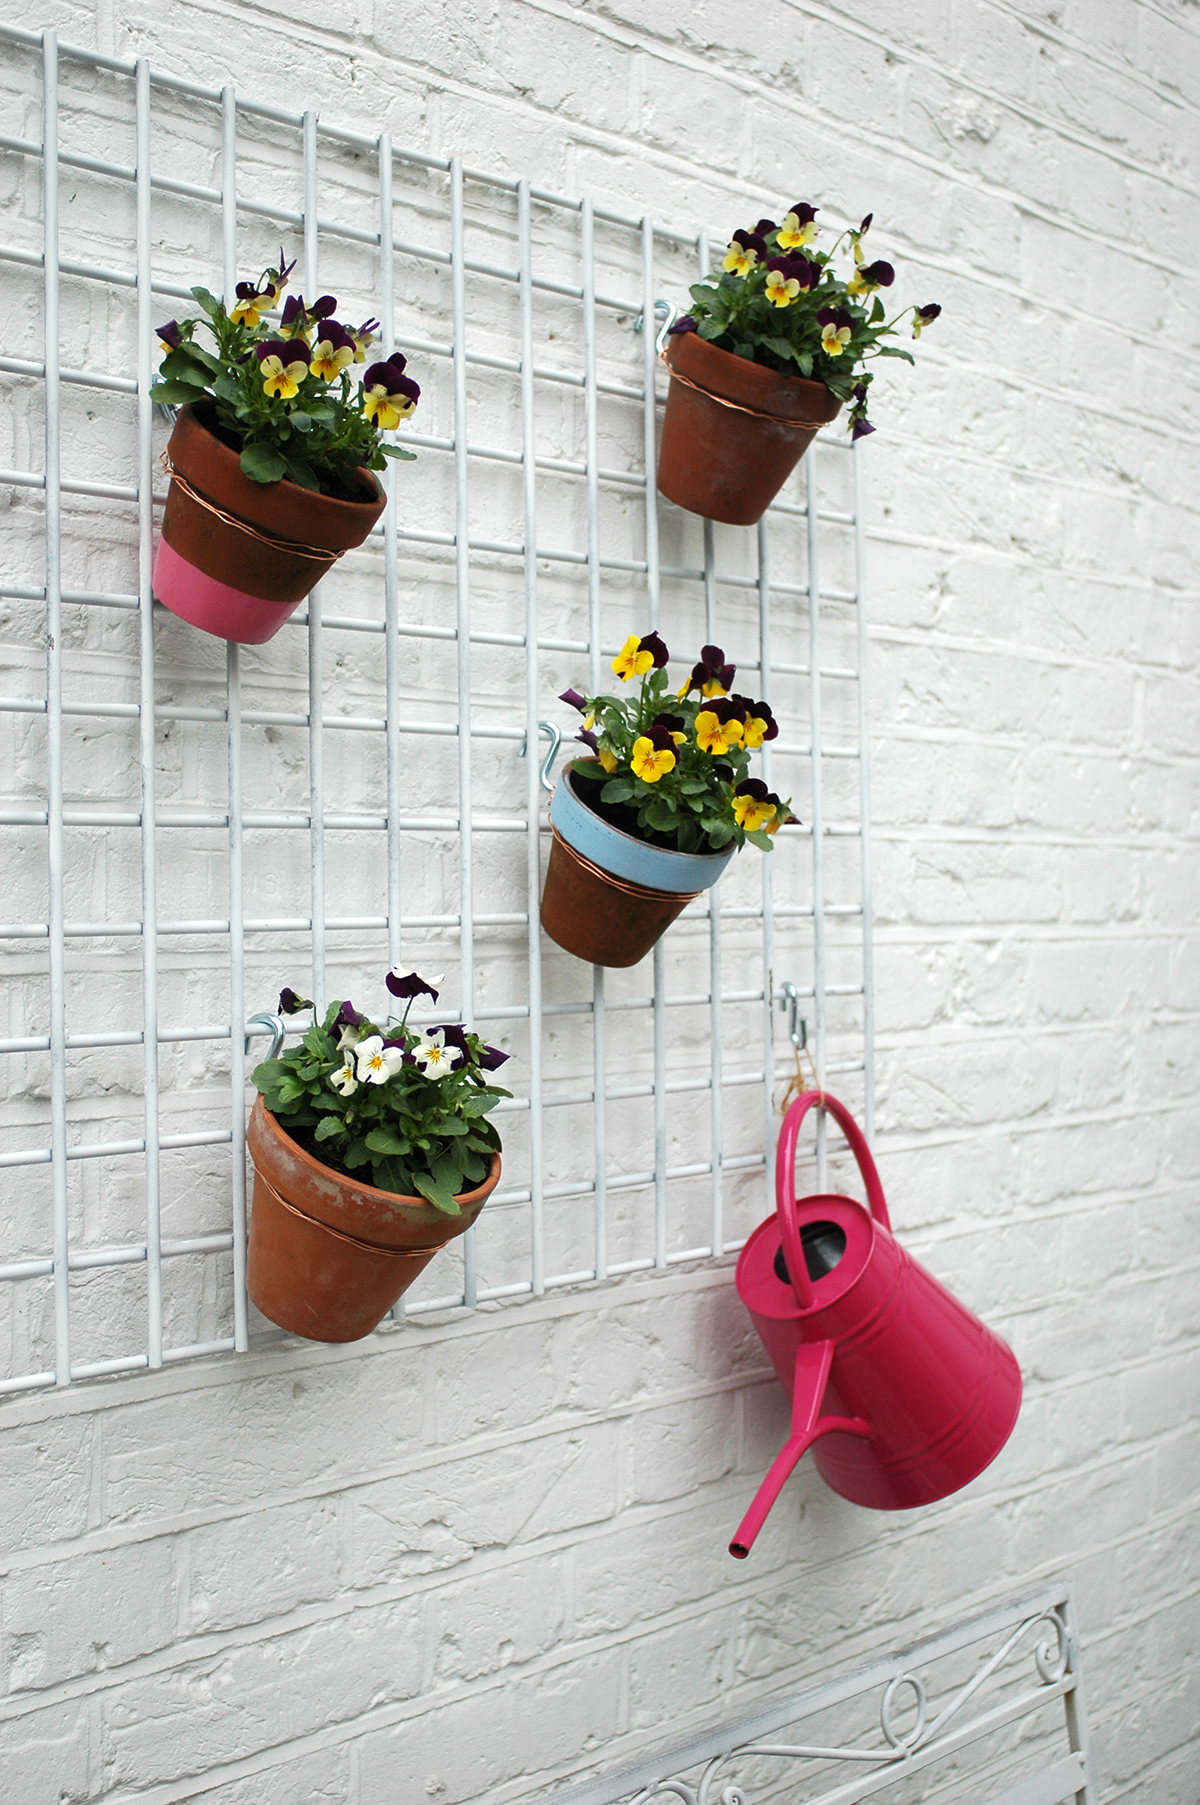
I'd found this metal grid in our shed ages ago, and thought I'd find some use for it at some point, so it has just been lying around. Then inspiration struck when I saw what Emily of Makelight had done in her studio. (see her little plant display here)

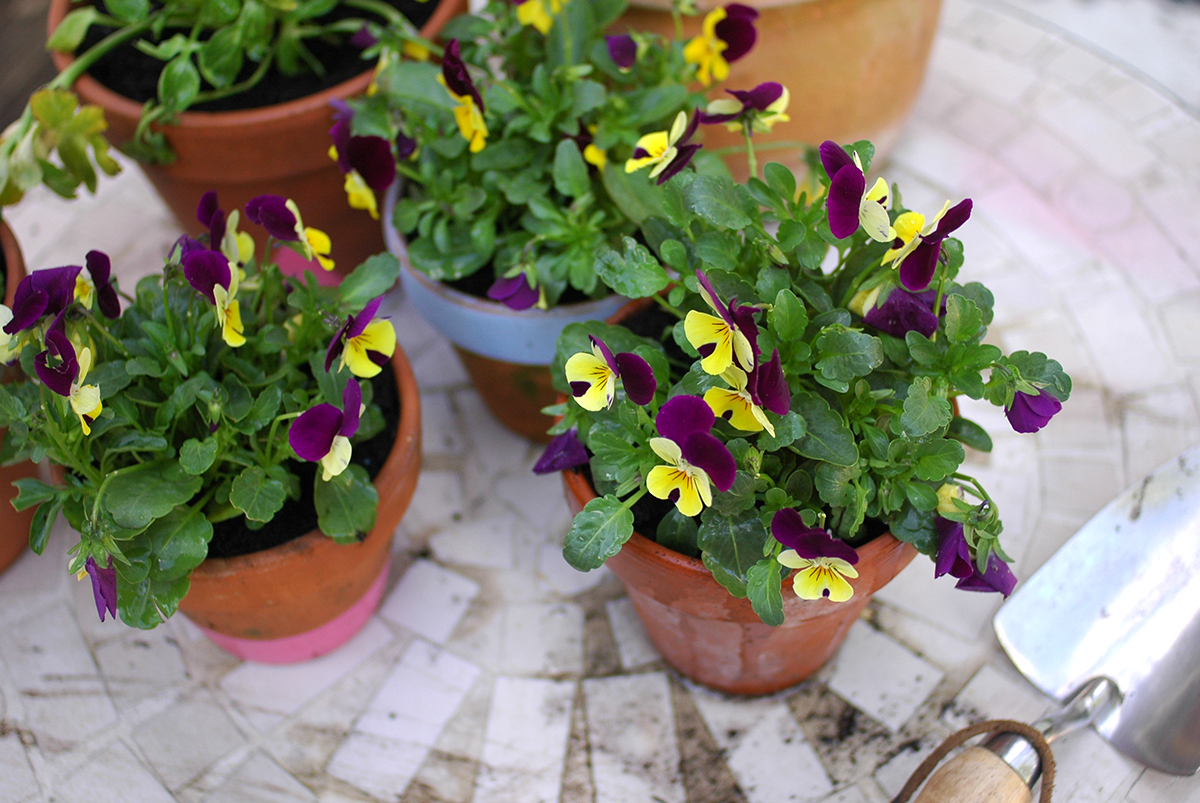
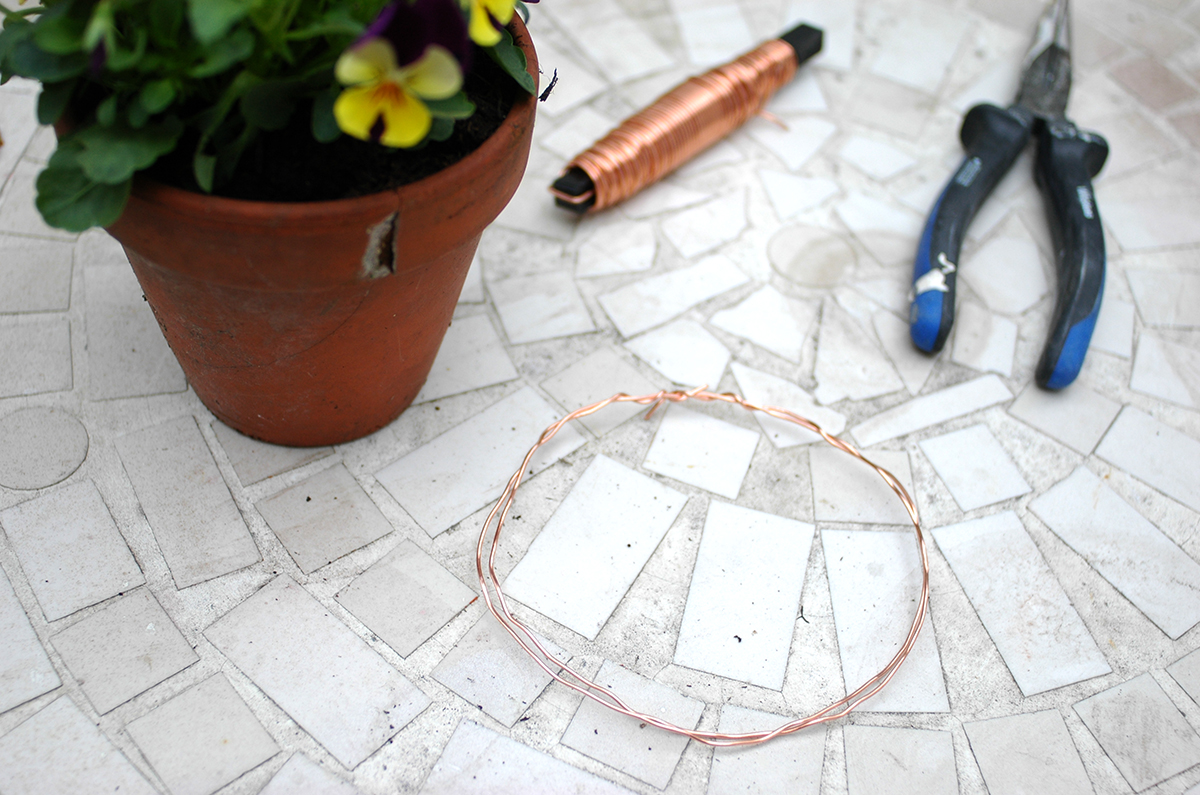
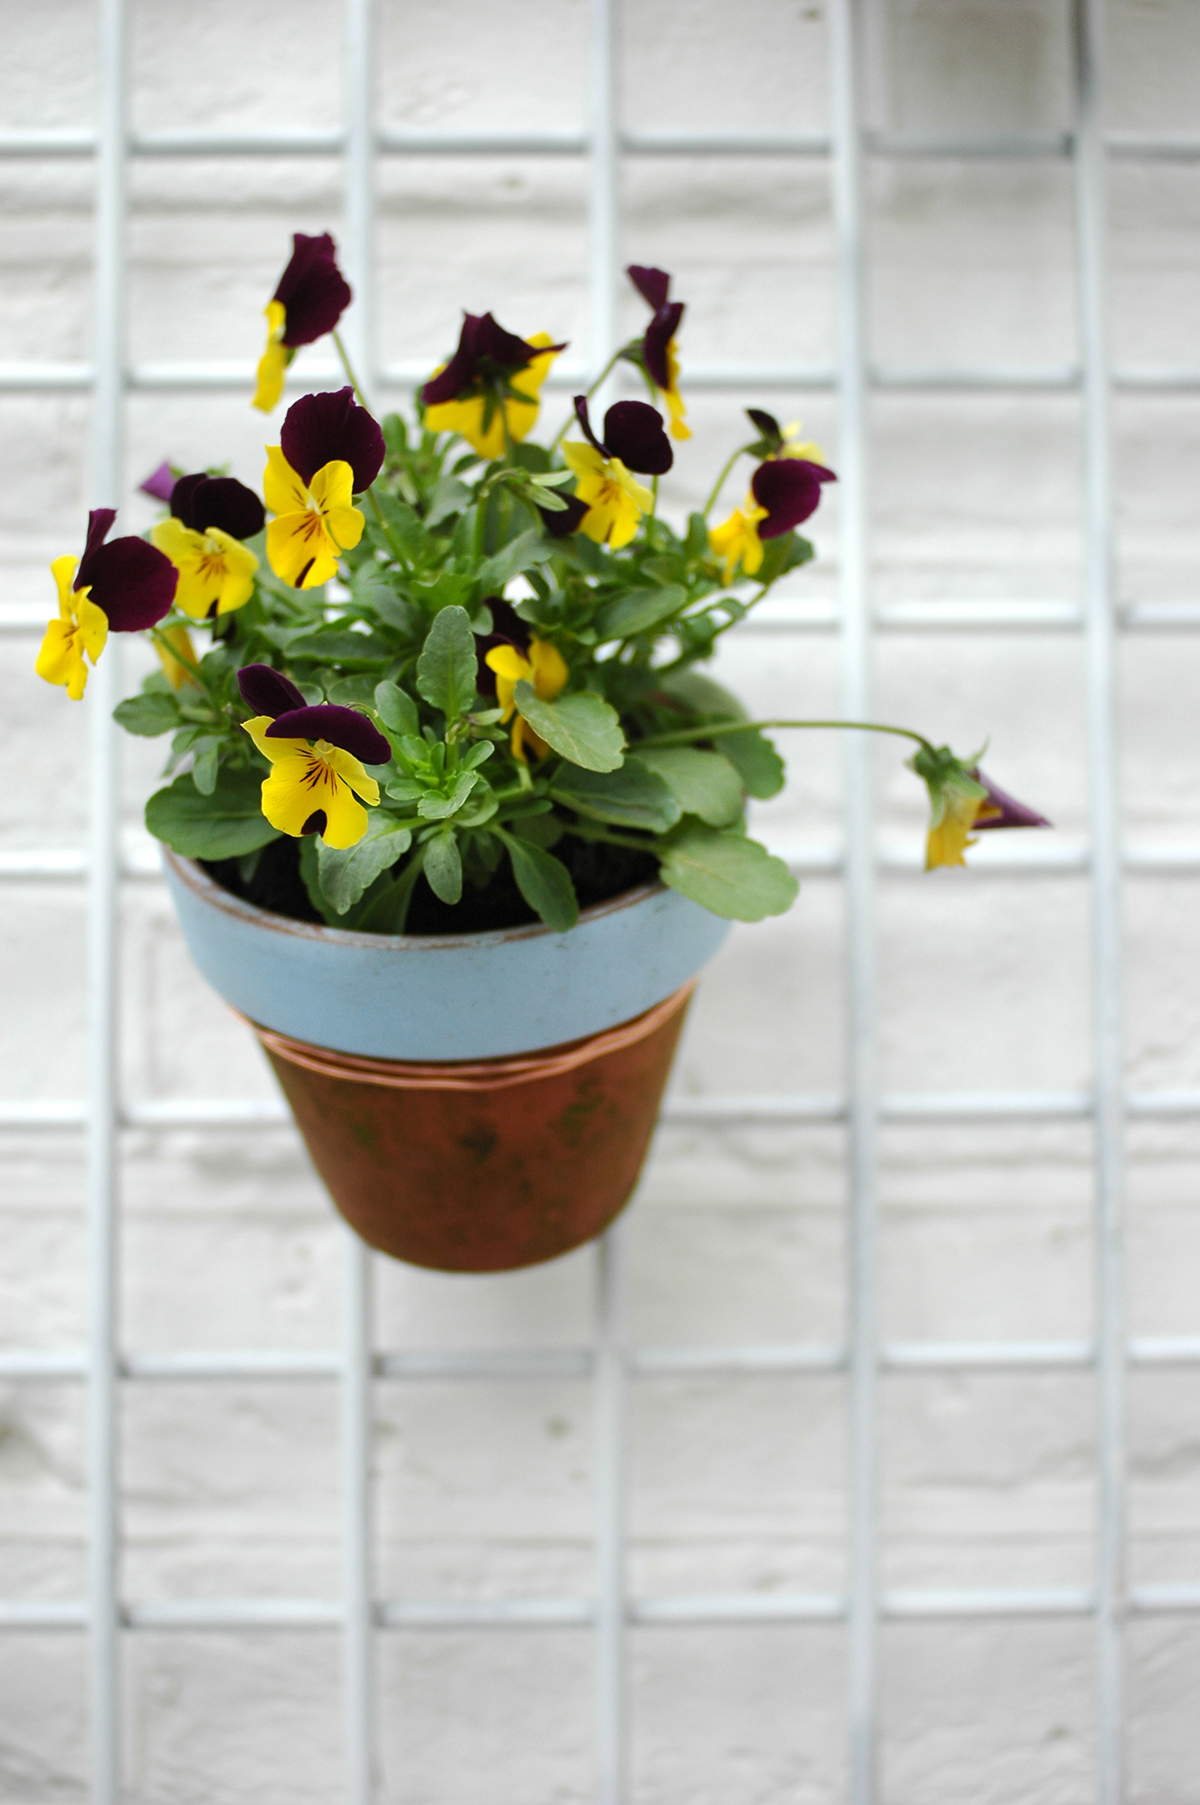
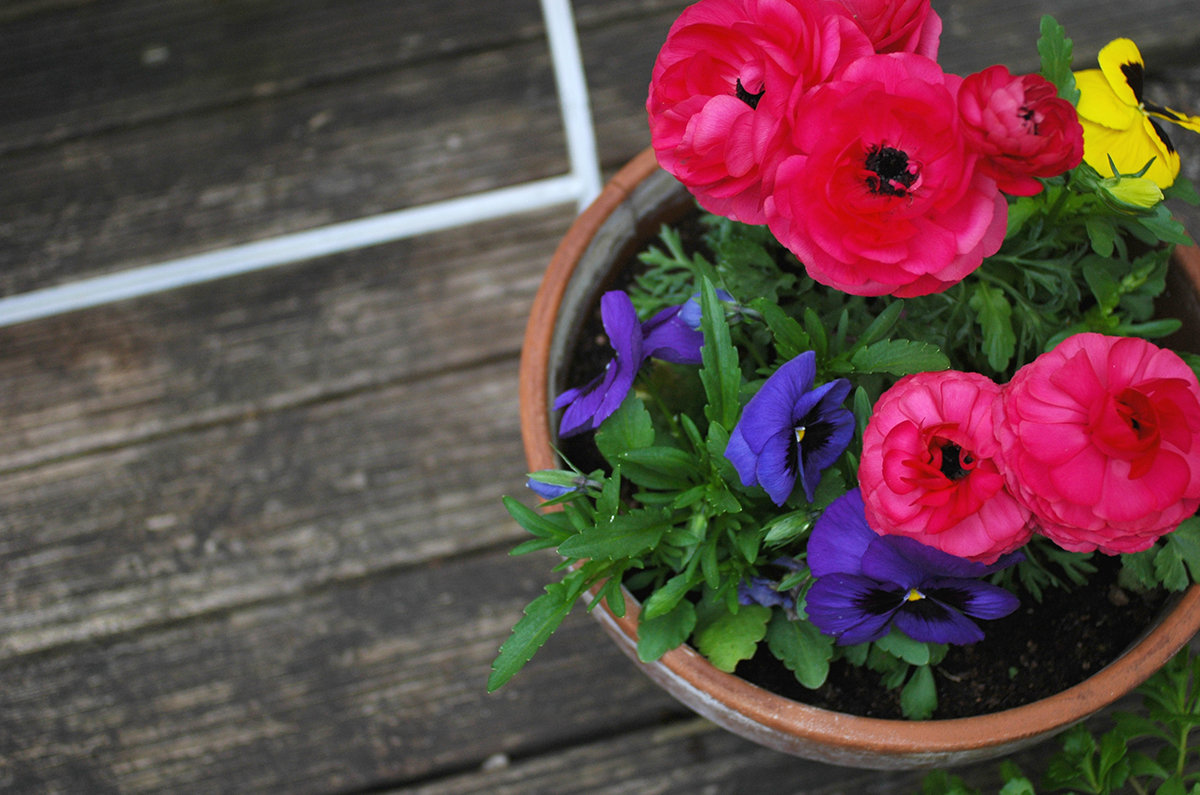
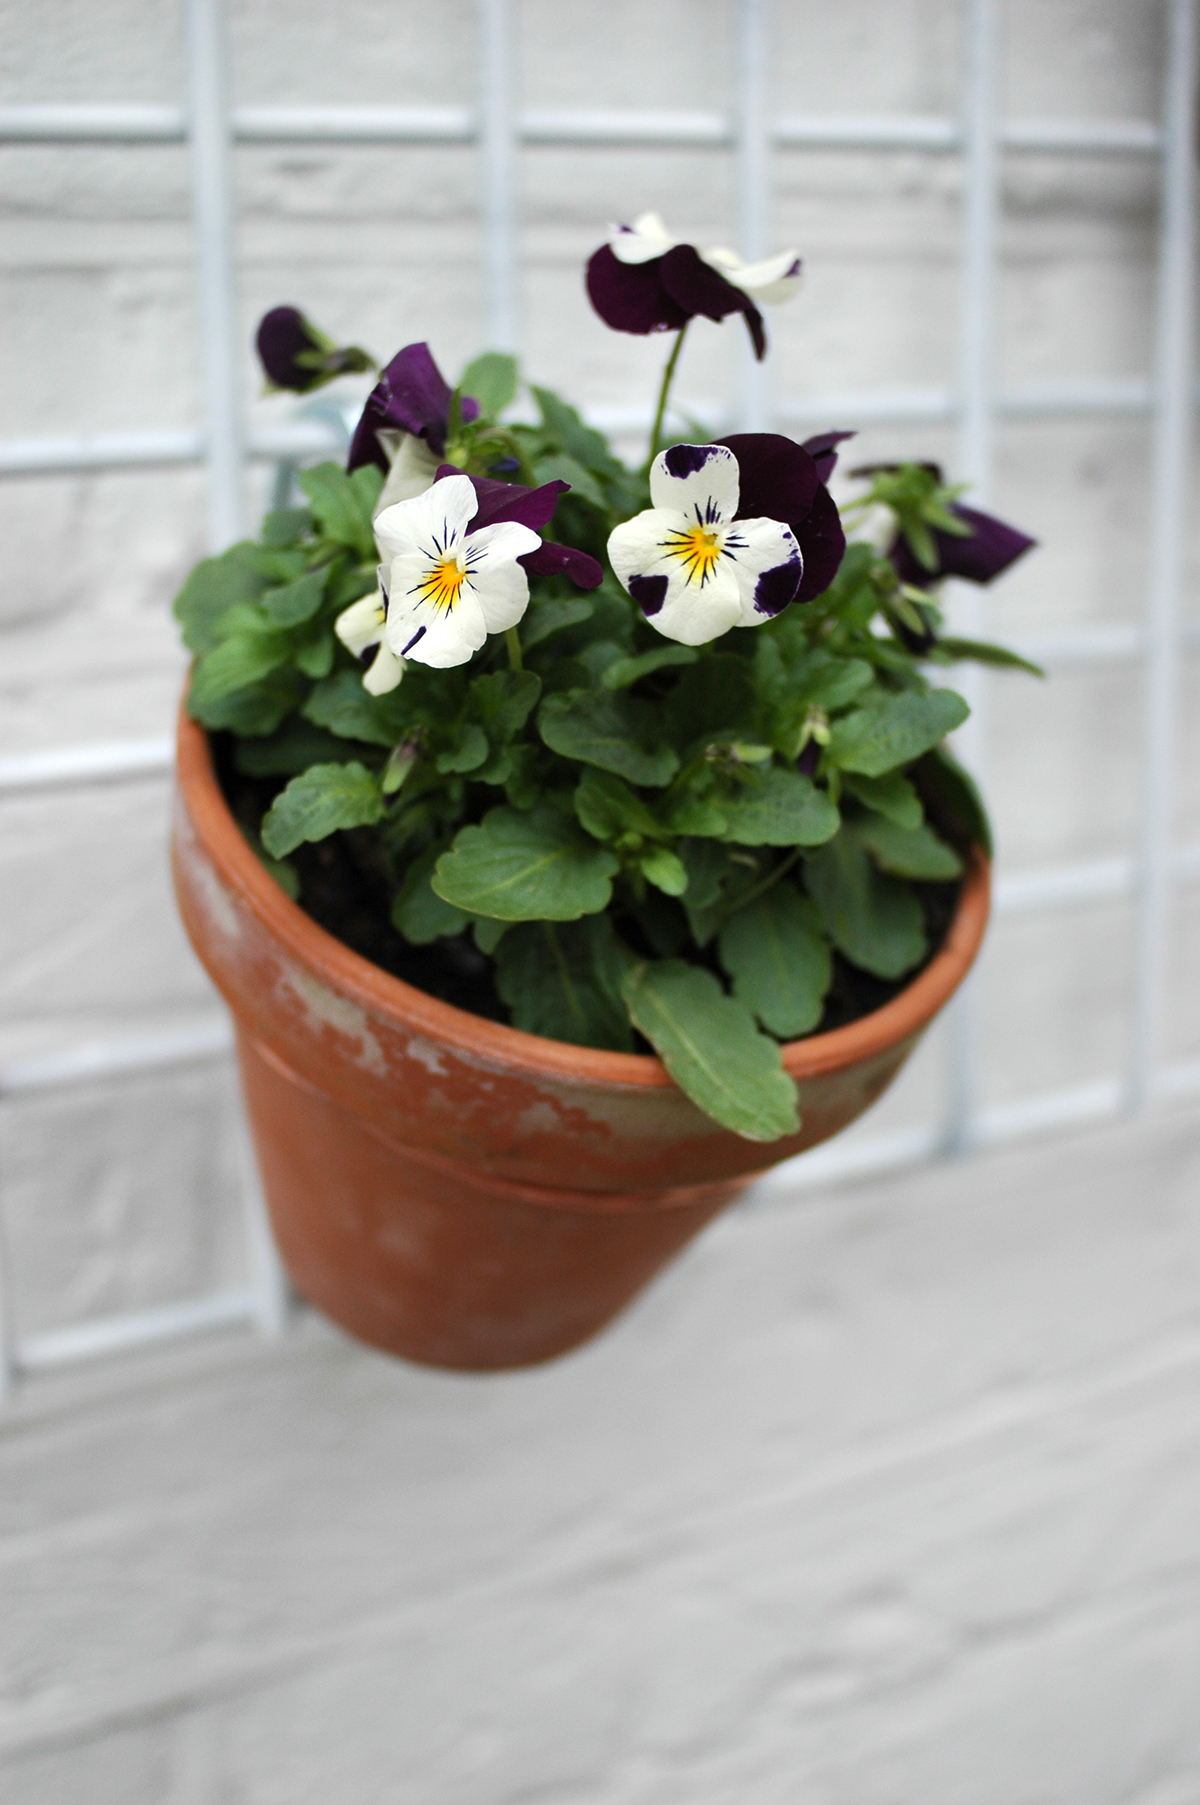
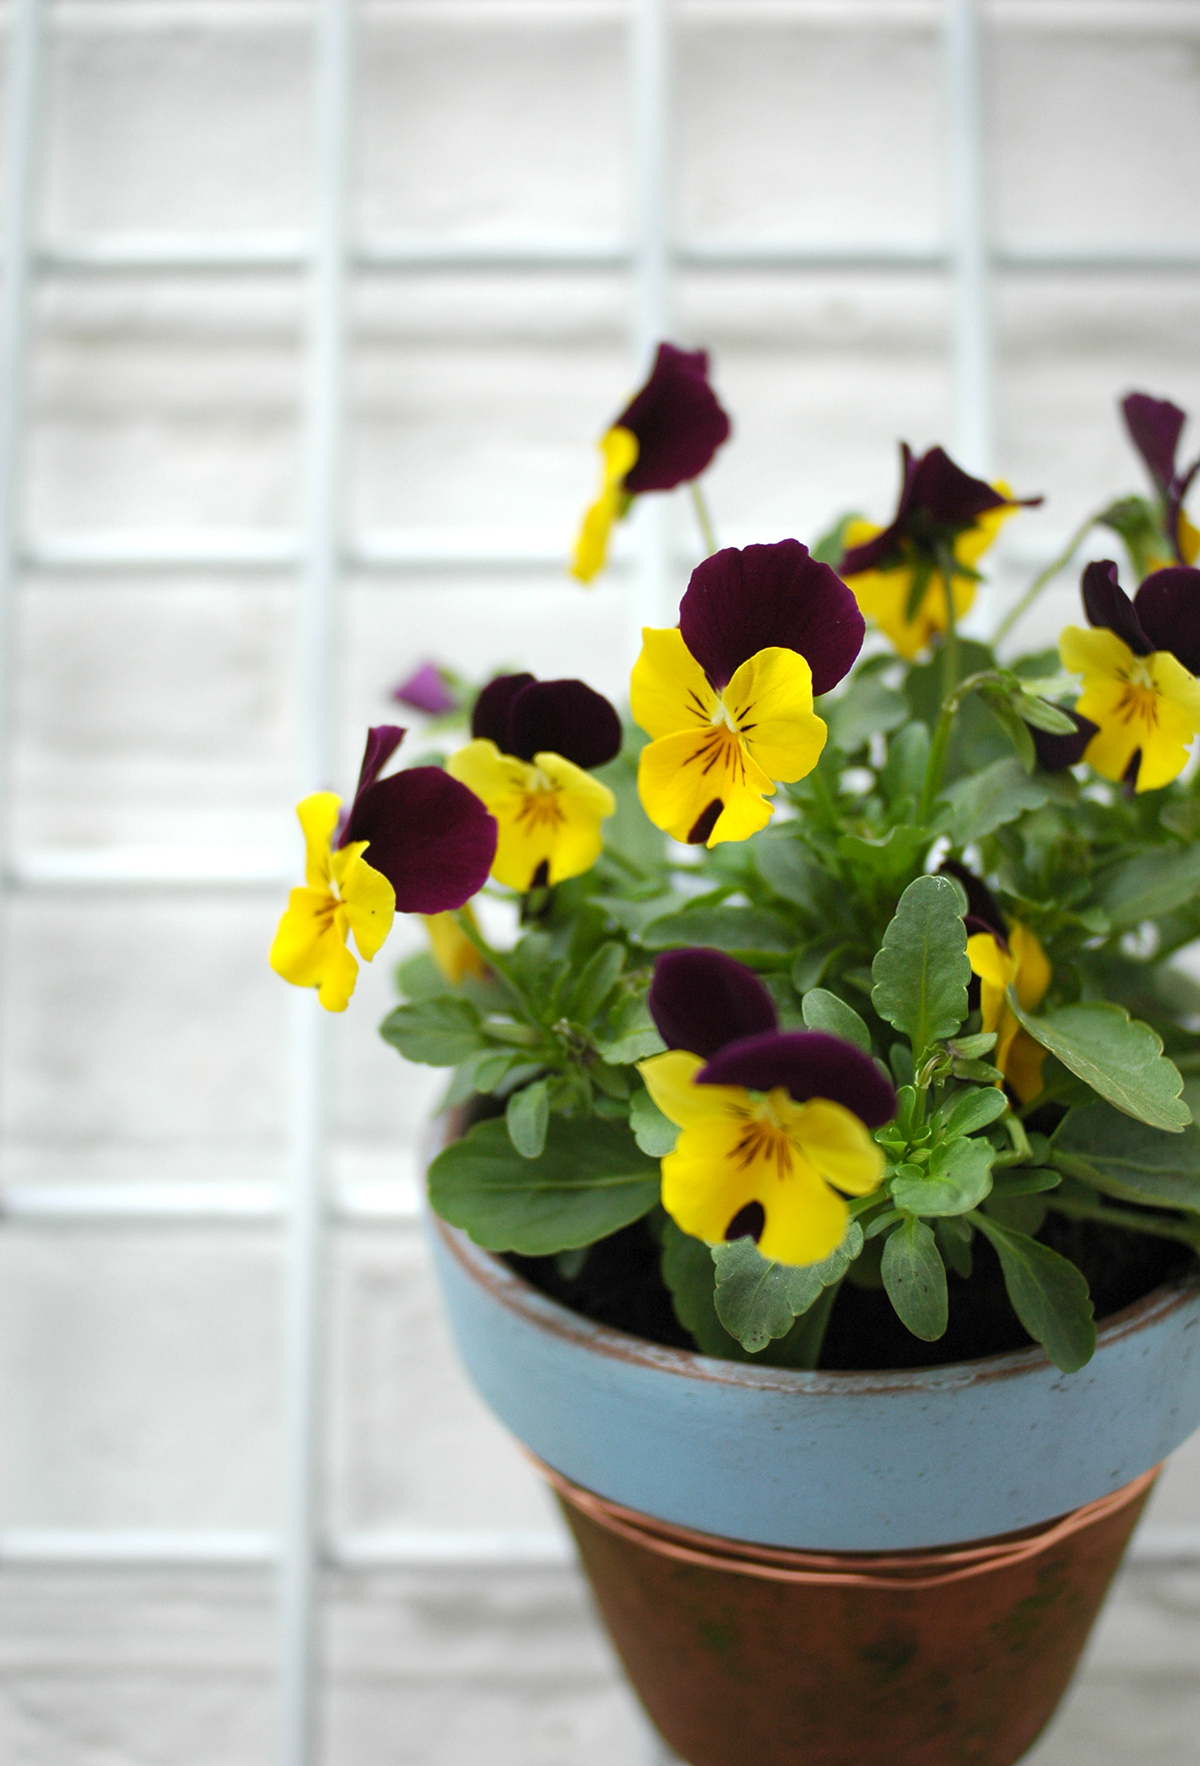
I gave the grid a coat of white spray paint, and then potted up a some little violas. Then I used copper wire to loop around the pots. I then fixed the grid to the wall using a few raw plugs and screws. Finally I used S hooks to hang the pots up on the copper wire. If you fancy making something similar and don't have a random metal grid languishing in your shed like me, then check out shop-fitting websites like this one for a similar thing. 

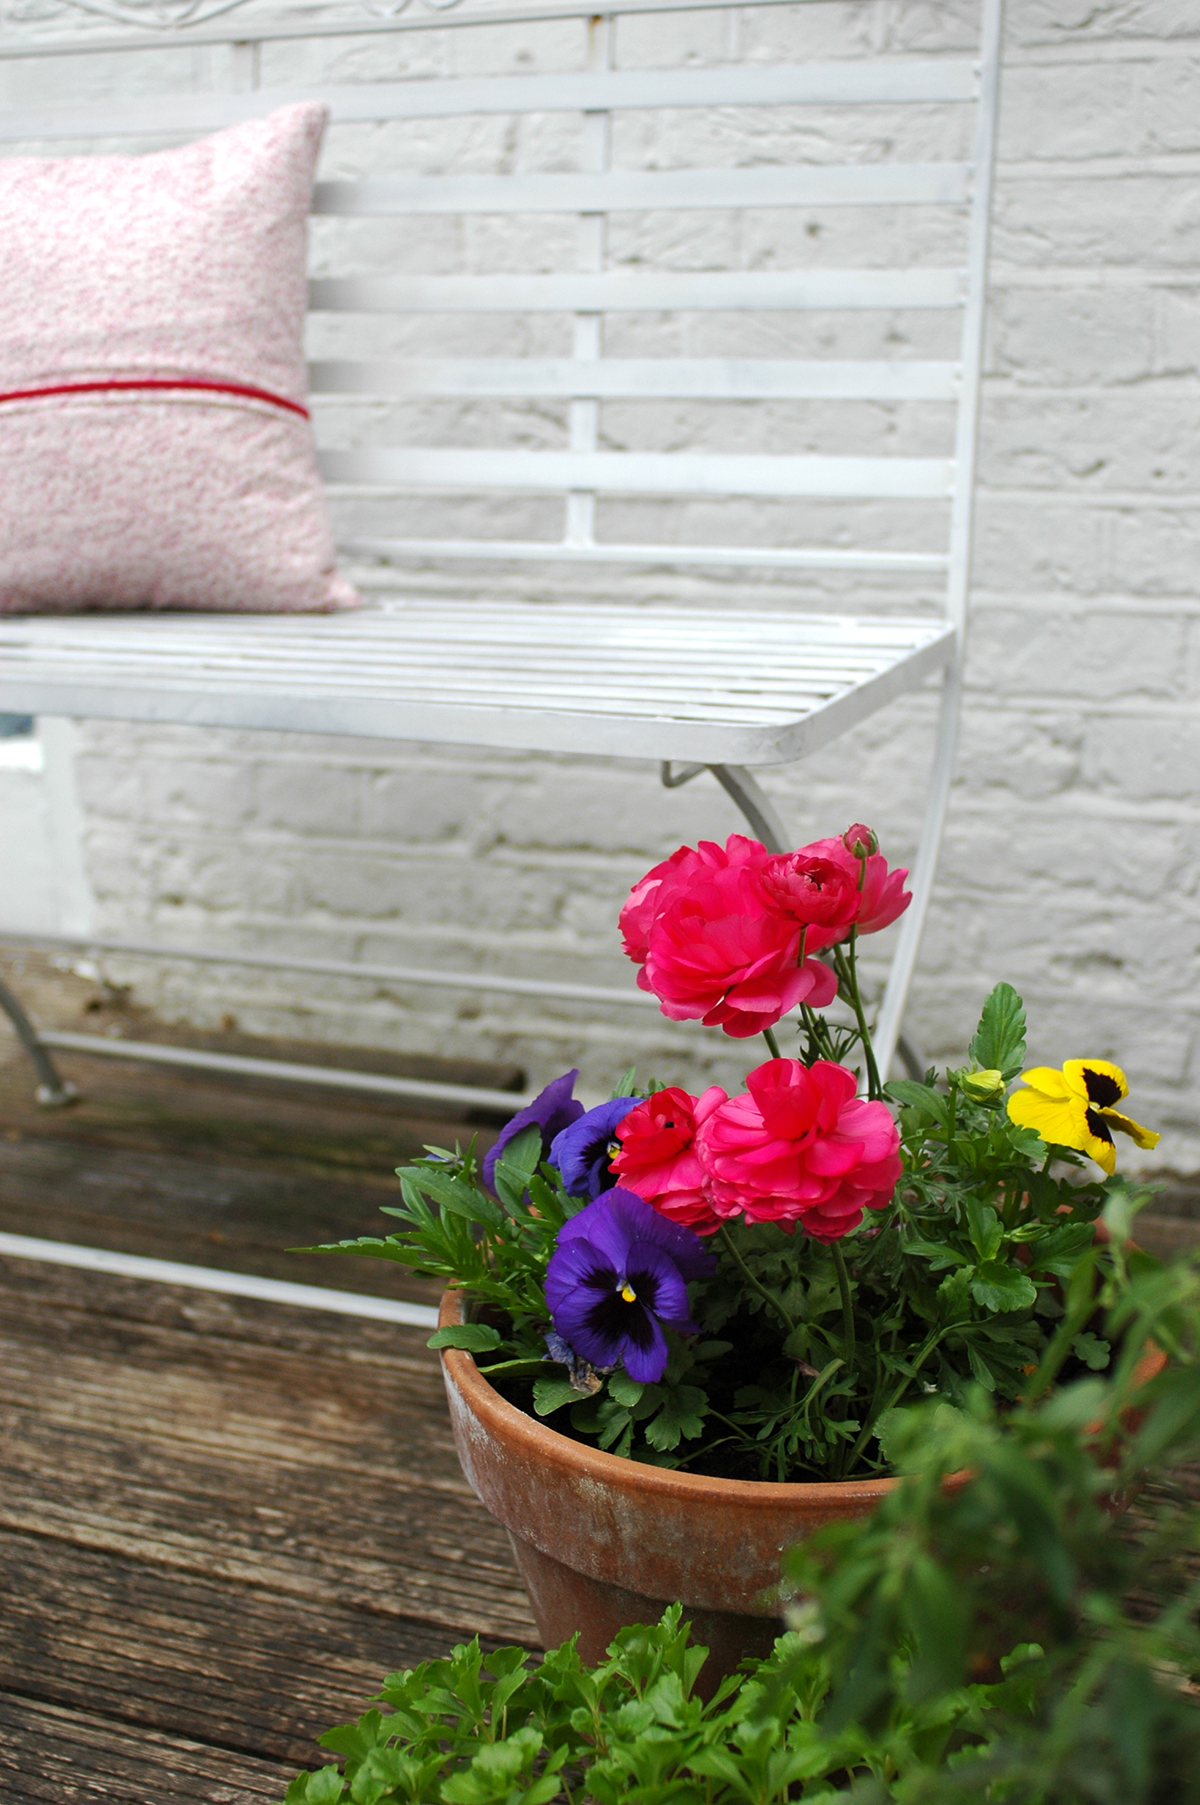
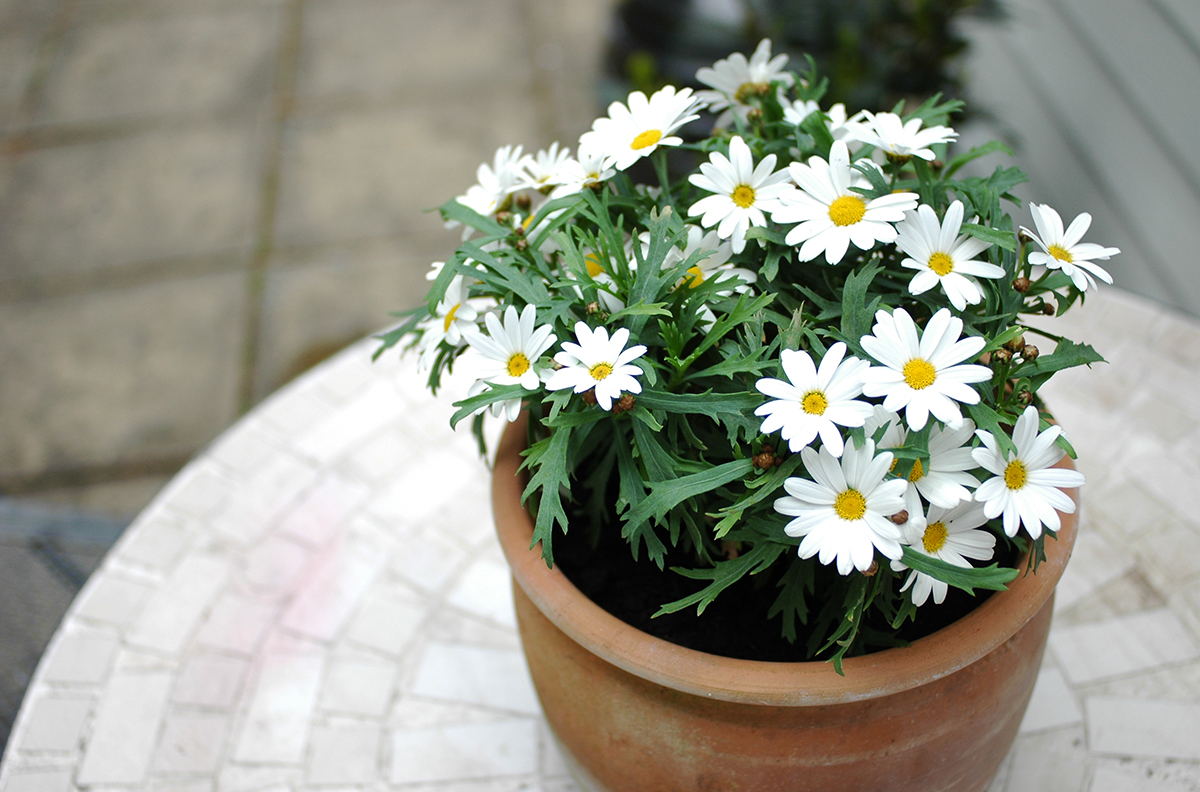
I then simply rearranged the furniture a little, moving the bench under the grid and adding a few colourful pots of flowers on the decking. Please ignore the decking by the way! This is a job for next weekend - cleaning and re-staining! :) 

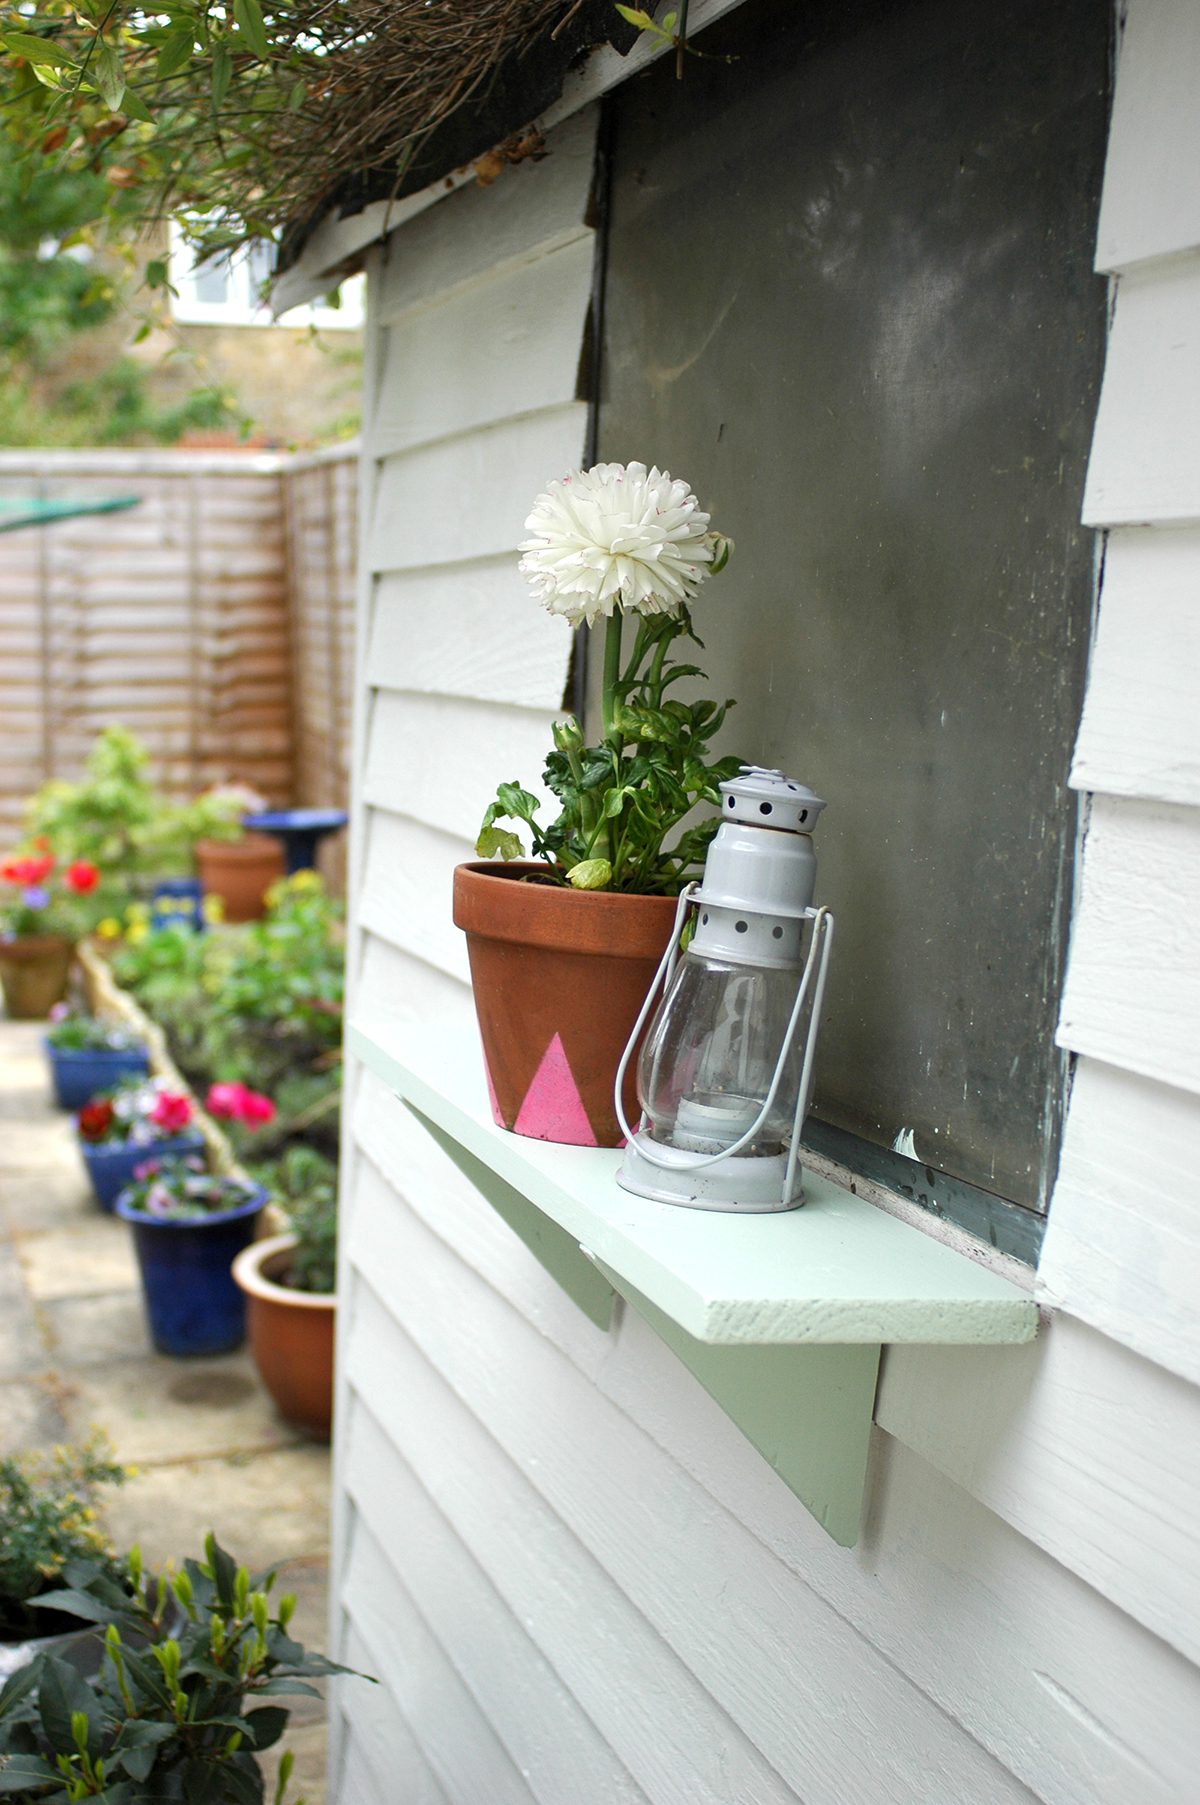
I also managed to give the shed a couple of coats of paint to freshen it up and added a few pots here too. It's now much more appealing to go and sit out in our garden than before! What do you think?!

Have you had a chance to give your garden a little spruce up yet? Why not give my little plant display DIY a go! ;) 

NOTE: This post is my entry to the Garden SOS Campaign by www.mkmbs.co.uk. The challenge was to makeover a small area of your garden for under £50. I used lots of things I already had, and spent my budget on materials (spray paint, wire, s hooks, paint) as well as some new plants and a watering can! Fingers crossed I win the £500 garden makeover! ;) 

5 tips for a mini bedroom update

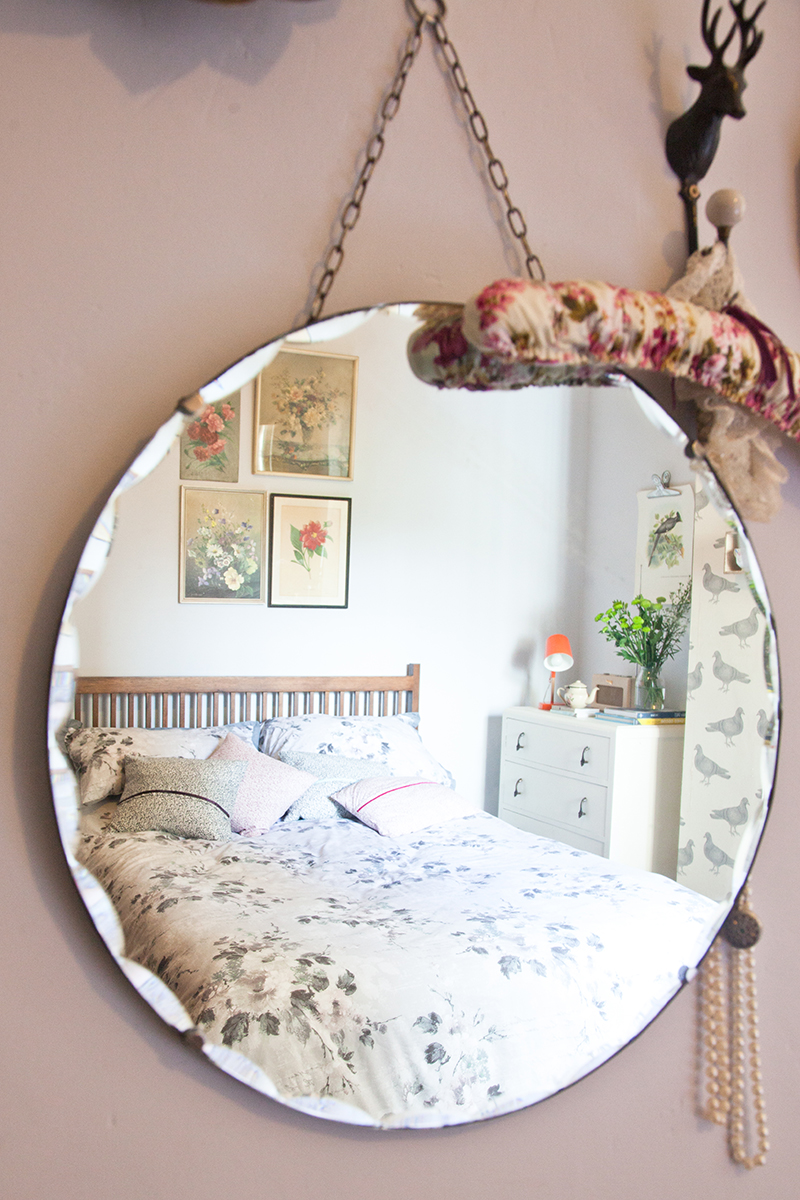
Our bedroom has been feeling a little unloved of late. We don't spend that much time in there really, apart from sleeping, and it's easy to just dump things in there or let things pile up. So at the weekend I thought it was time for a little tidy and a bit of refresh. 

I didn't do much,, but it has really made a difference! Maybe I'll even go and spend some time reading my book in there this evening.... So here are my 5 tips for a quick and easy bedroom update!

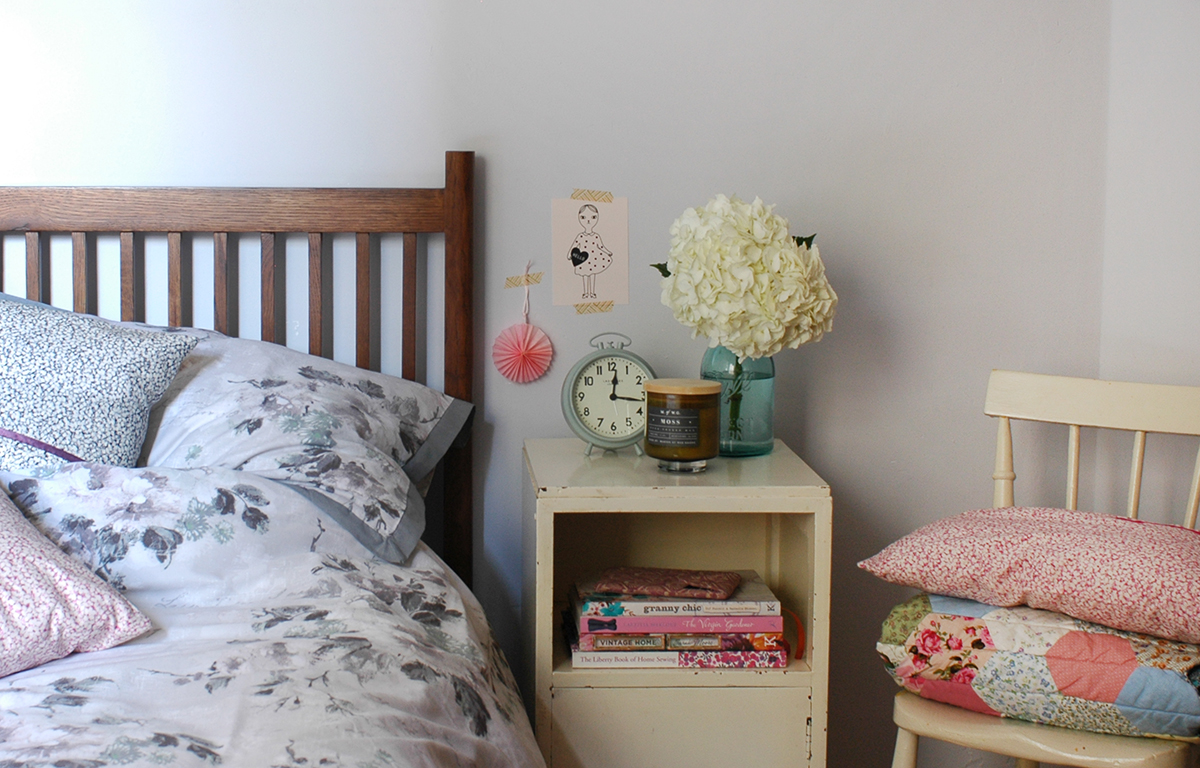
1. Buy some new bed linen

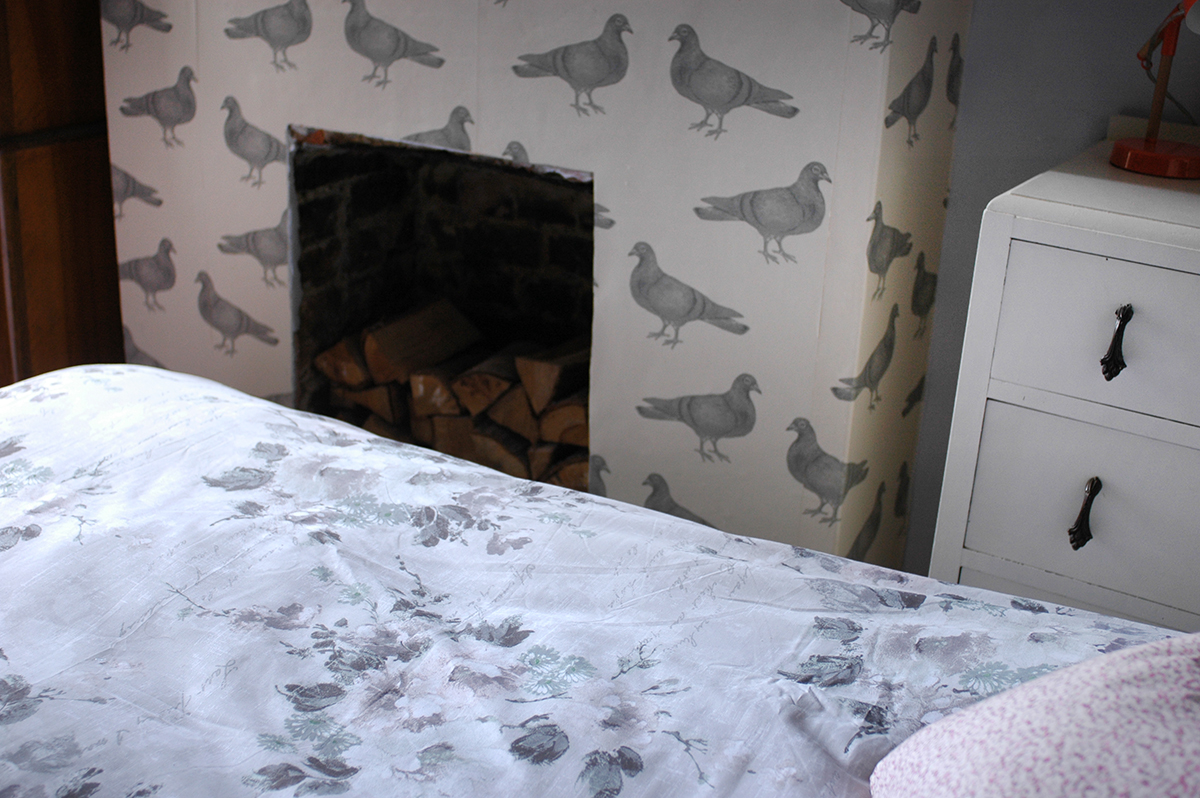
This has made the main difference in the room. We've had plain white sheets on our bed forever, and while I do like white they seem to go grey and dull so quickly, and I'm always having to replace them. So this time I opted for a patterned set which fits in really well with the other nature related elements in the room. This duvet and pillowcase set is from BHS, and a snip at £35 for the king size version. 

2. Make some new cushion covers

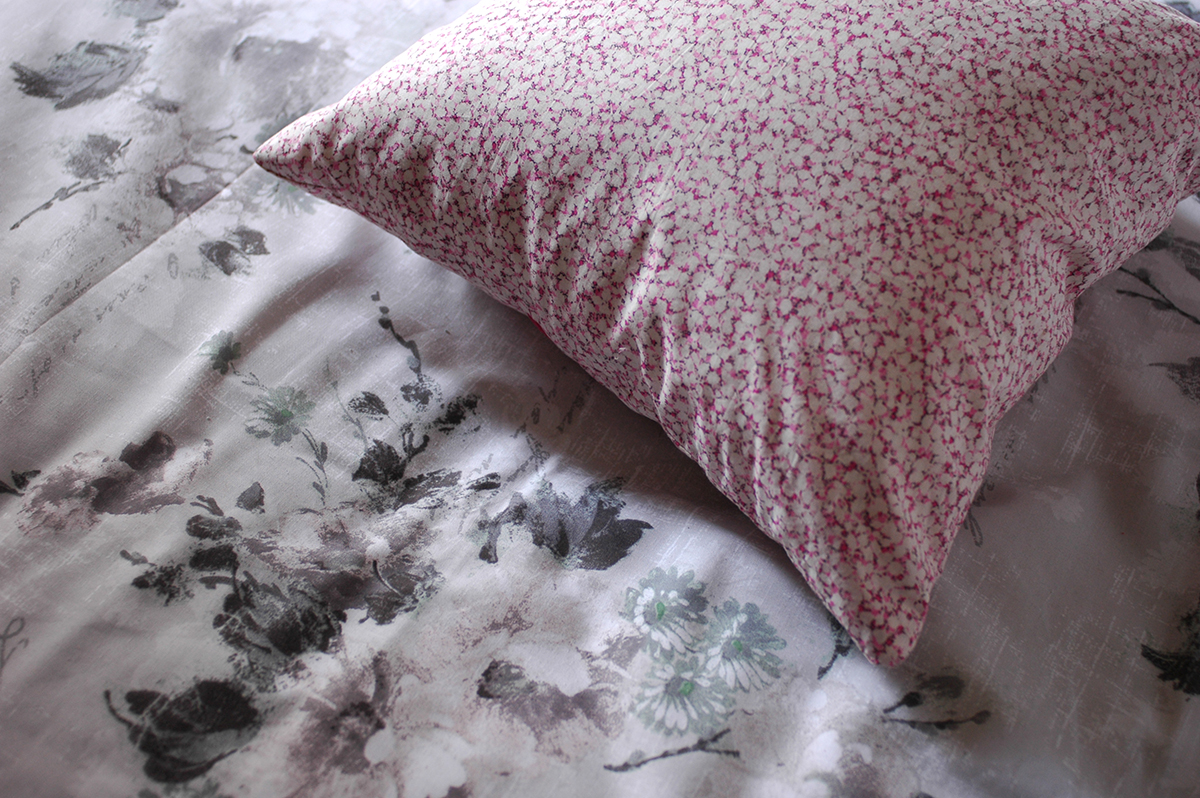
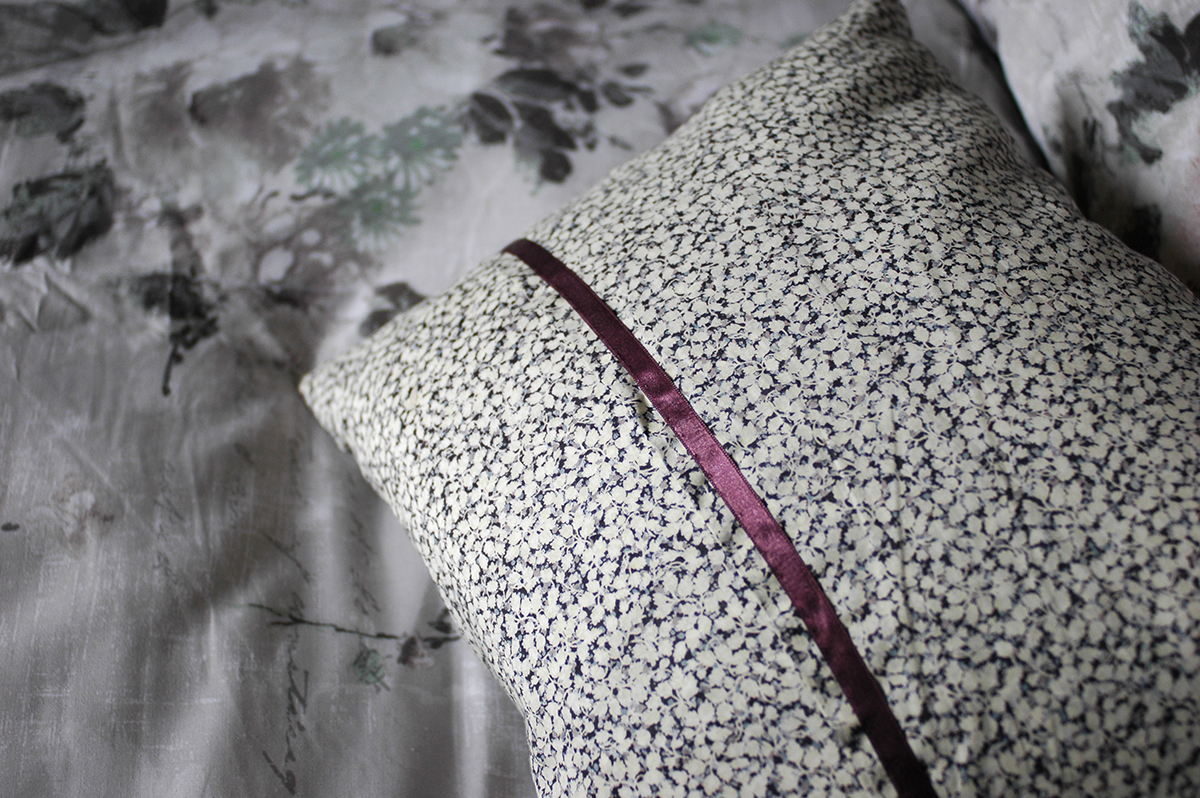
I really needed to refresh the cushions that I had on the bed, so I decided to whip up a few new covers with a bit of Liberty fabric. One of my favourite patterns is pepper, so I choose two colours in this design and used some ribbon to trim the opening. They are just super simple envelope covers, but I'm really pleased with them. 

3. Add some flowers 

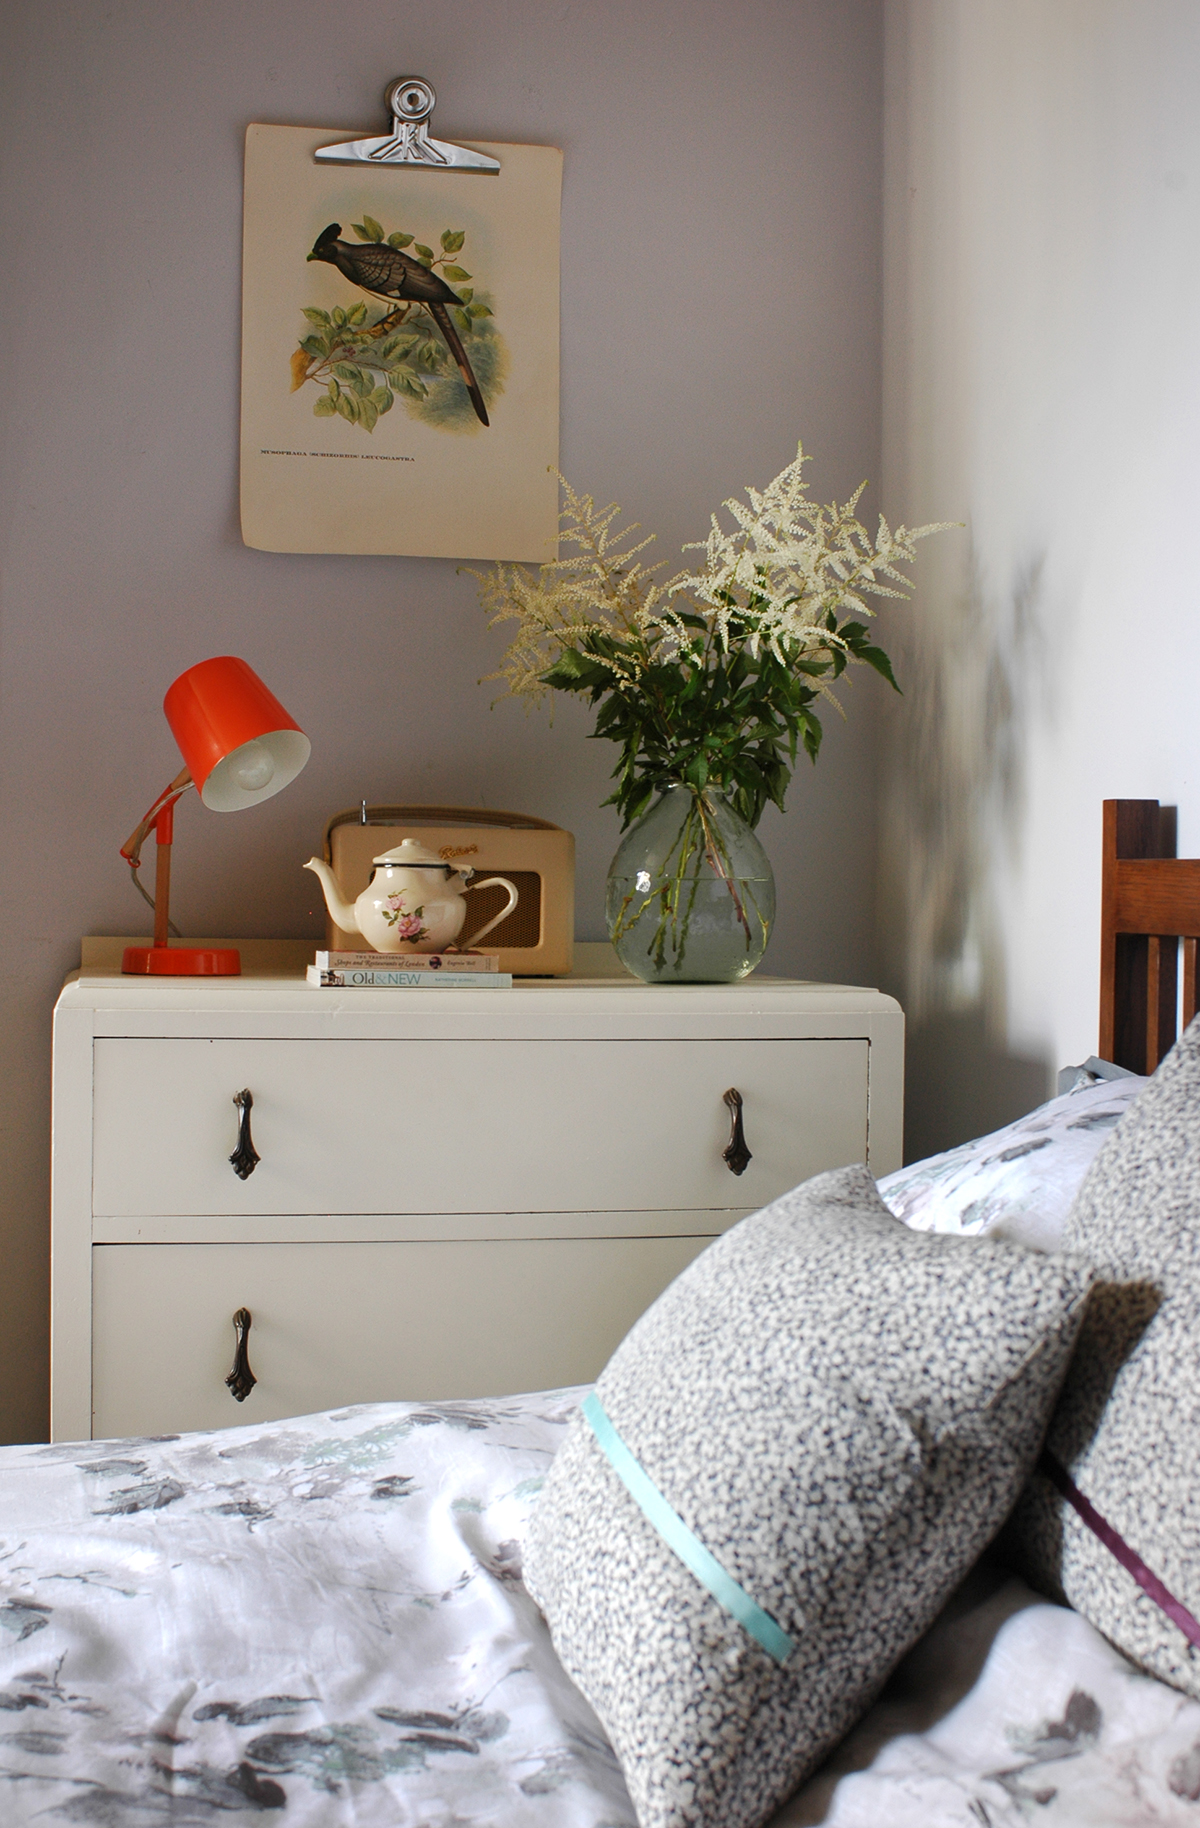
For me, displaying fresh flowers in any room makes such a difference. It may seem like a bit of an expense, but all you need is a stem or two in a bottle or vase, so rather than buying a big bunch just pop in your local florists and choose a few individual stems. Also look out in the reduced section at the supermarket, sometimes you can find a great bargain on flowers that only have one sorry looking bloom. 

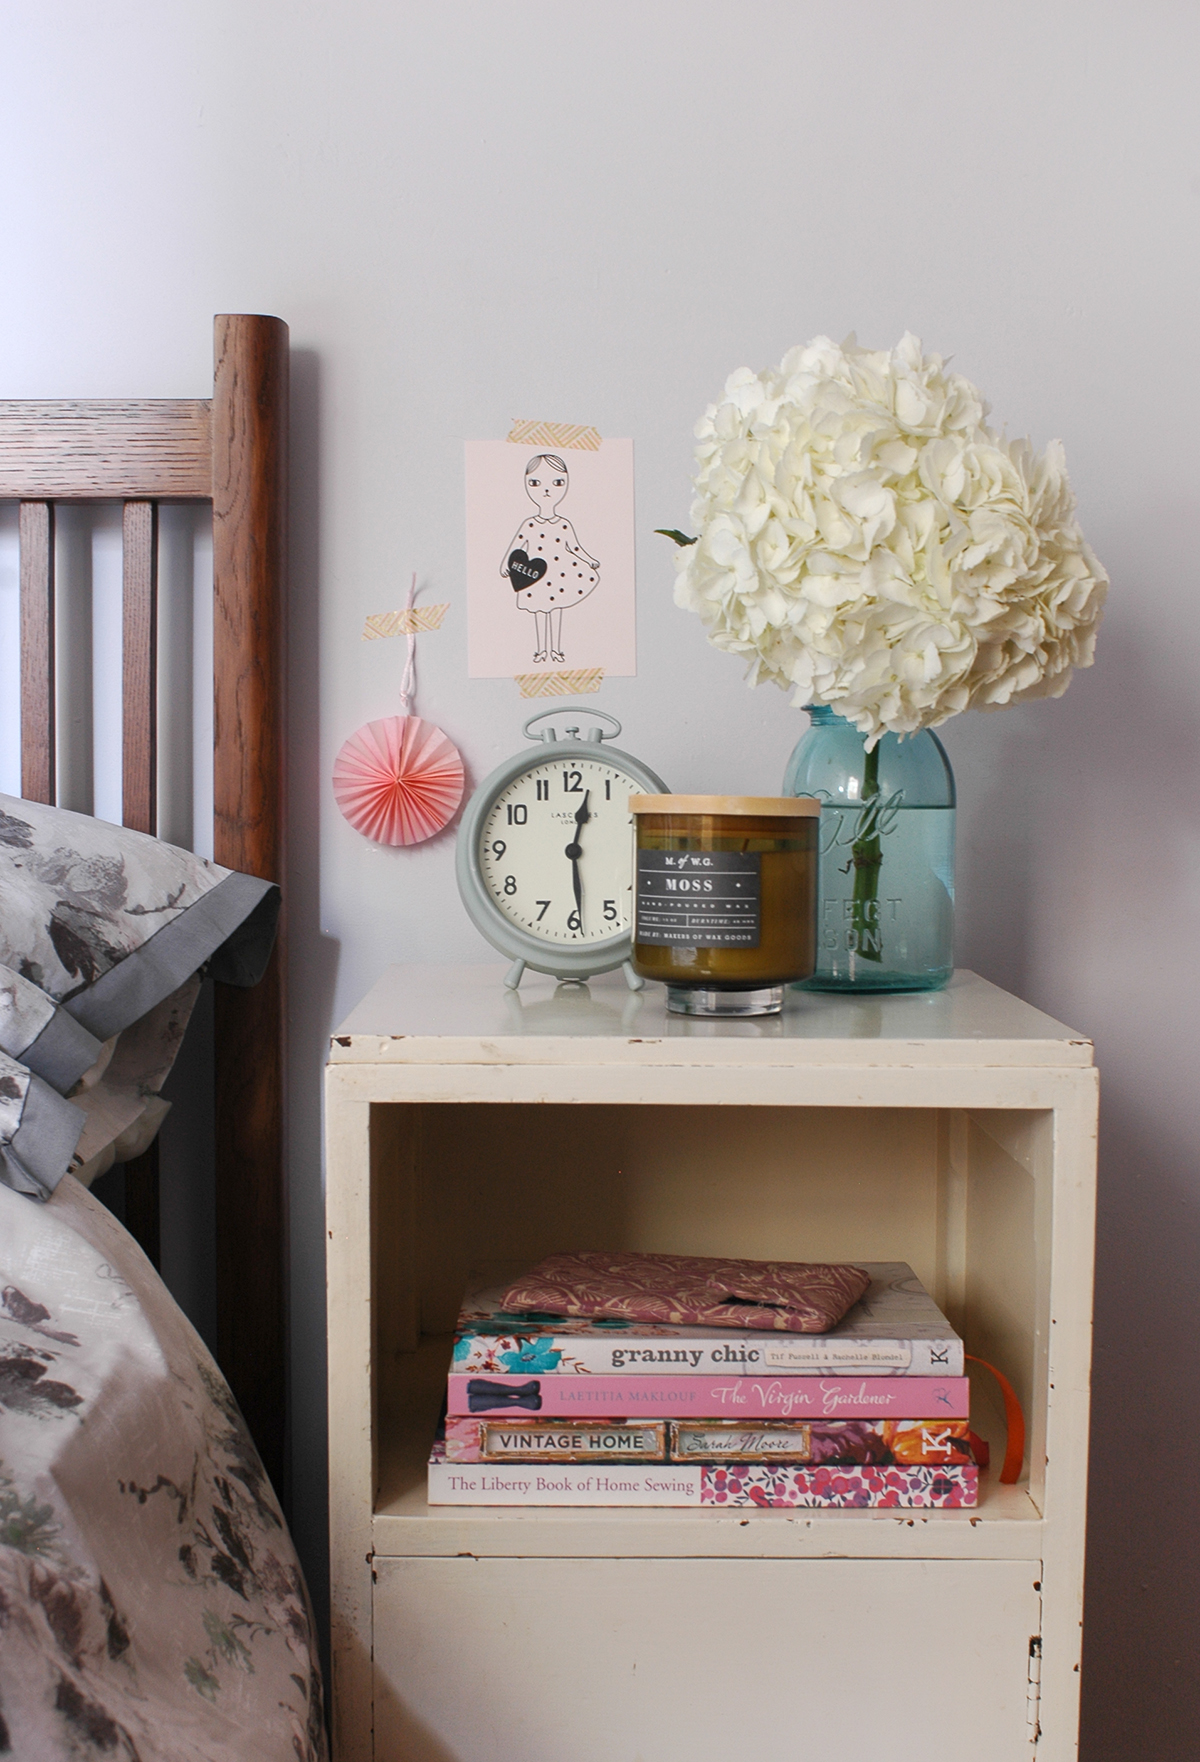
4. Restyle the bedside tables

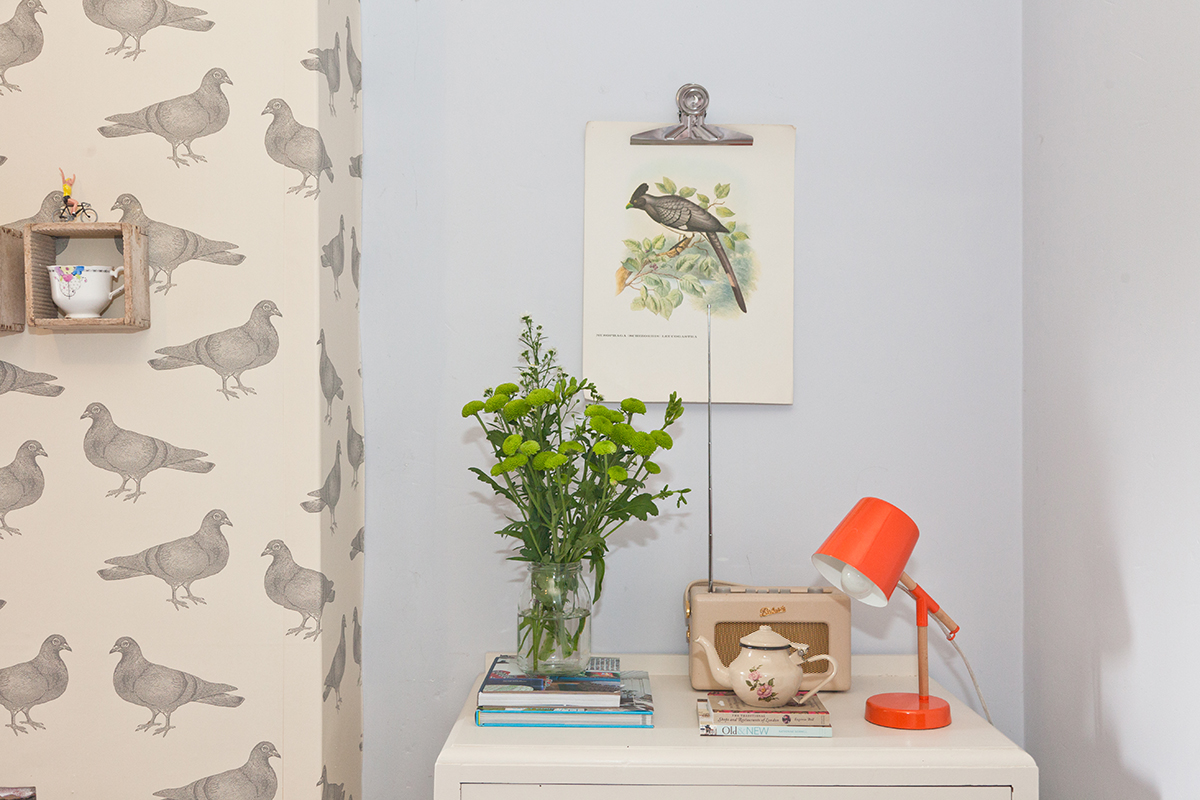
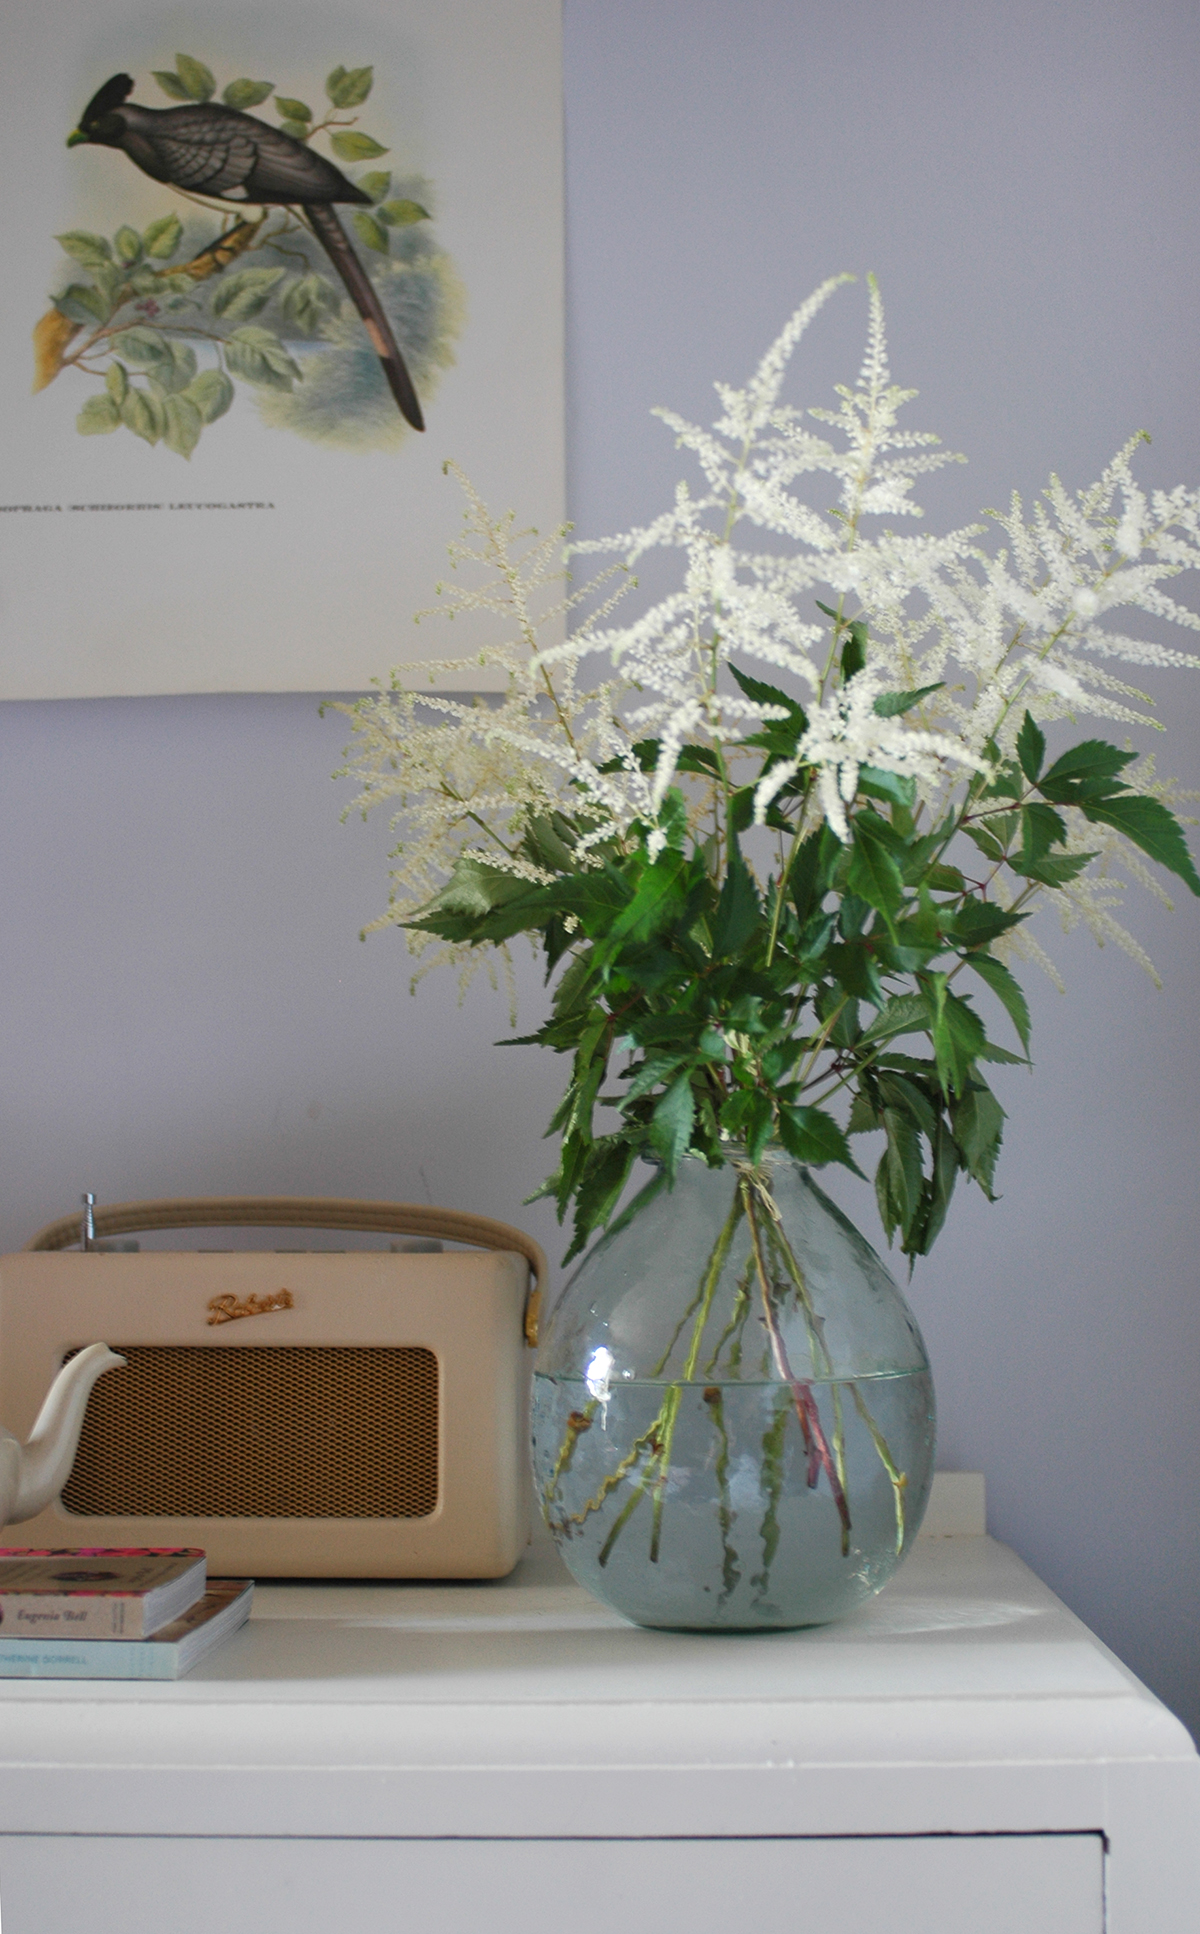
This is the area where things can sometimes accumulate: books, handcreams, coffee cups, phone chargers etc. But as this is potentially the first area you see in the morning, and the last one at night, it should be a joy to look at! Give it a little tidy up, add a scented candle or two, those beautiful flowers and maybe tape a cute postcard or favourite photograph to the wall and voila! - a simple pleasure to enjoy every day! 

5. Tidy and clear clutter

As any interiors book or magazine will tell you, the bedroom should be a tranquil, uncluttered space, so if like me, it has started to build up, just take an hour to tidy things away, and discard or put in storage anything that you don't really need or that isn't pretty. It'll make your bedroom a much nicer place to wake up in each day! 

I'm certainly feeling much happier when I go in the bedroom now! If you'd like some more inspiration for your own bedroom, check out my Bedroom Style Pinterest board too! 

Thank you to BHS for sponsoring this post, and for supplying the beautiful bed linen.

xxx

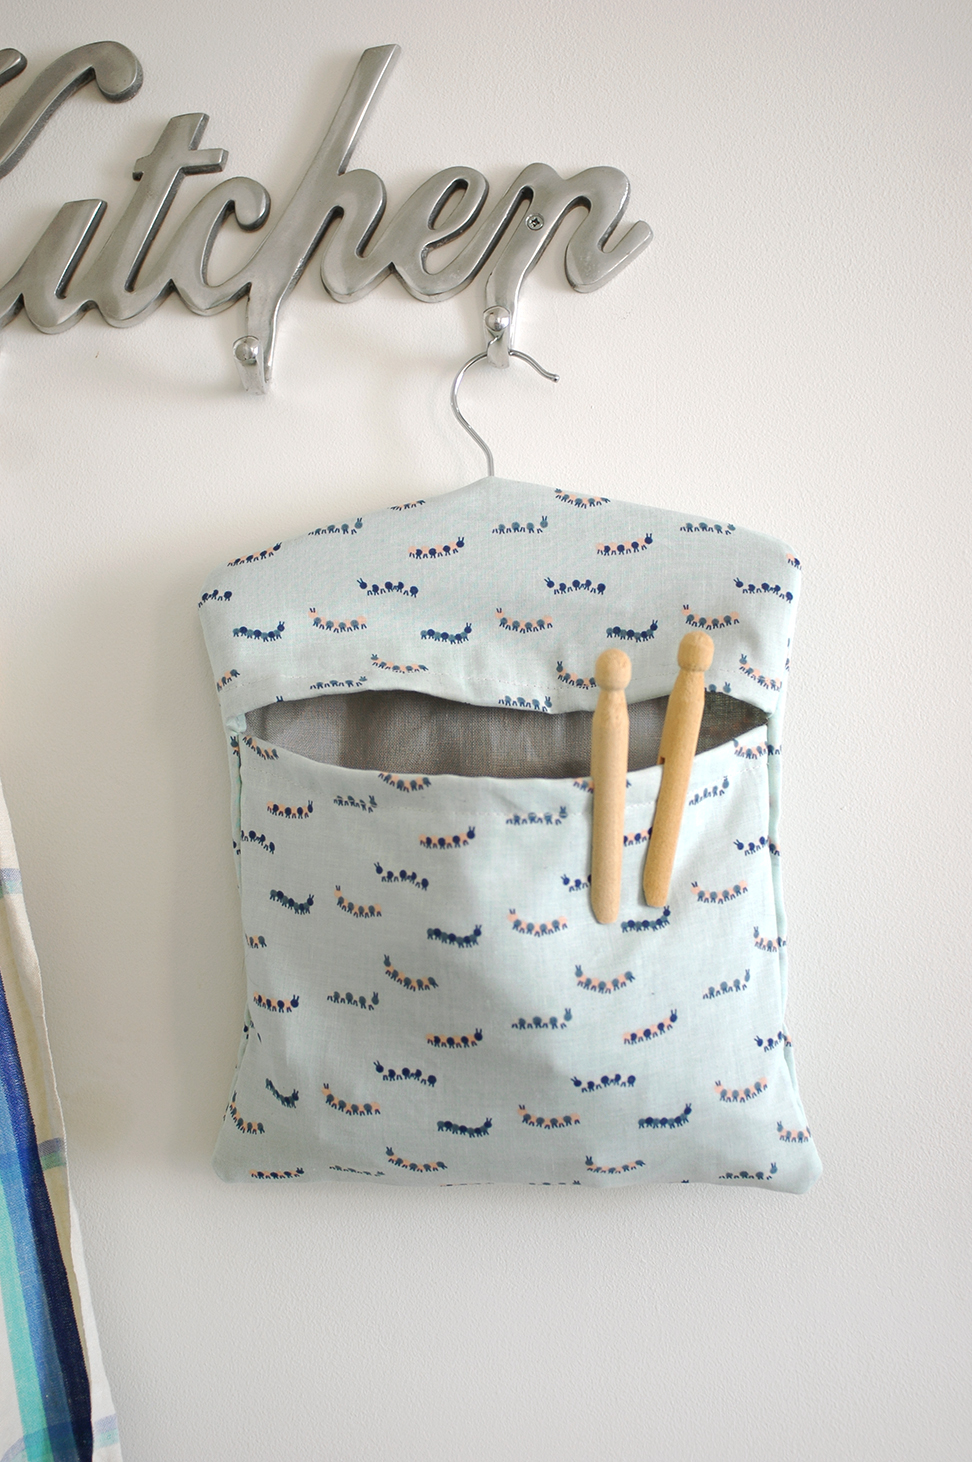
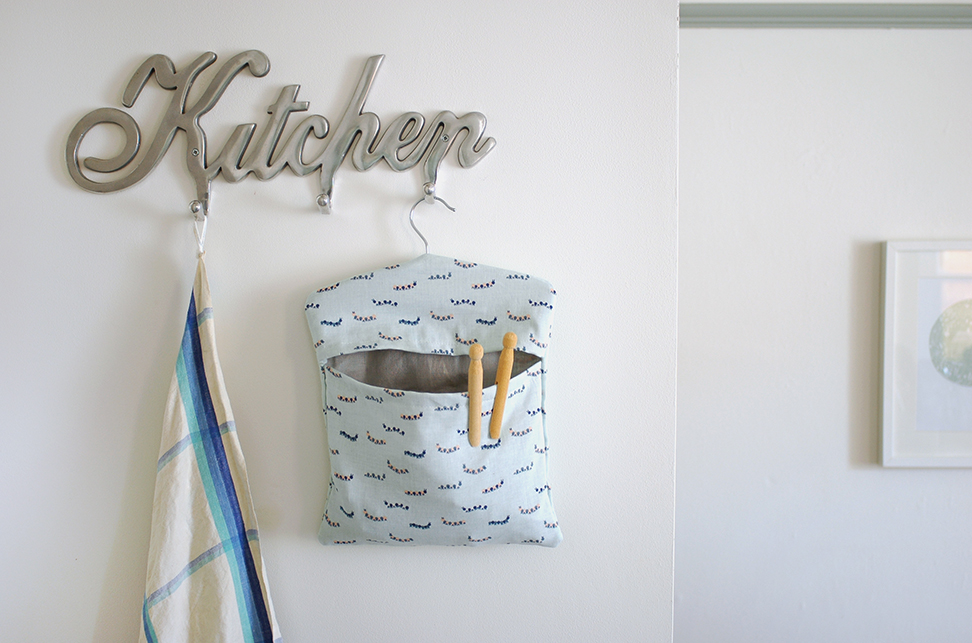
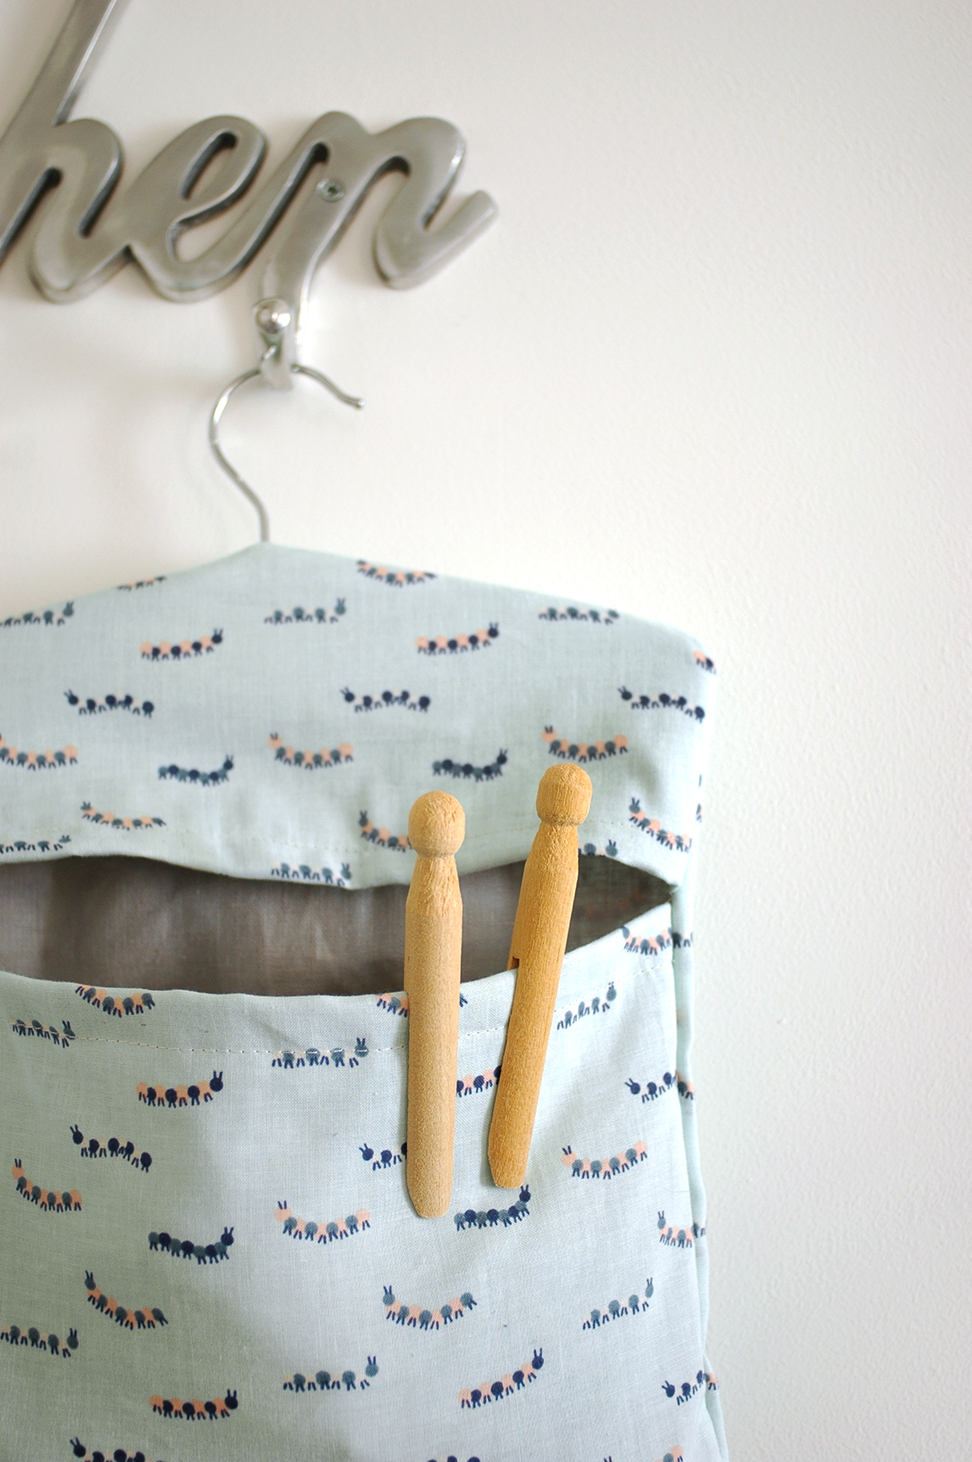
DIY: Fabric peg bag

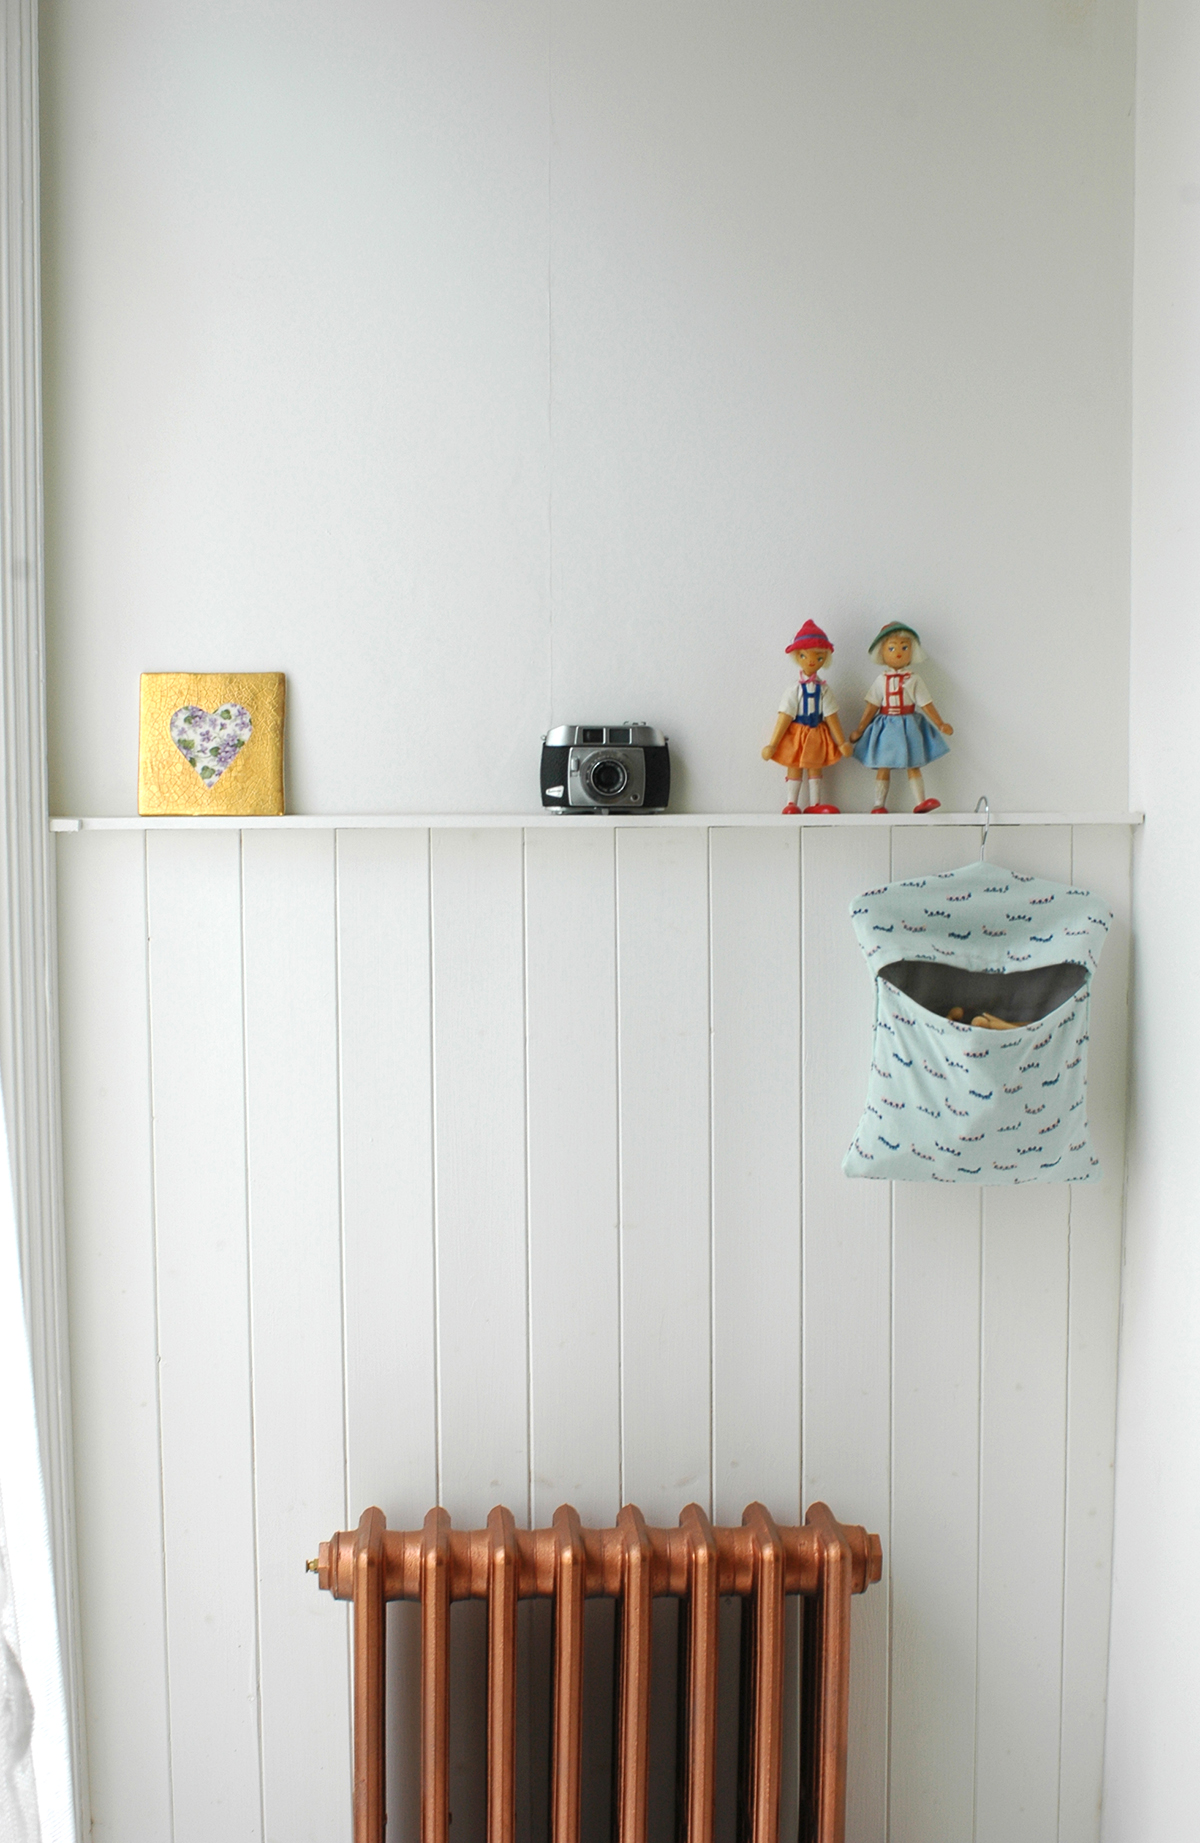
We've had some beautiful weather here in the UK the last few weeks, perfect for drying your laundry out on the line. I love being able to do this, especially as it means not having a clothes horse inside cluttering up the house. I made this little peg bag the other day which makes the chore more enjoyable too! You can follow my tutorial for making your own peg bag over on the AO Life blog