It's funny, each year, my interest and excitement about Christmas seems to vary. I'm not sure whether that depends on how busy I am in the run up to it, affecting the time I have to think about it, or whether it's what's happening in my life that year, but this year I'm already feeling really festive! It may be because this is the first year where Ruby seems aware of the whole Santa thing, so her excitement is building, even though she doesn't *really* understand it just yet. (all she knows is that she wants him to bring her a kitchen! Don't we all!)

My festive spirit was further fuelled recently when Marks and Spencer invited me along to a Christmas wrapping event, where a group of bloggers got together to help M&S wrap gifts for children (and their parents) who will be spending Christmas in Great Ormond Street hospital. I was particularly moved by the words of the GOSH representative who explained what it is like for kids there over Christmas, so it felt really lovely to be able to help out in this small way.

With all those creative bloggers in one room, there were lots of great wrapping ideas and tips being passed around, particularly when it comes to wrapping up slightly awkward shaped items. So I wanted to share one easy way to parcel up an awkward gift as well as a few of my favourite gift wrapping tips and ideas. Above is the gift item from M&S which I choose to wrap up.
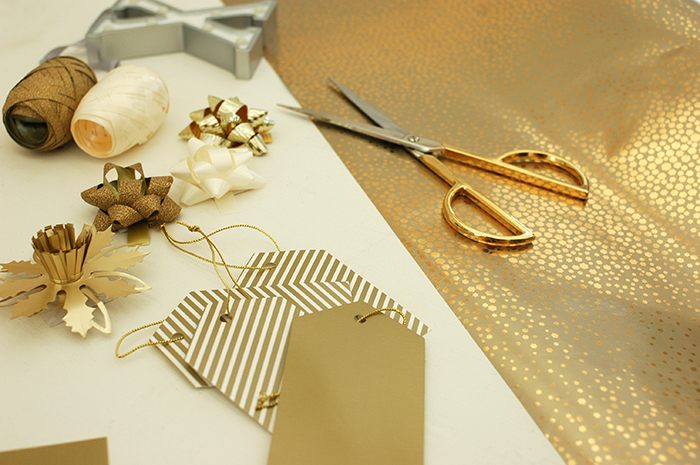
I'm still obsessing over metallics at the moment, so this paper, plus some ribbons and bows from M&S were perfect. Below is a little tutorial for making a gift bag from wrapping paper...

1. Cut a piece of paper large enough to wrap your item with a little bit to spare. Fold the two sides in to the middle, with one side overlapping the other.
TOP TIP: use double sided tape when wrapping, so there is no unsightly sellotape on your seams.

2. Fold up the bottom edge of your paper as above, this will be the base of your gift bag.

3. Open it out and fold the sides inwards like in the above image.

4. Then simply fold in the top and bottom flaps, overlapping slightly, and tape in place. You can also add some double sided tape underneath the folds for added support.

5. Stand your bag up and push out the base so it becomes a little bag. You can now place your gift inside.
TOP TIP: Wrap awkward shaped items in a layer of bubble wrap first to even out the shape.

6. To close the bag, simply fold over the top. I tend to firstly make a small fold of about 1cm to make a nice clean edge, and then fold again with a deeper fold to finish. Again use double sided tape to seal along this edge.
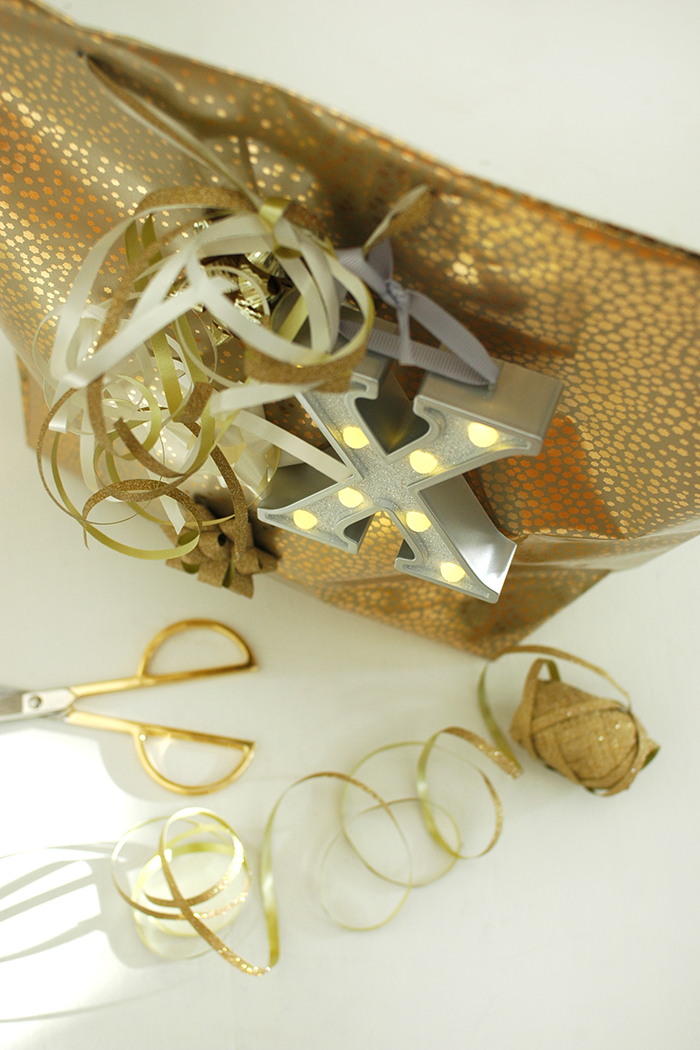

Now it's time to get creative and decorate your bag! I made two holes through the fold at the top to feed through some ribbon, then you can attach other decorative items to this. Here I've added one of M&S's amazing LED letter baubles. It's a nice touch to add an actual Christmas decoration onto a parcel as an extra little gift. Another nice idea is to add seasonal foliage like eucalyptus, a fir tree sprig or a small branch of berries - although it's generally best to add these just before delivering the gifts so that they look fresh.

I must say, I am very much looking forward to an evening of wrapping gifts by the fire this year! It's nice to set aside some time, pour yourself some mulled wine, and to do it properly, rather than rushing it at the last minute. And of course it's a perfect opportunity to get a little bit creative! If you'd like some more gift wrapping ideas check out M&S's guide. Happy wrapping folks! x
*This post was written in collaboration with Marks and Spencer, but all ideas, choices and opinions are my own.*